Set Up Your Own Character
Updated May 23, 2026
Use this page after your project has a playable map and a character class assigned. If those basics are not ready yet, first complete Set Up Your Map to Play In and then continue with this character setup.
Related setup: Set Up Your Main Menu and Game Map, Configure Attributes, Make your own Equipment.
How to change your char or add a custom char in v4 visual the visual override?
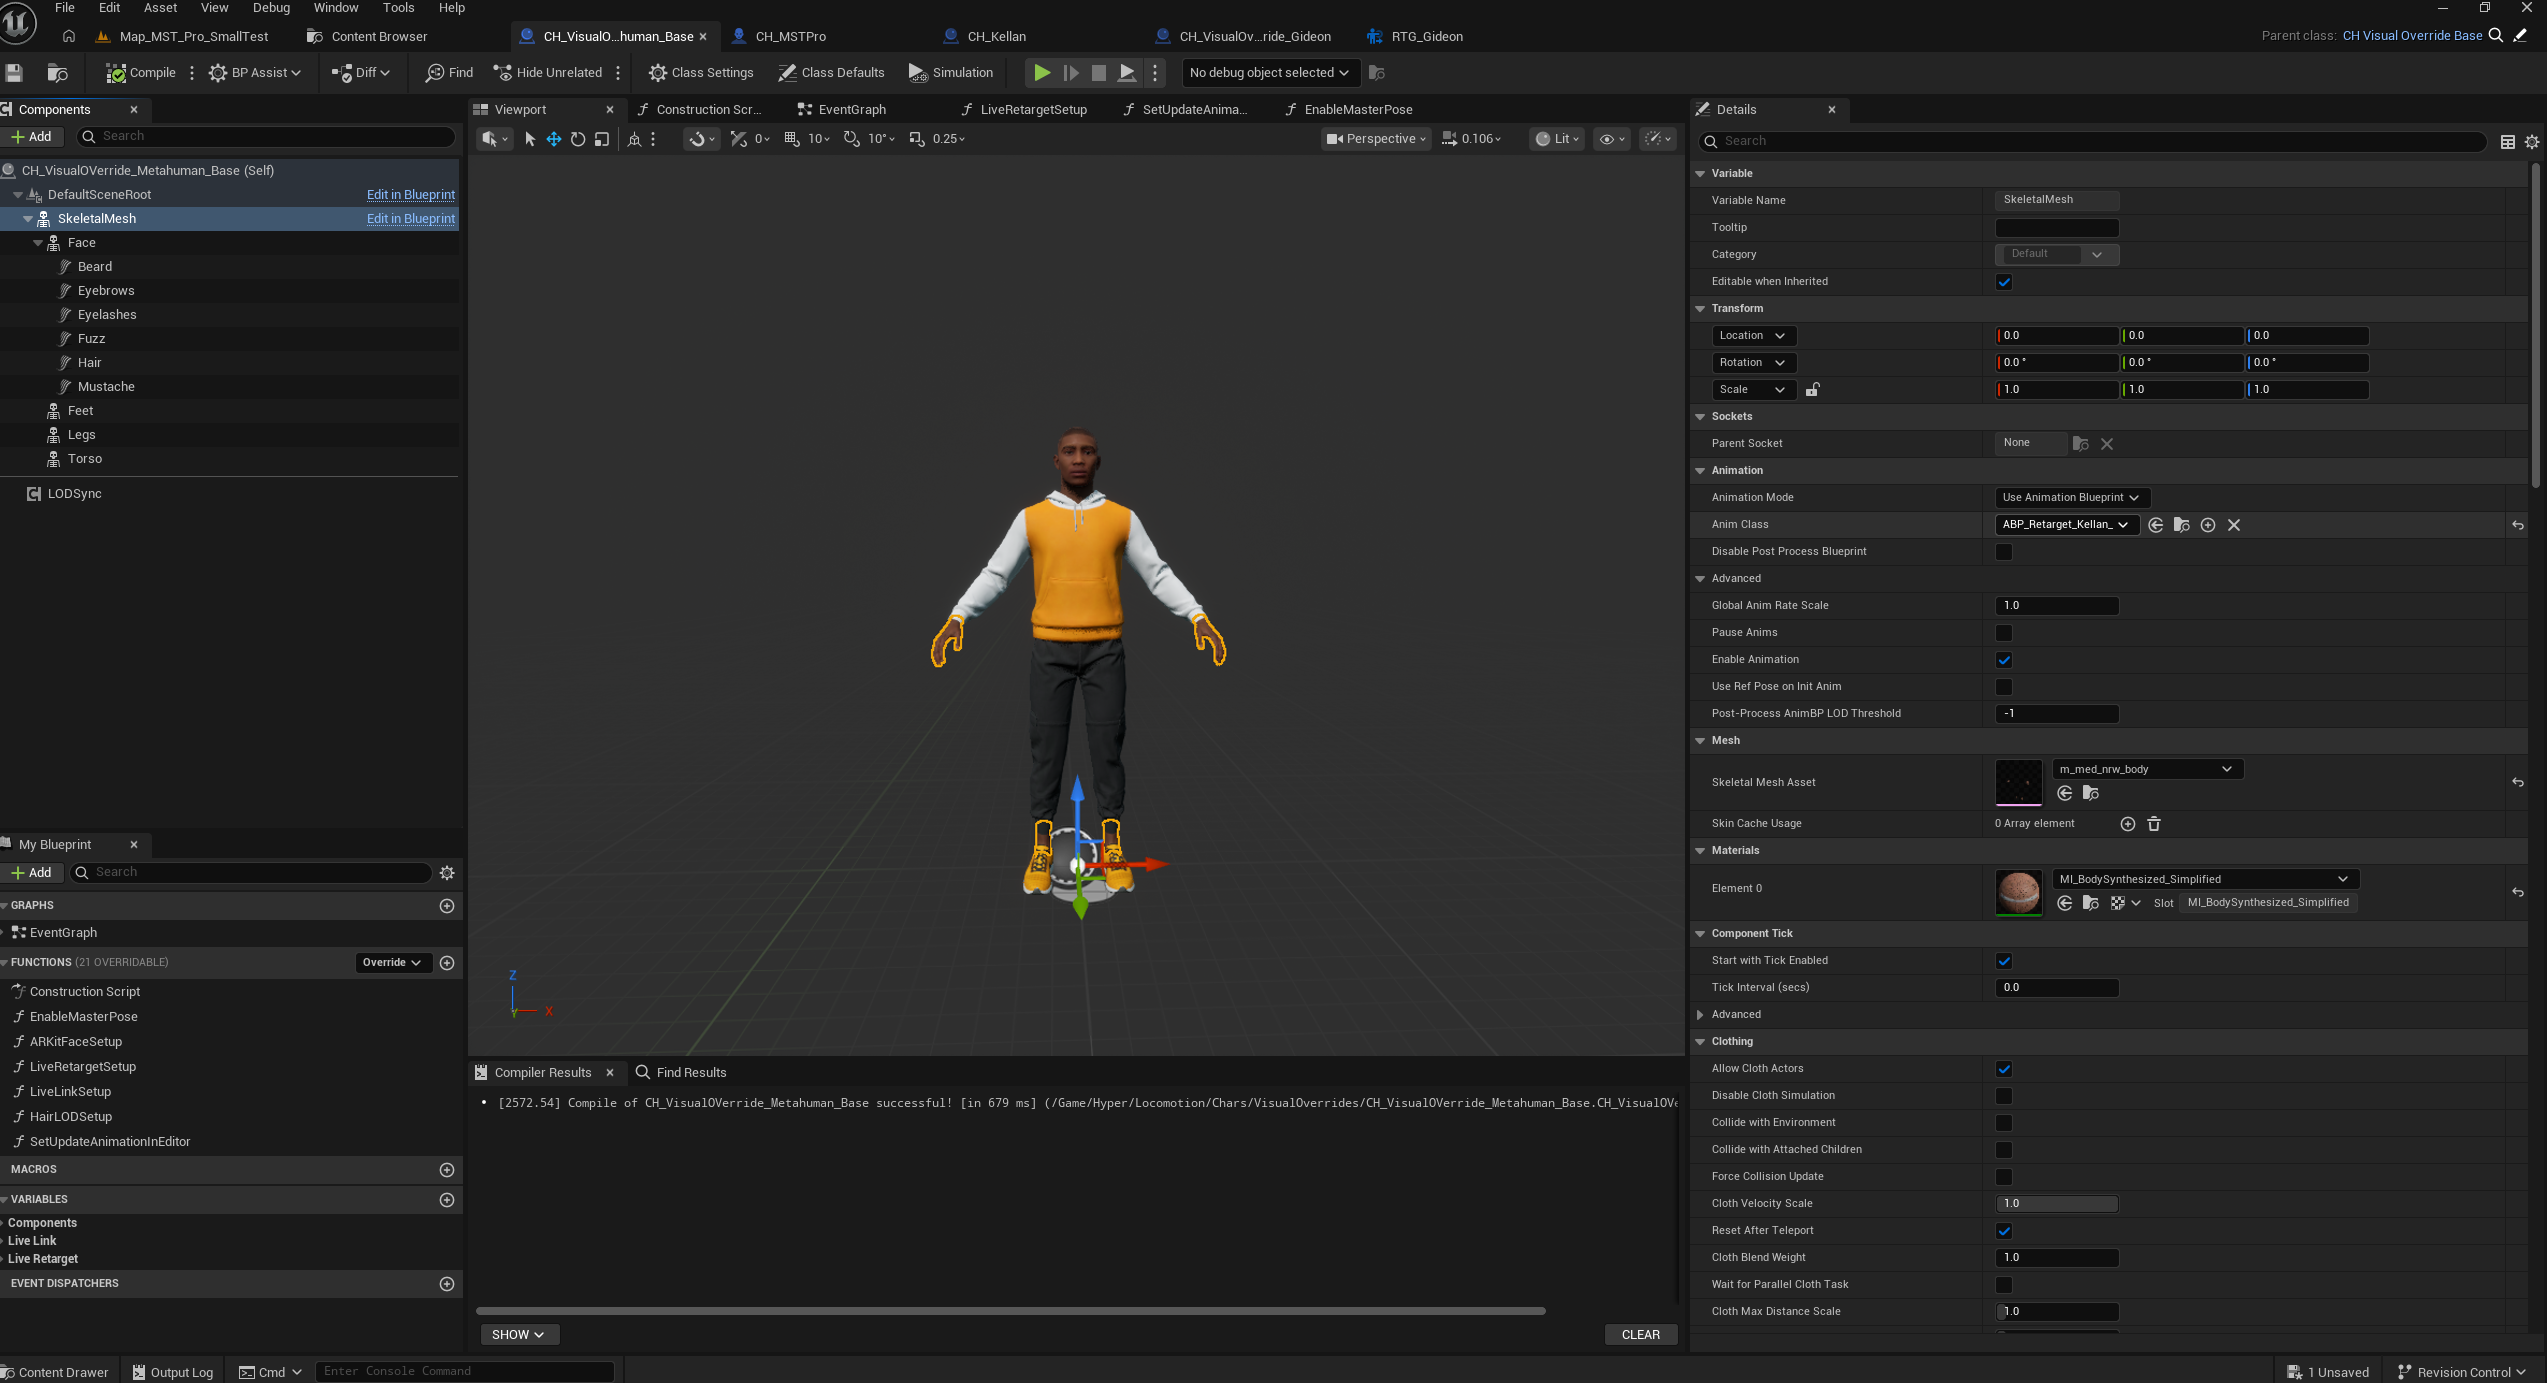
Hyper characters use a visual override workflow to manage the visible character setup separately from the gameplay character. This is used for both player characters and AI characters. With a visual override, you can swap the full visual representation with minimal setup work.
-
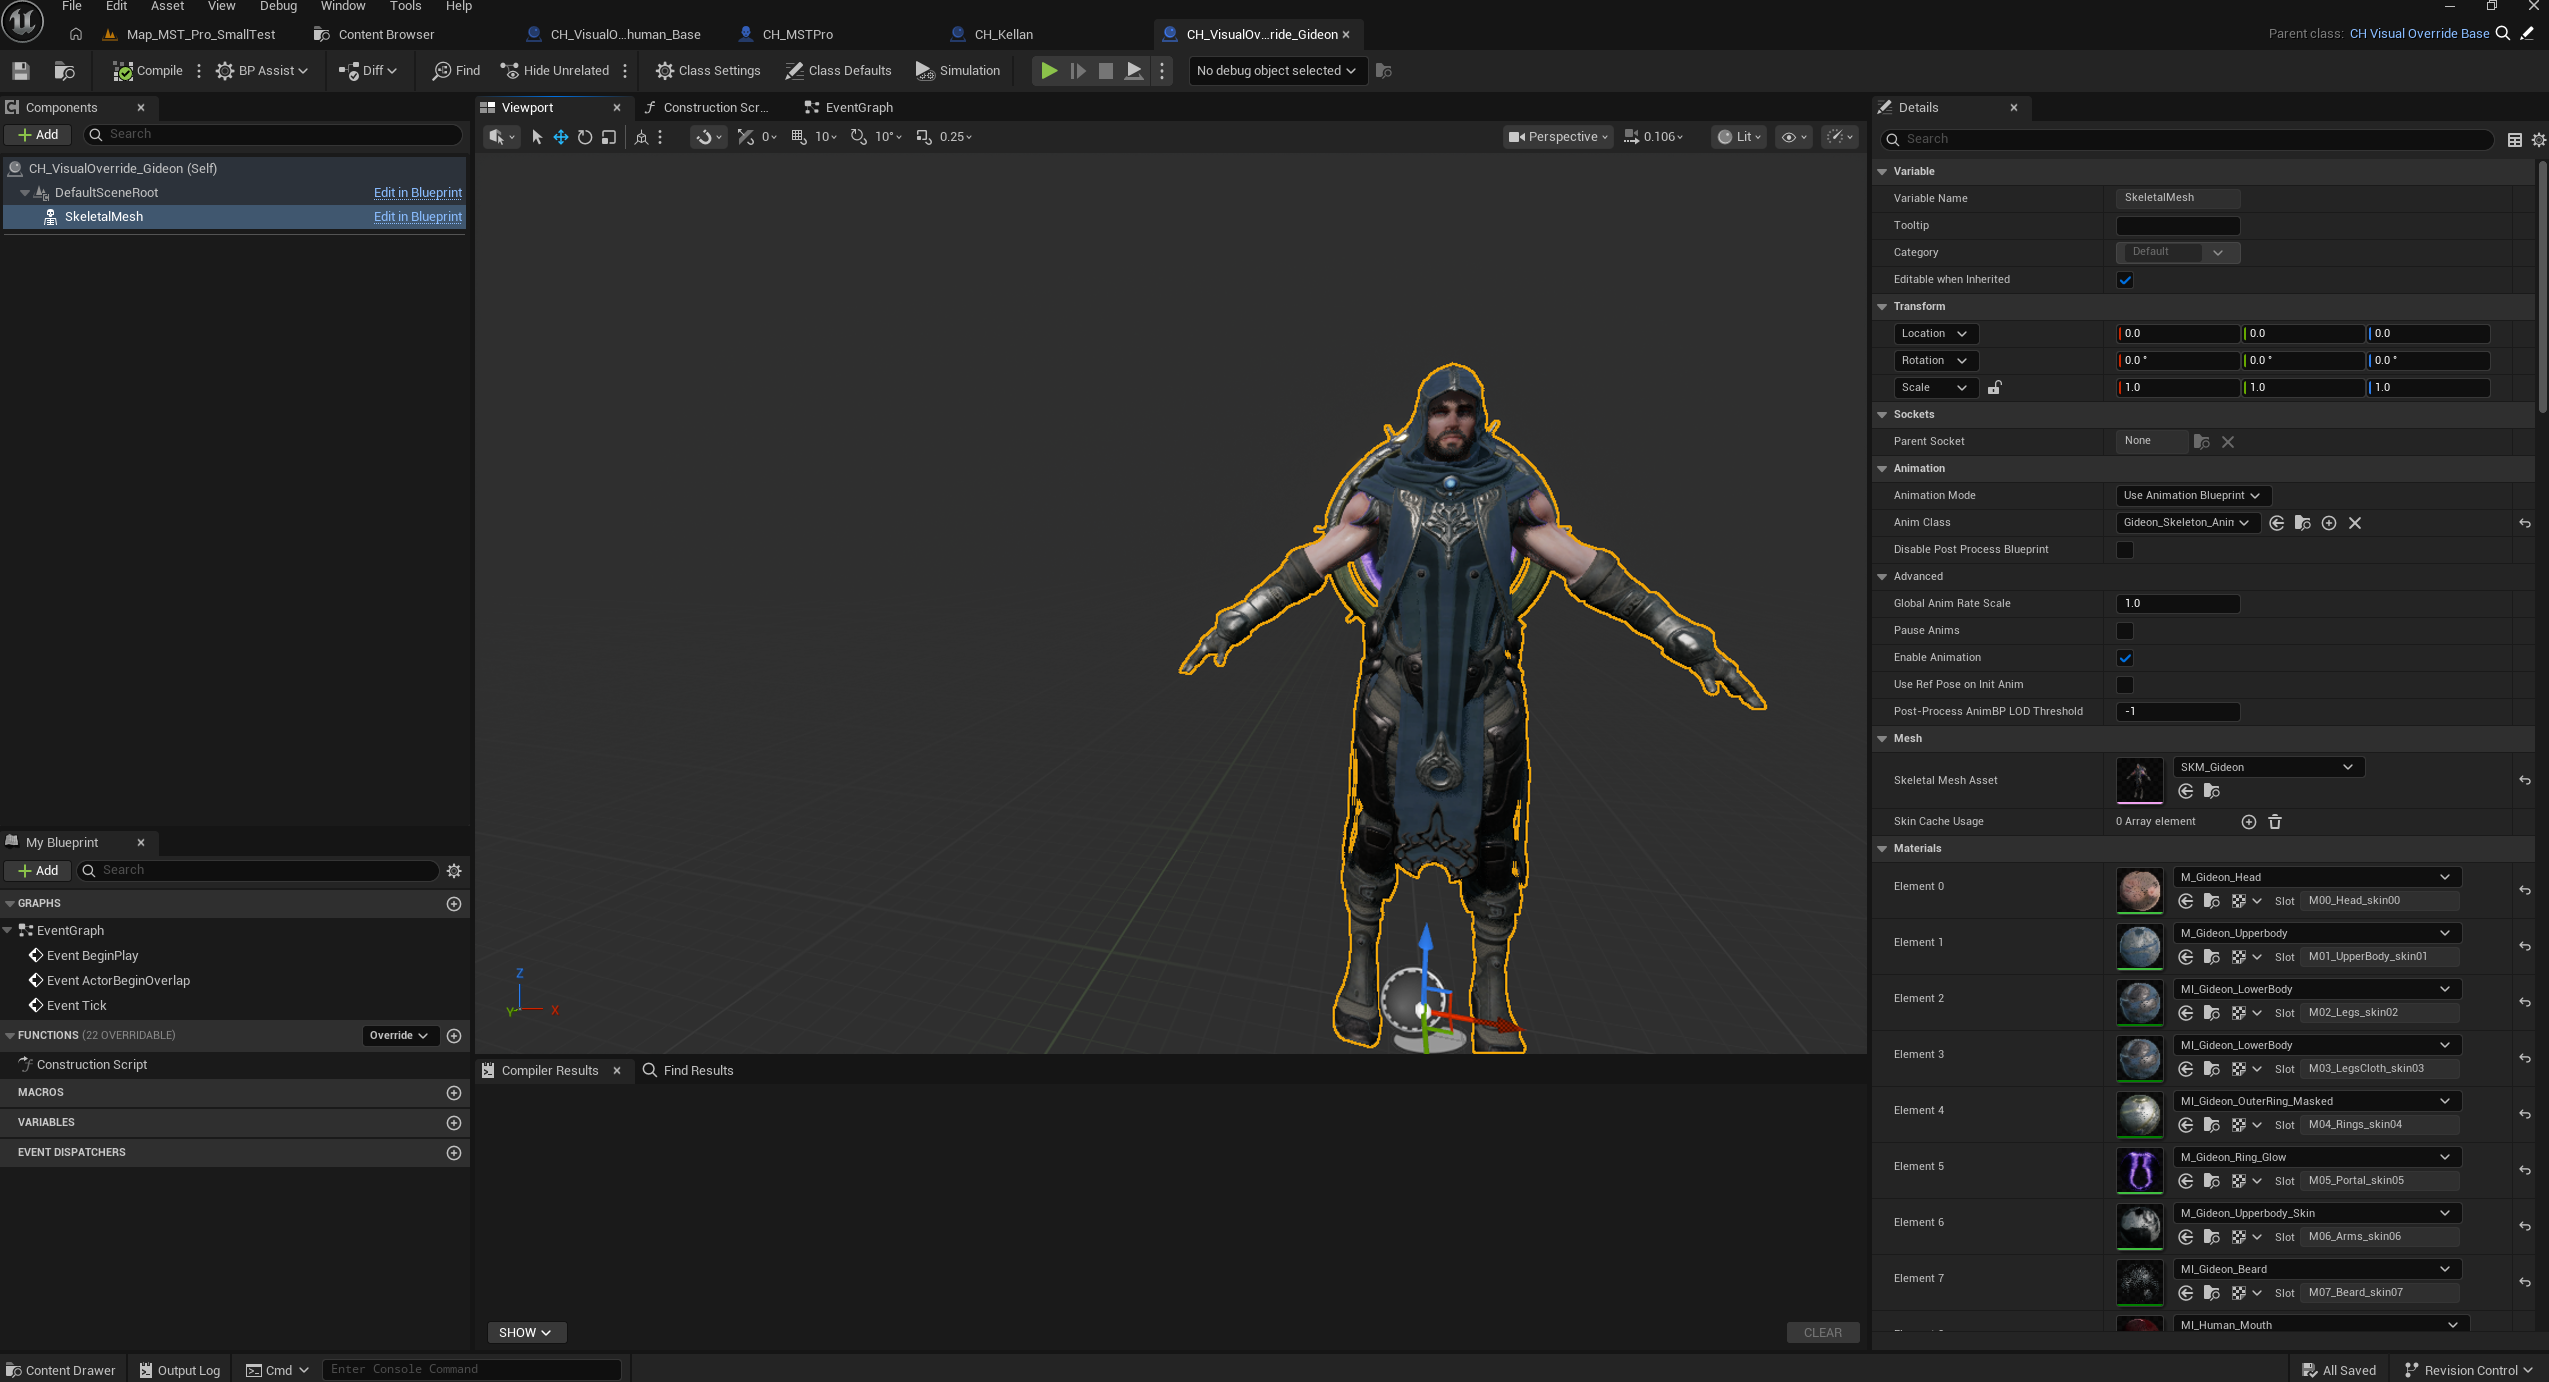
Create a child Blueprint from CH_VisualOverride_Base.

-
Select the skeletal mesh that should represent your character.
If the preview does not update after changing the mesh, reload the asset or restart the project. This can happen because of an Unreal Engine refresh issue.
-
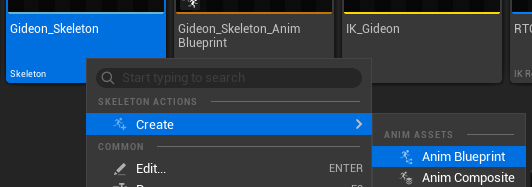
Create and assign a new animation Blueprint based on your skeleton.
-
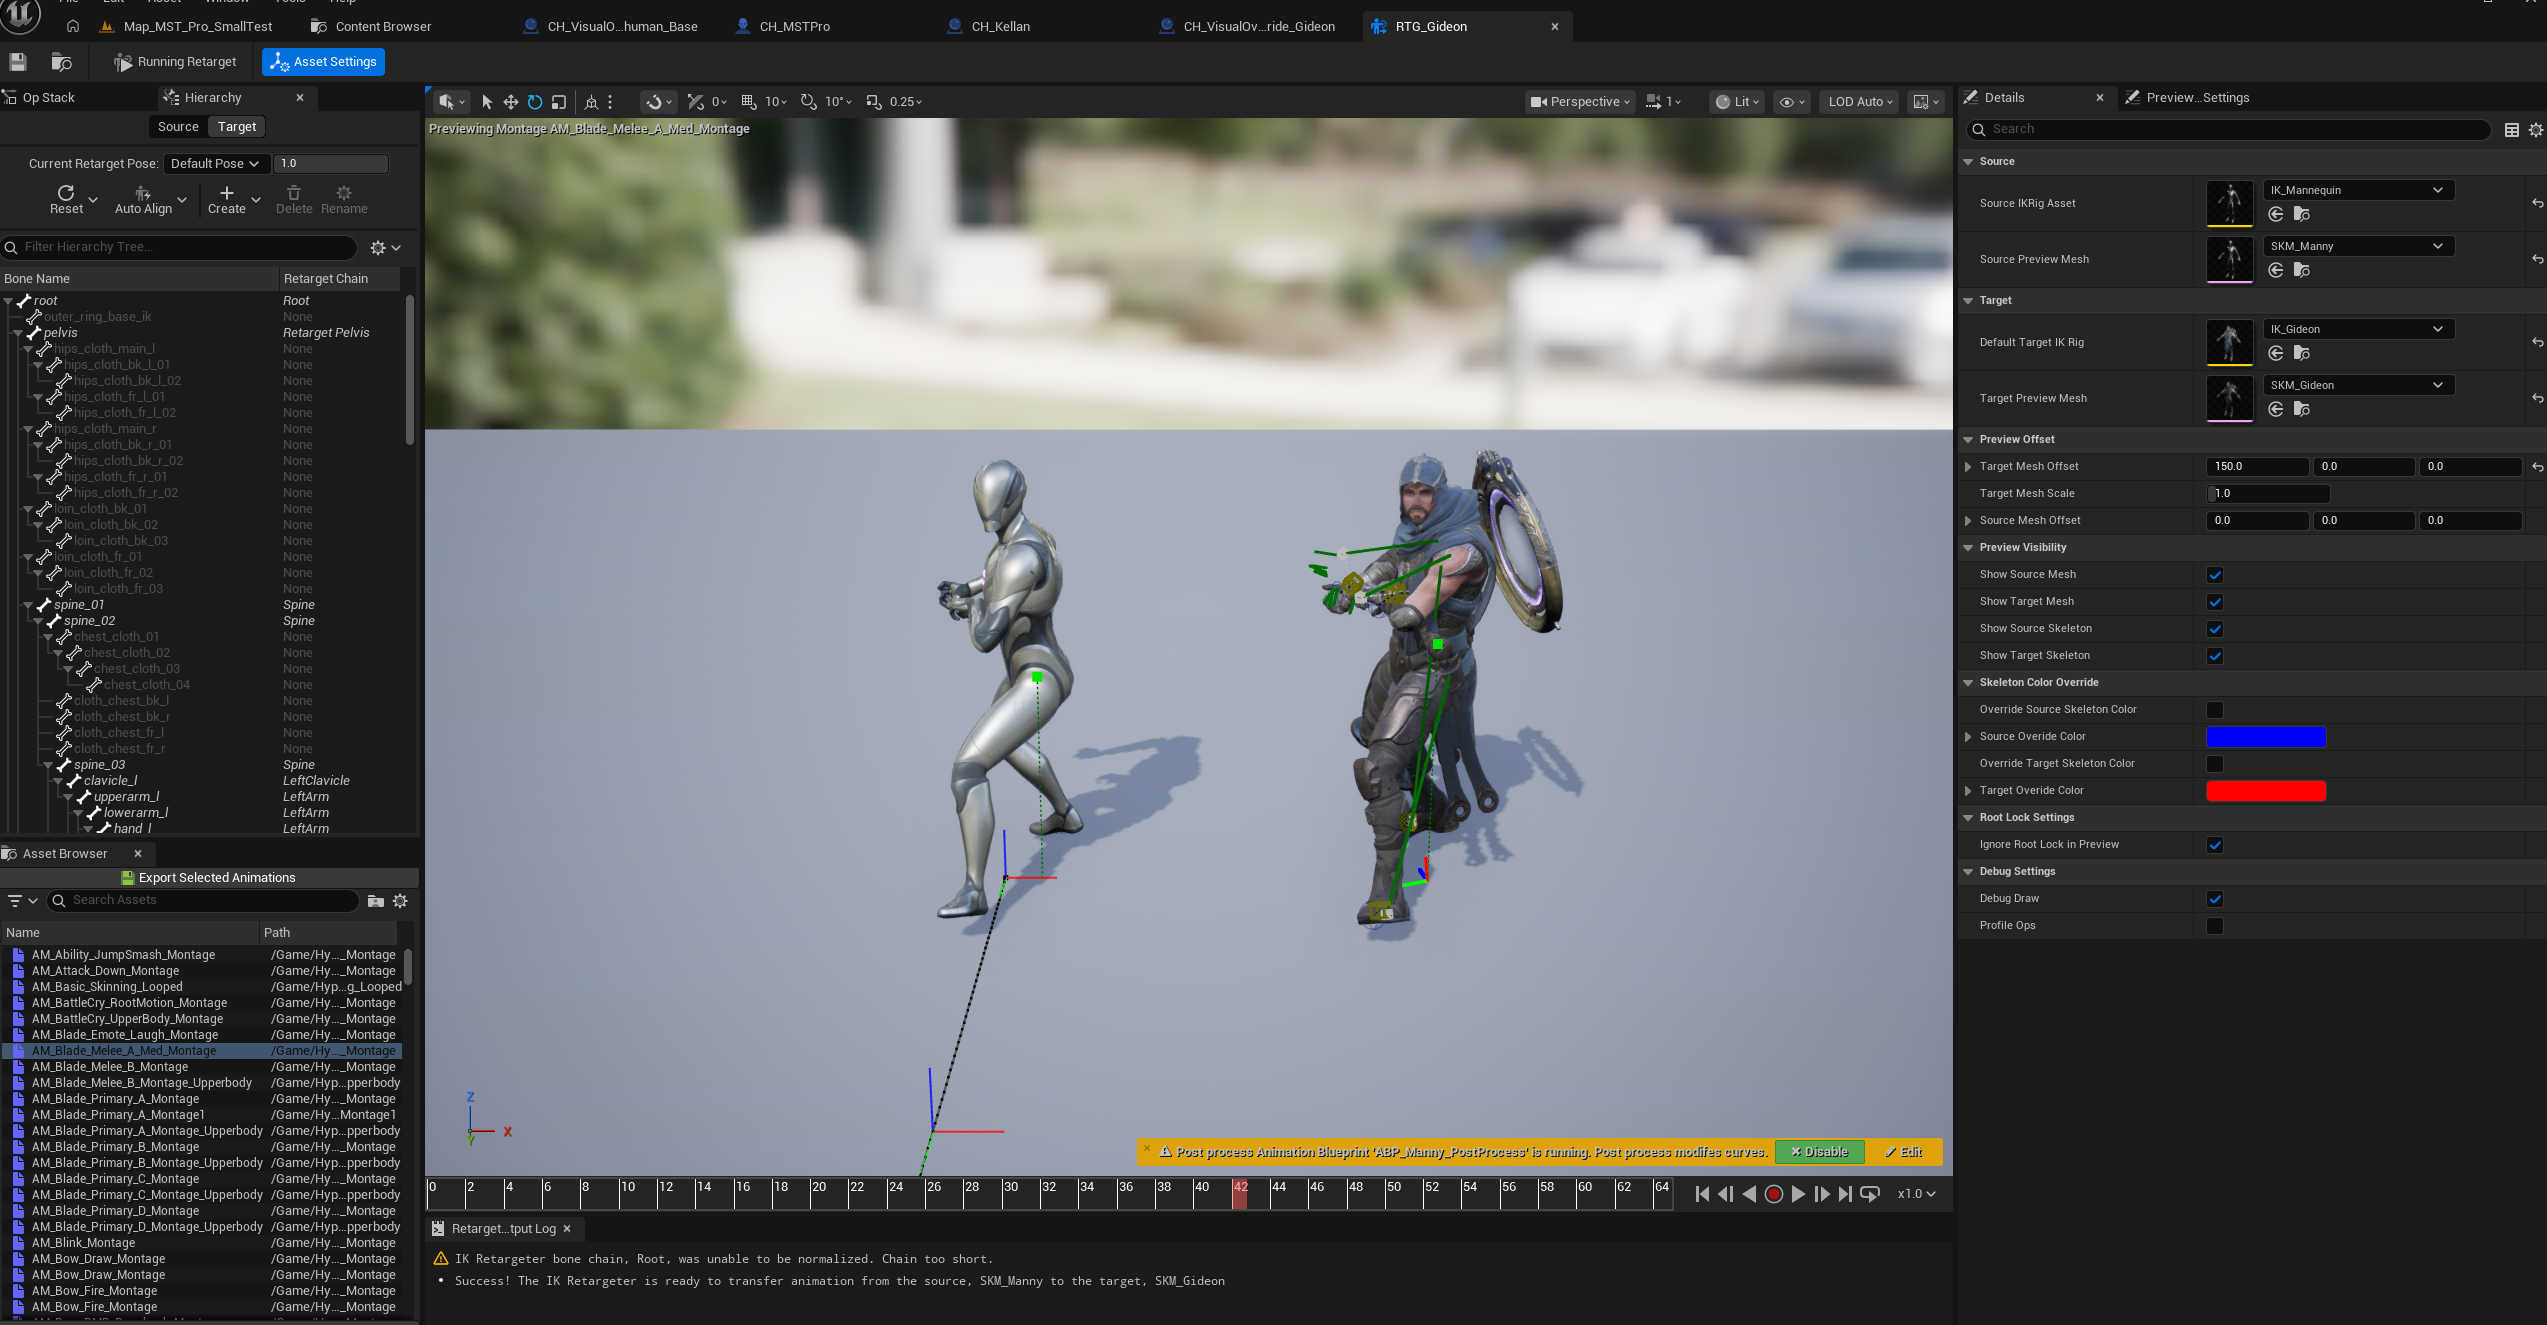
Set up a retargeter from Manny to your skeletal mesh.
Use the normal Unreal Engine retargeting workflow. You need a Manny rig and a target rig; use the automatic setup where appropriate, then assign the retargeter in the animation Blueprint.
-
Select the retargeter in the animation Blueprint.
-
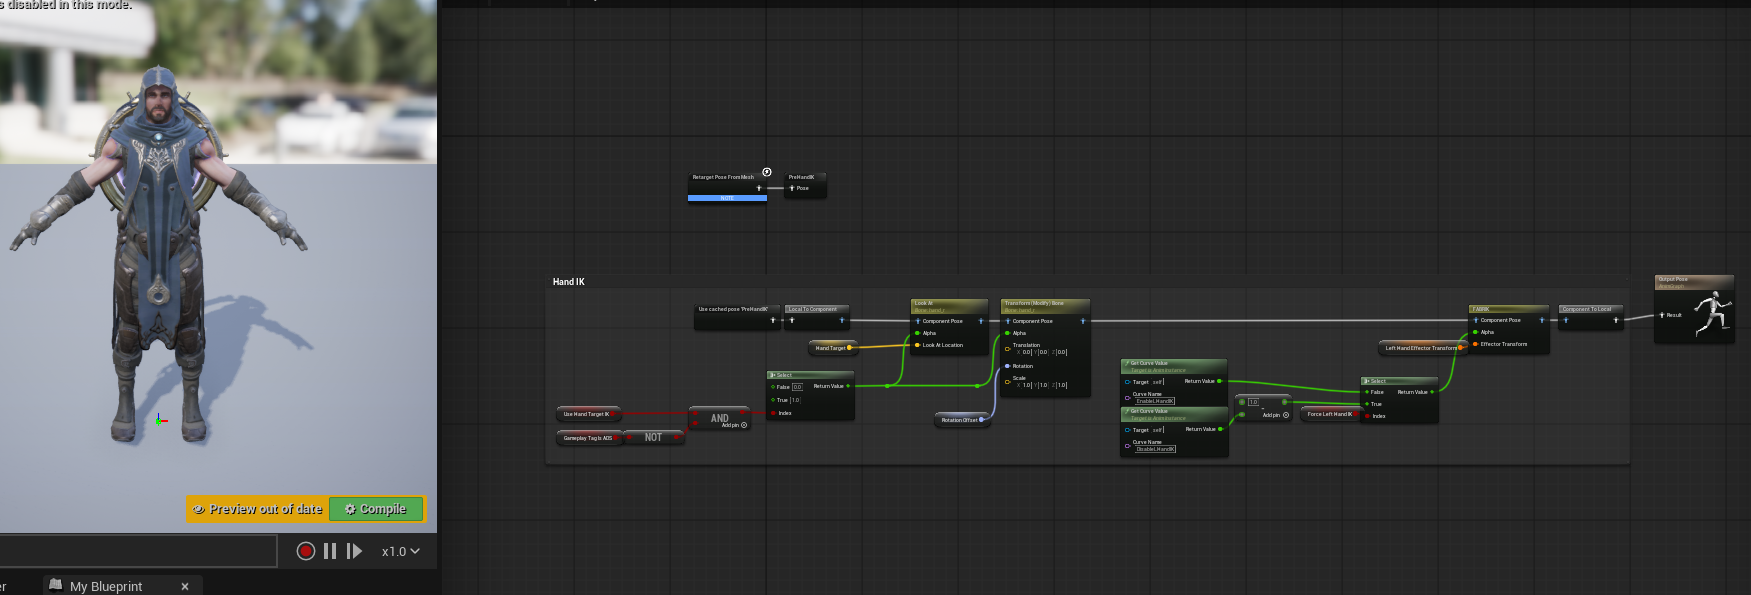
Optionally add extra animation logic, such as hand IK.
-
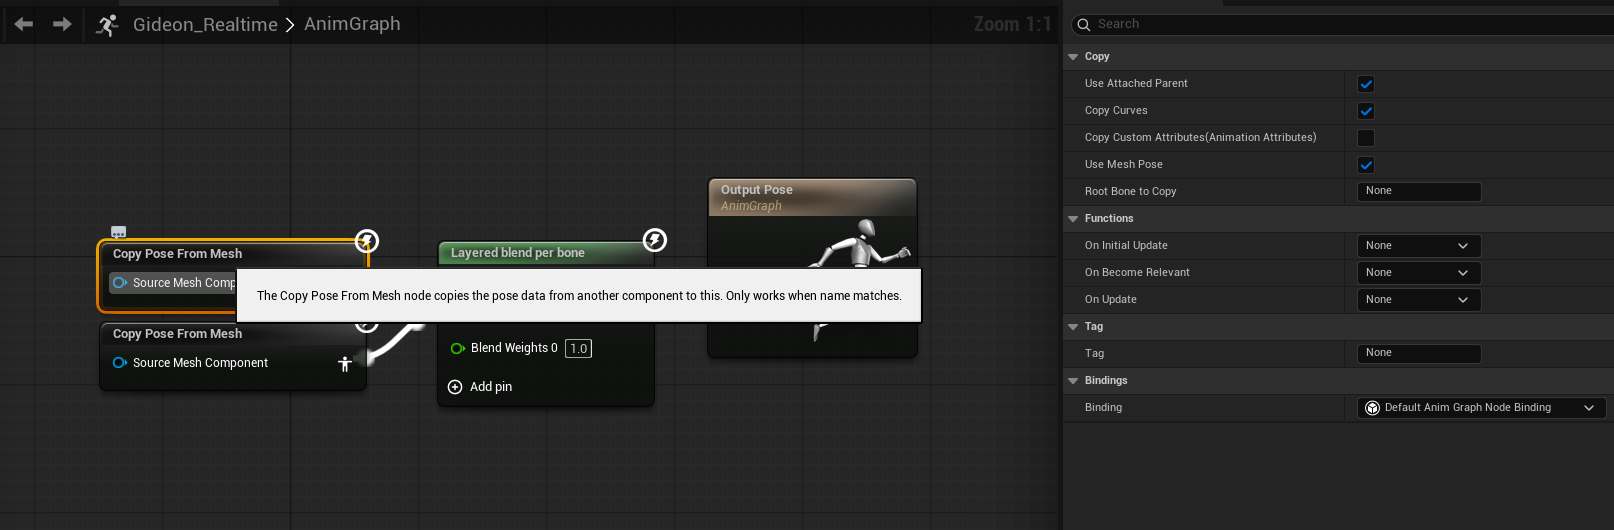
Alternatively, use Copy Pose From Mesh instead of a retargeter.
-
Optionally add extra animation logic, such as hand IK.
-
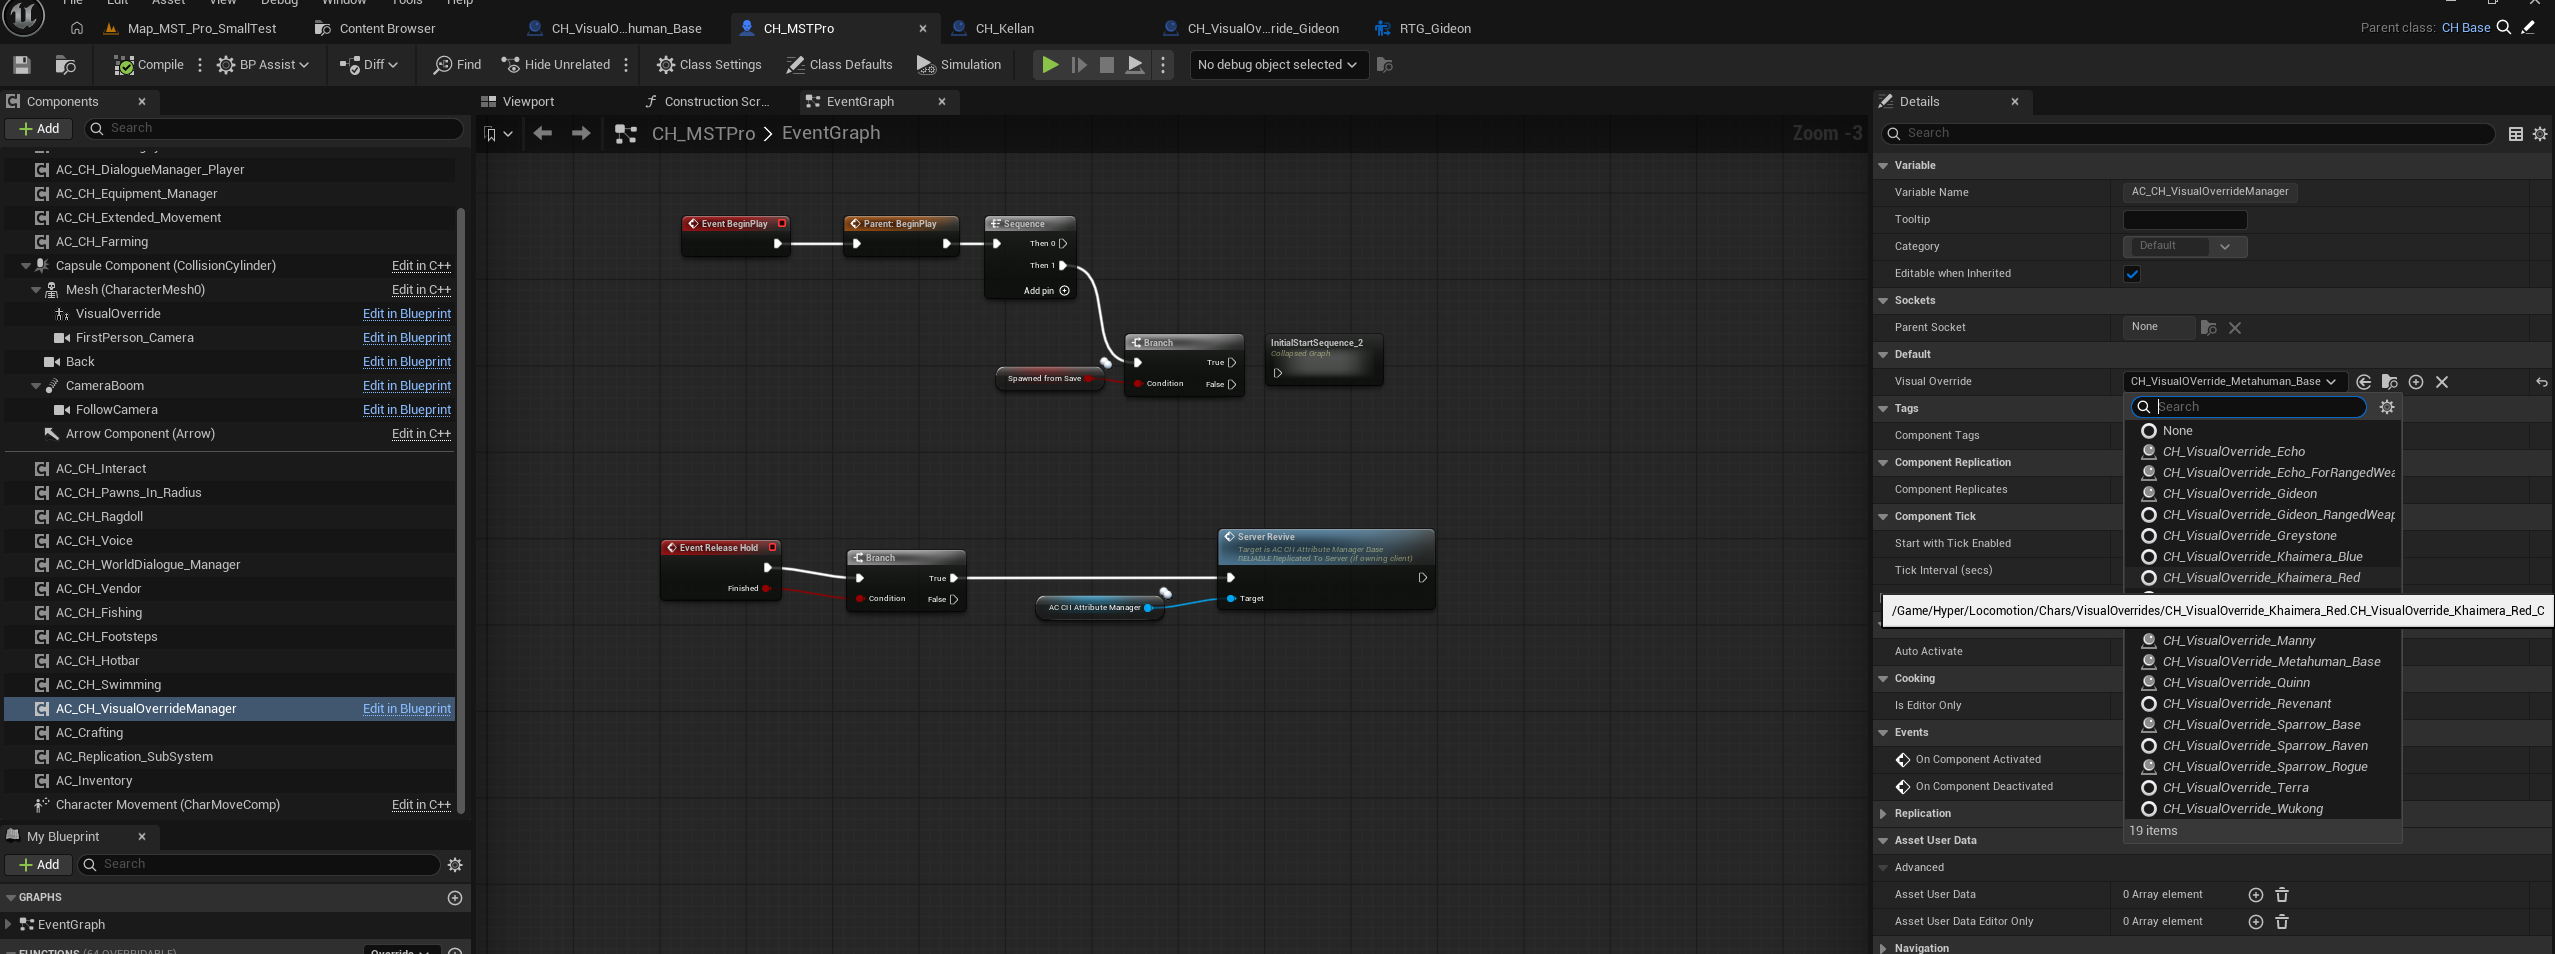
Open your character Blueprint and assign the visual override you created.

How to setup a metahuman visual override:
-
Use the same general visual override workflow for MetaHumans.
MetaHumans have extra Epic-provided setup logic. Use the provided/reference setup as an example, then replace the specific MetaHuman references with your own MetaHuman assets.
The reference asset may show compile errors until you replace its specific MetaHuman mesh references. That is expected; use it as a setup reference.
- Use the attached/reference file from the source package when you need the example functions.
Configure Voice
If your project uses the Hyper voice system, configure the voice component on the character. This lets the character use a voice, predefined sentences, or an auto-gibberish profile.
- Open your character Blueprint.
- Select the voice component.
-
Assign a voice profile and link predefined sentences.
- You can optionally add your own voice and predefined sentences.
- A voice can also be used as an identifier for mappings.
-
Review the configured component settings.

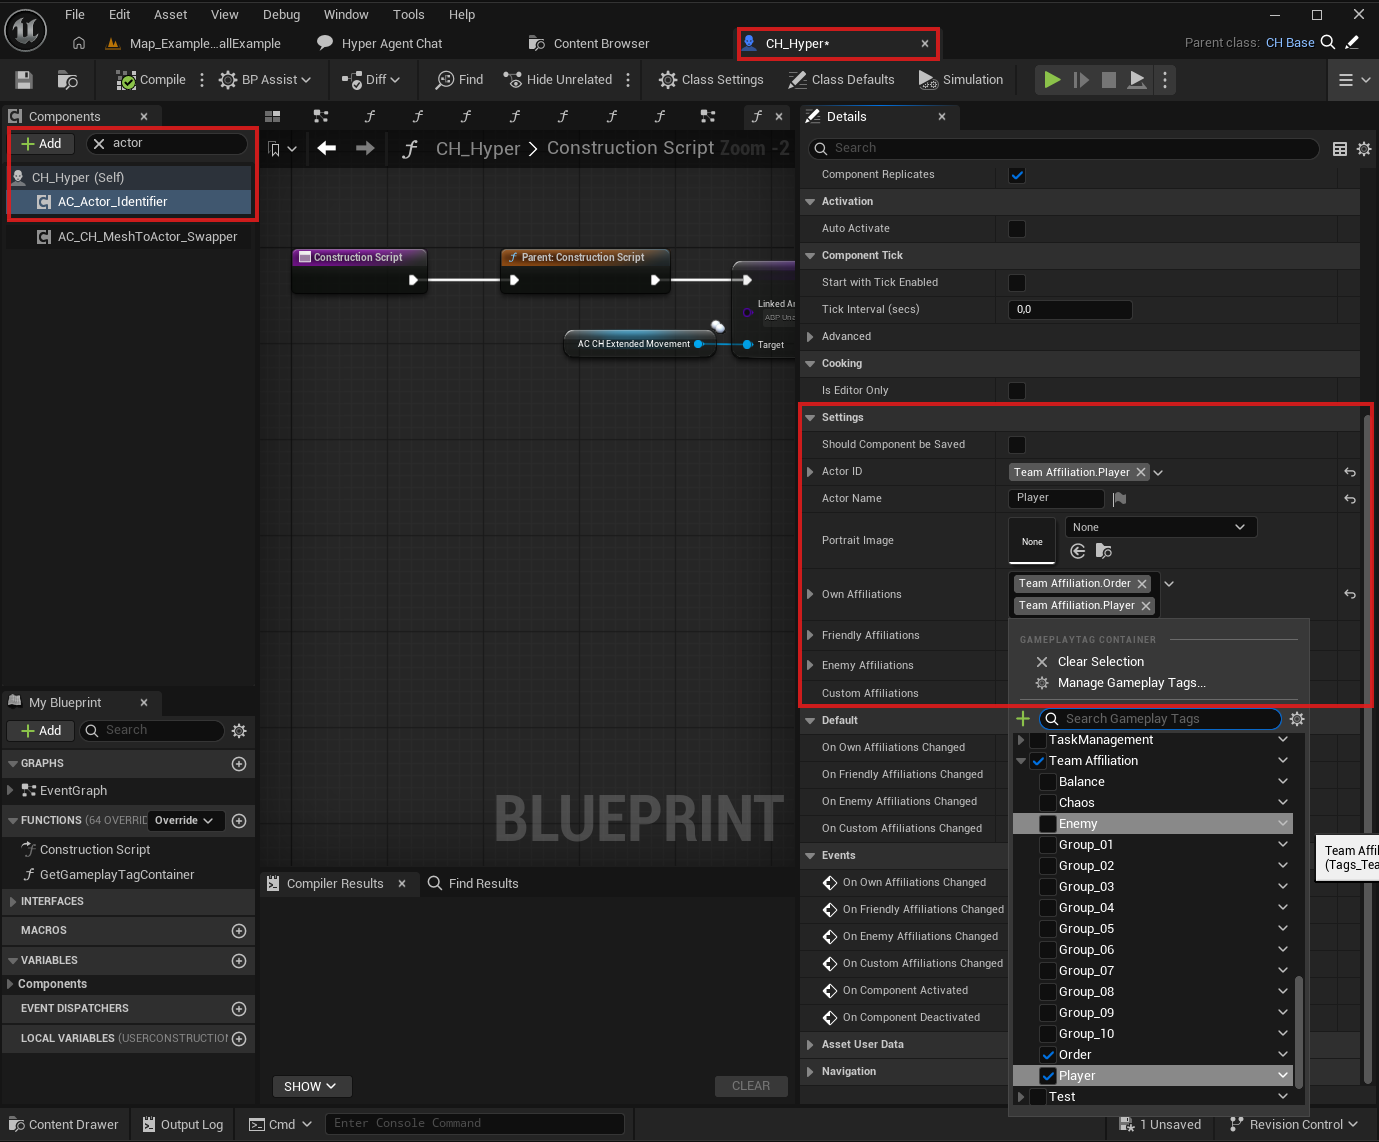
Configure Team and Identity
Characters use AC_Actor_Identifier for identity-related data. This is where you can set the character name, optional portrait, and team affiliations.
The name can be used in places such as subtitles. Team affiliations are important for deciding whether another actor is treated as enemy, friendly, or neutral, and can influence how AI, combat, UI, and interaction logic respond to the character.
- Open your character Blueprint.
- Navigate to AC_Actor_Identifier.
-
Update the name, portrait, and team affiliation settings to match the character.
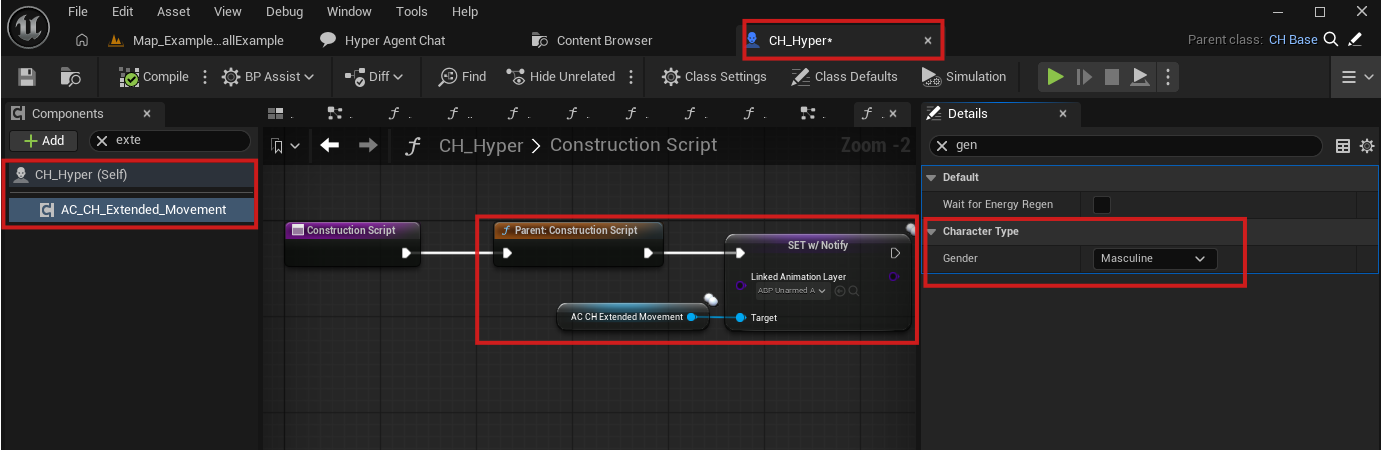
Set up the gender and animation layer
- The character uses gender to determine which animation layer to use when using equipment or when unarmed.
-
Select the Extended Movement component, search for gender, and select the preferred gender.
- If you want to see how this is used, open DT_Equipment and check the Use Animation Layer On Equip section. Different layers can be selected based on the mapped setup.
-
For initial posing, set up the linked animation layer manually once as shown in the screenshot.