Set Up Your Game Environment
Updated May 23, 2026
Scope: this page is not about setting up the map you play in. For GameMode, player classes, navigation mesh, weather, time, and global biome actors, see Set Up Your Map to Play In.
Introduction
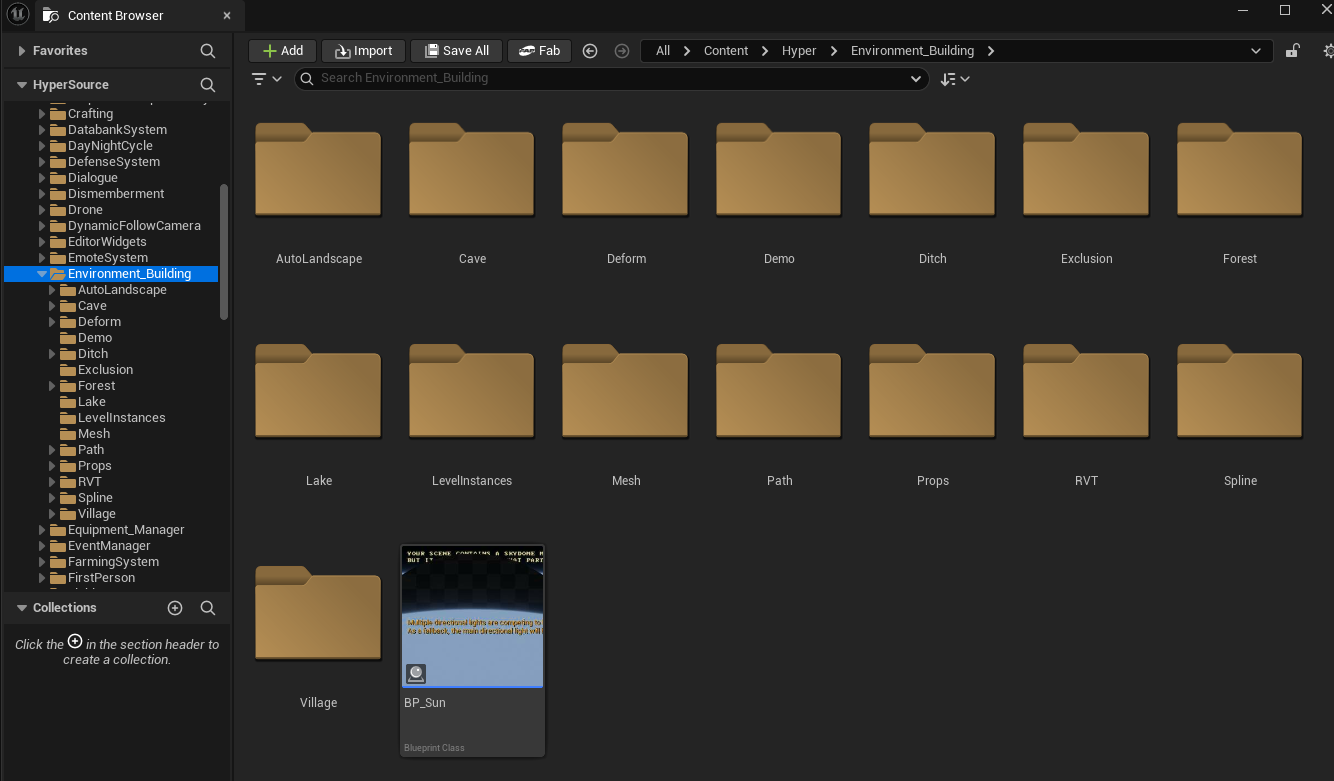
Depending on which Hyper tools you have, you can set up several environment systems. This page focuses on core environment setup. Most environment-building assets are located in /Game/Hyper/Environment_Building.
Add your Landscape and landscape material
-
Add your landscape as you would in a normal Unreal Engine landscape workflow.
- Many teams use heightmap generators. One option is Gaea.
-
When importing, select one of the predefined Hyper landscape material configs, or create your own child of an existing preset.
- You can optionally select that preset while creating the new landscape.
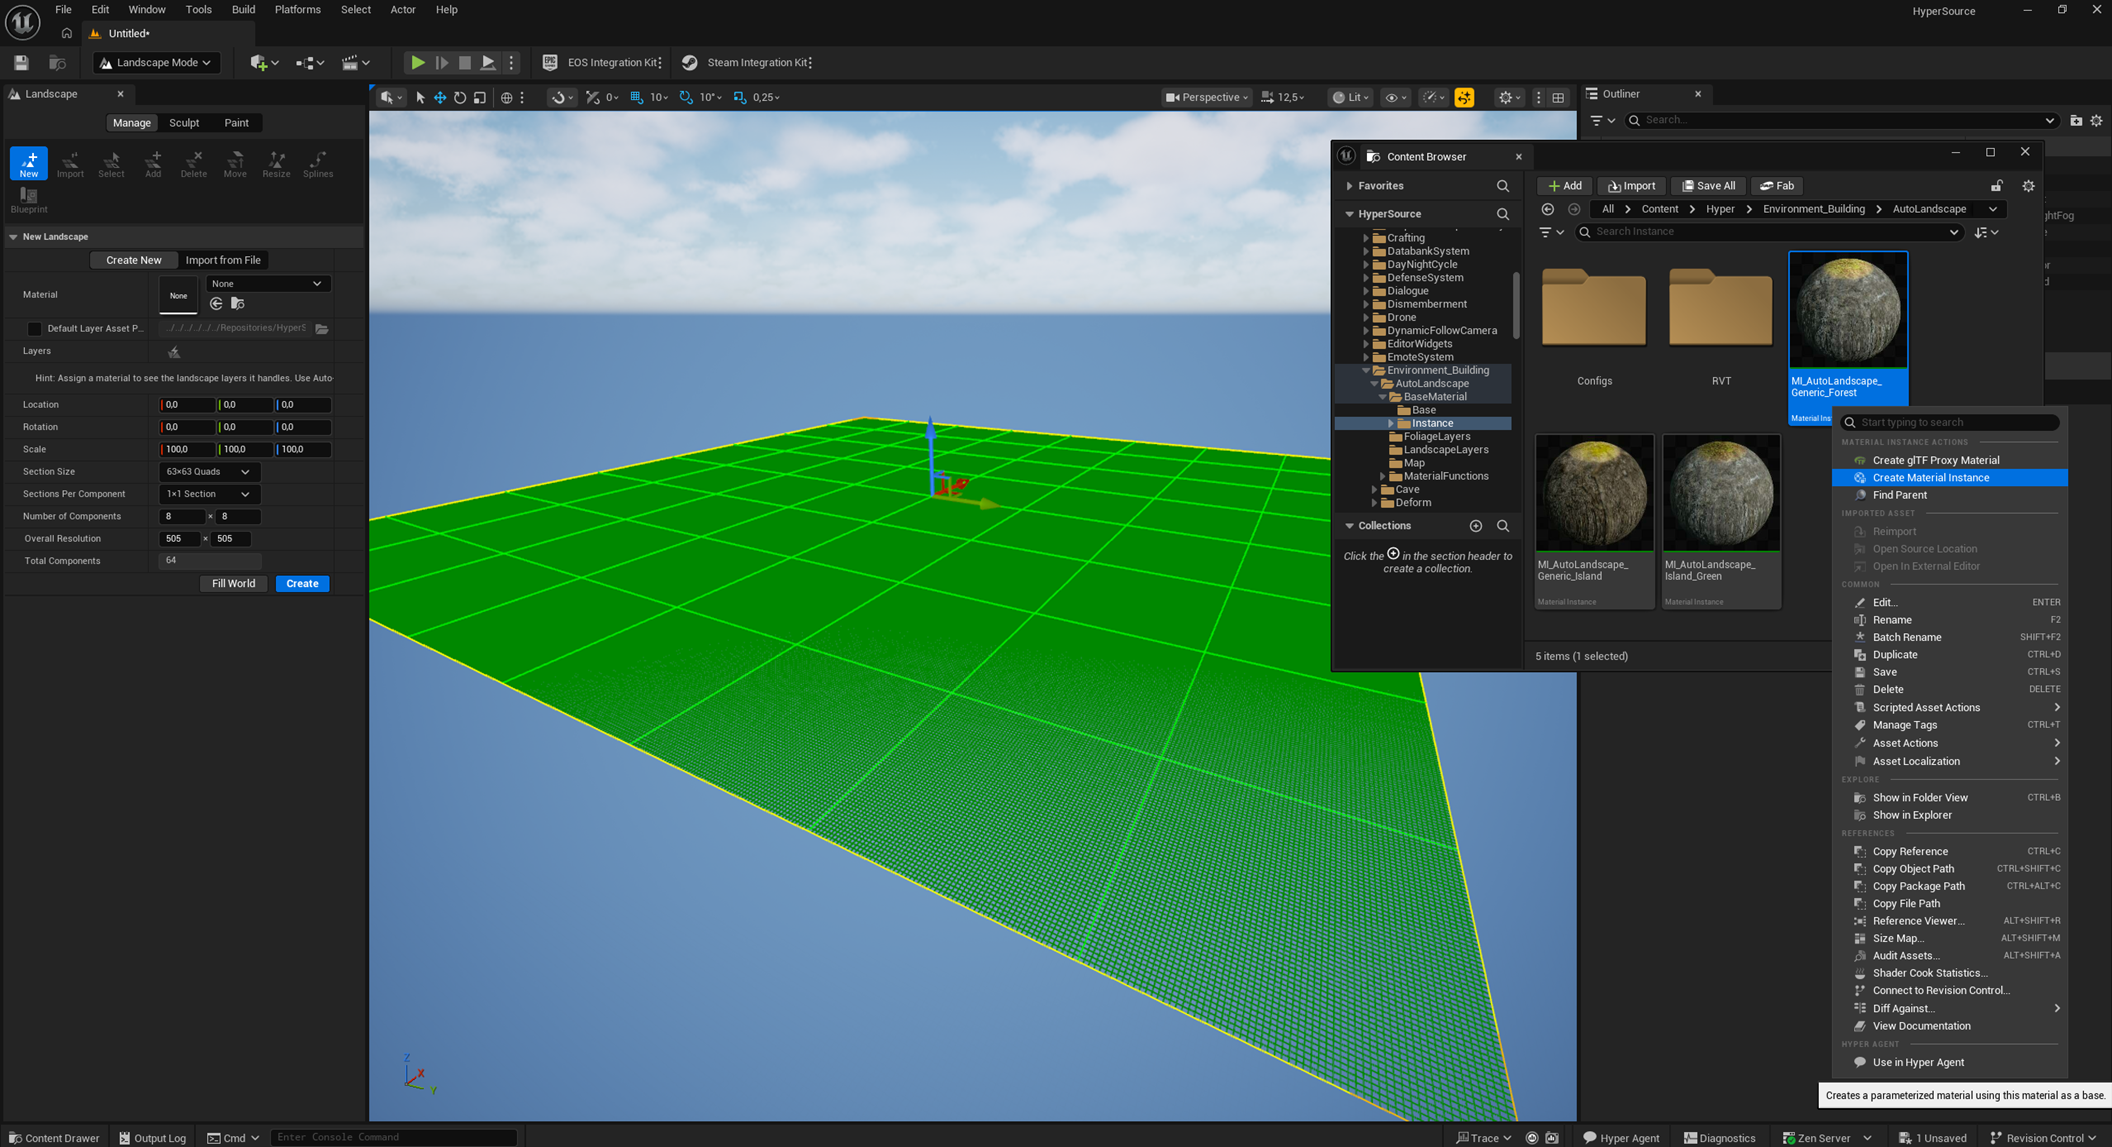
- The screenshot below uses the world partition map example.
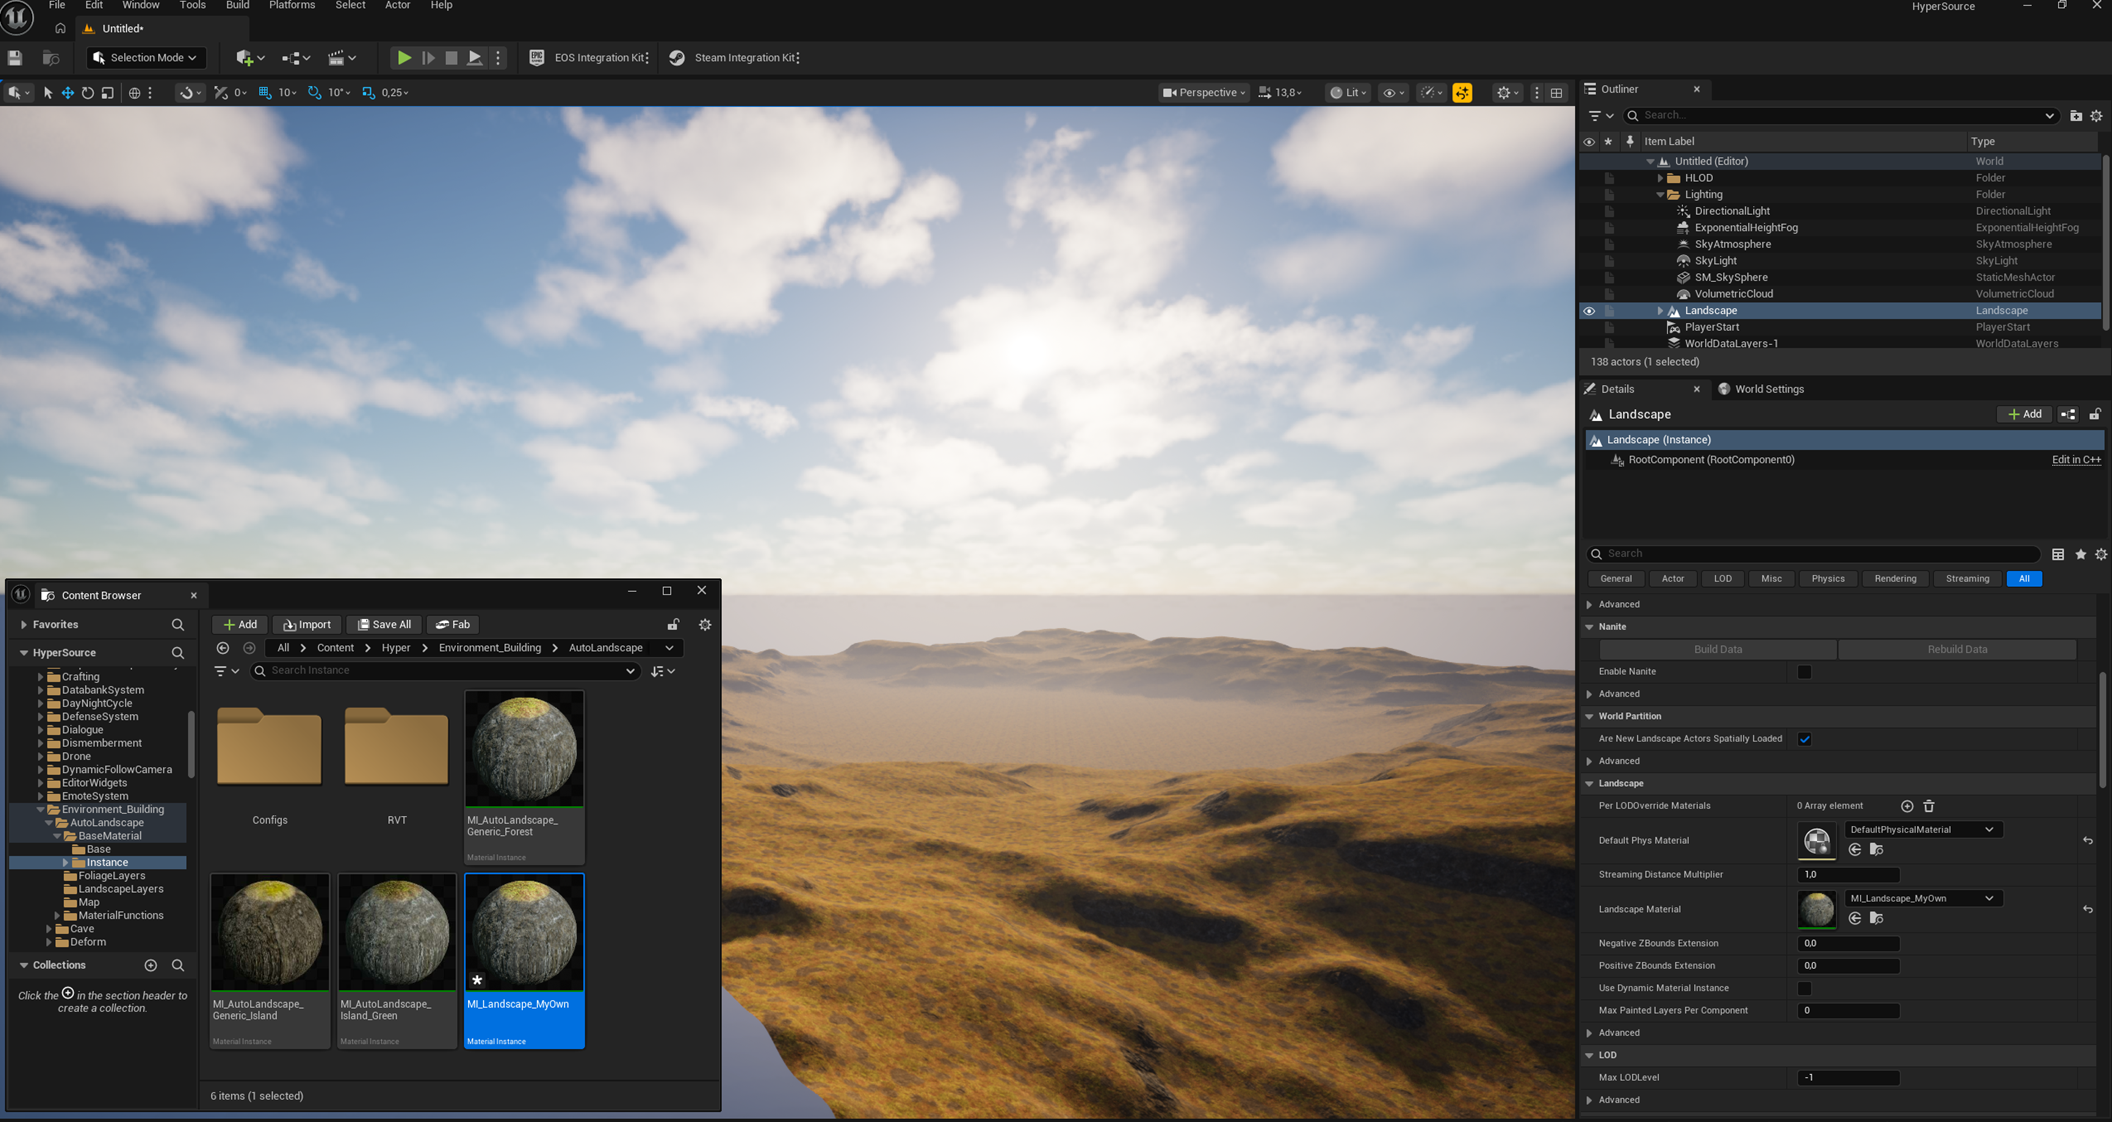
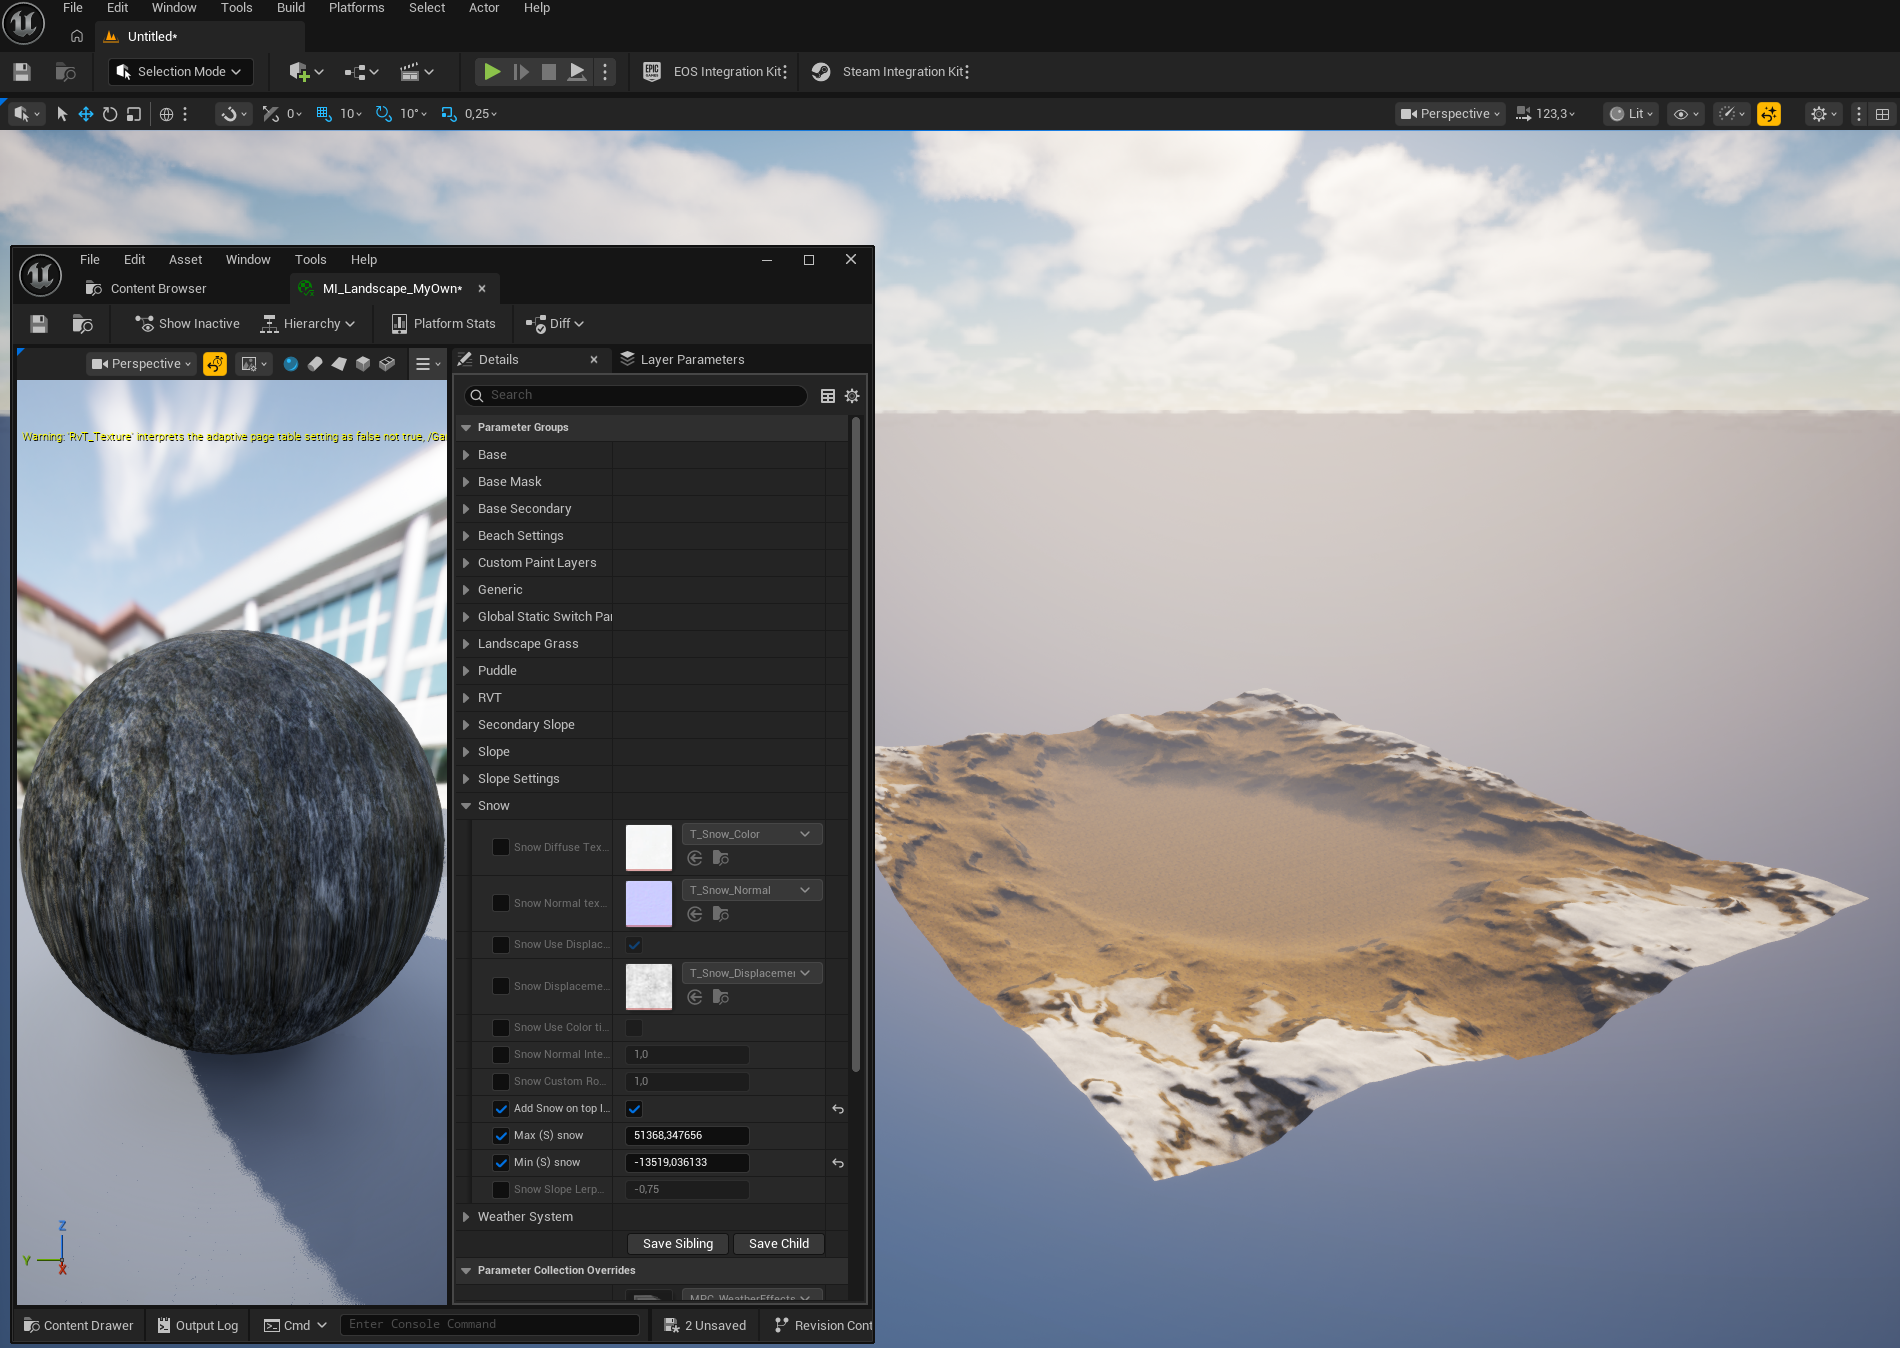
Adjust the landscape material to your liking
- Open your landscape material instance and change values, textures, and related settings to match your project.
- You can enable settings such as landscape grass or snow.
- If you have the weather system, it is usually better to let the weather system add snow, because that setup is already handled there.
- Change textures as needed.
- Most landscape textures do not have virtual texture enabled by default because of the RVT setup.
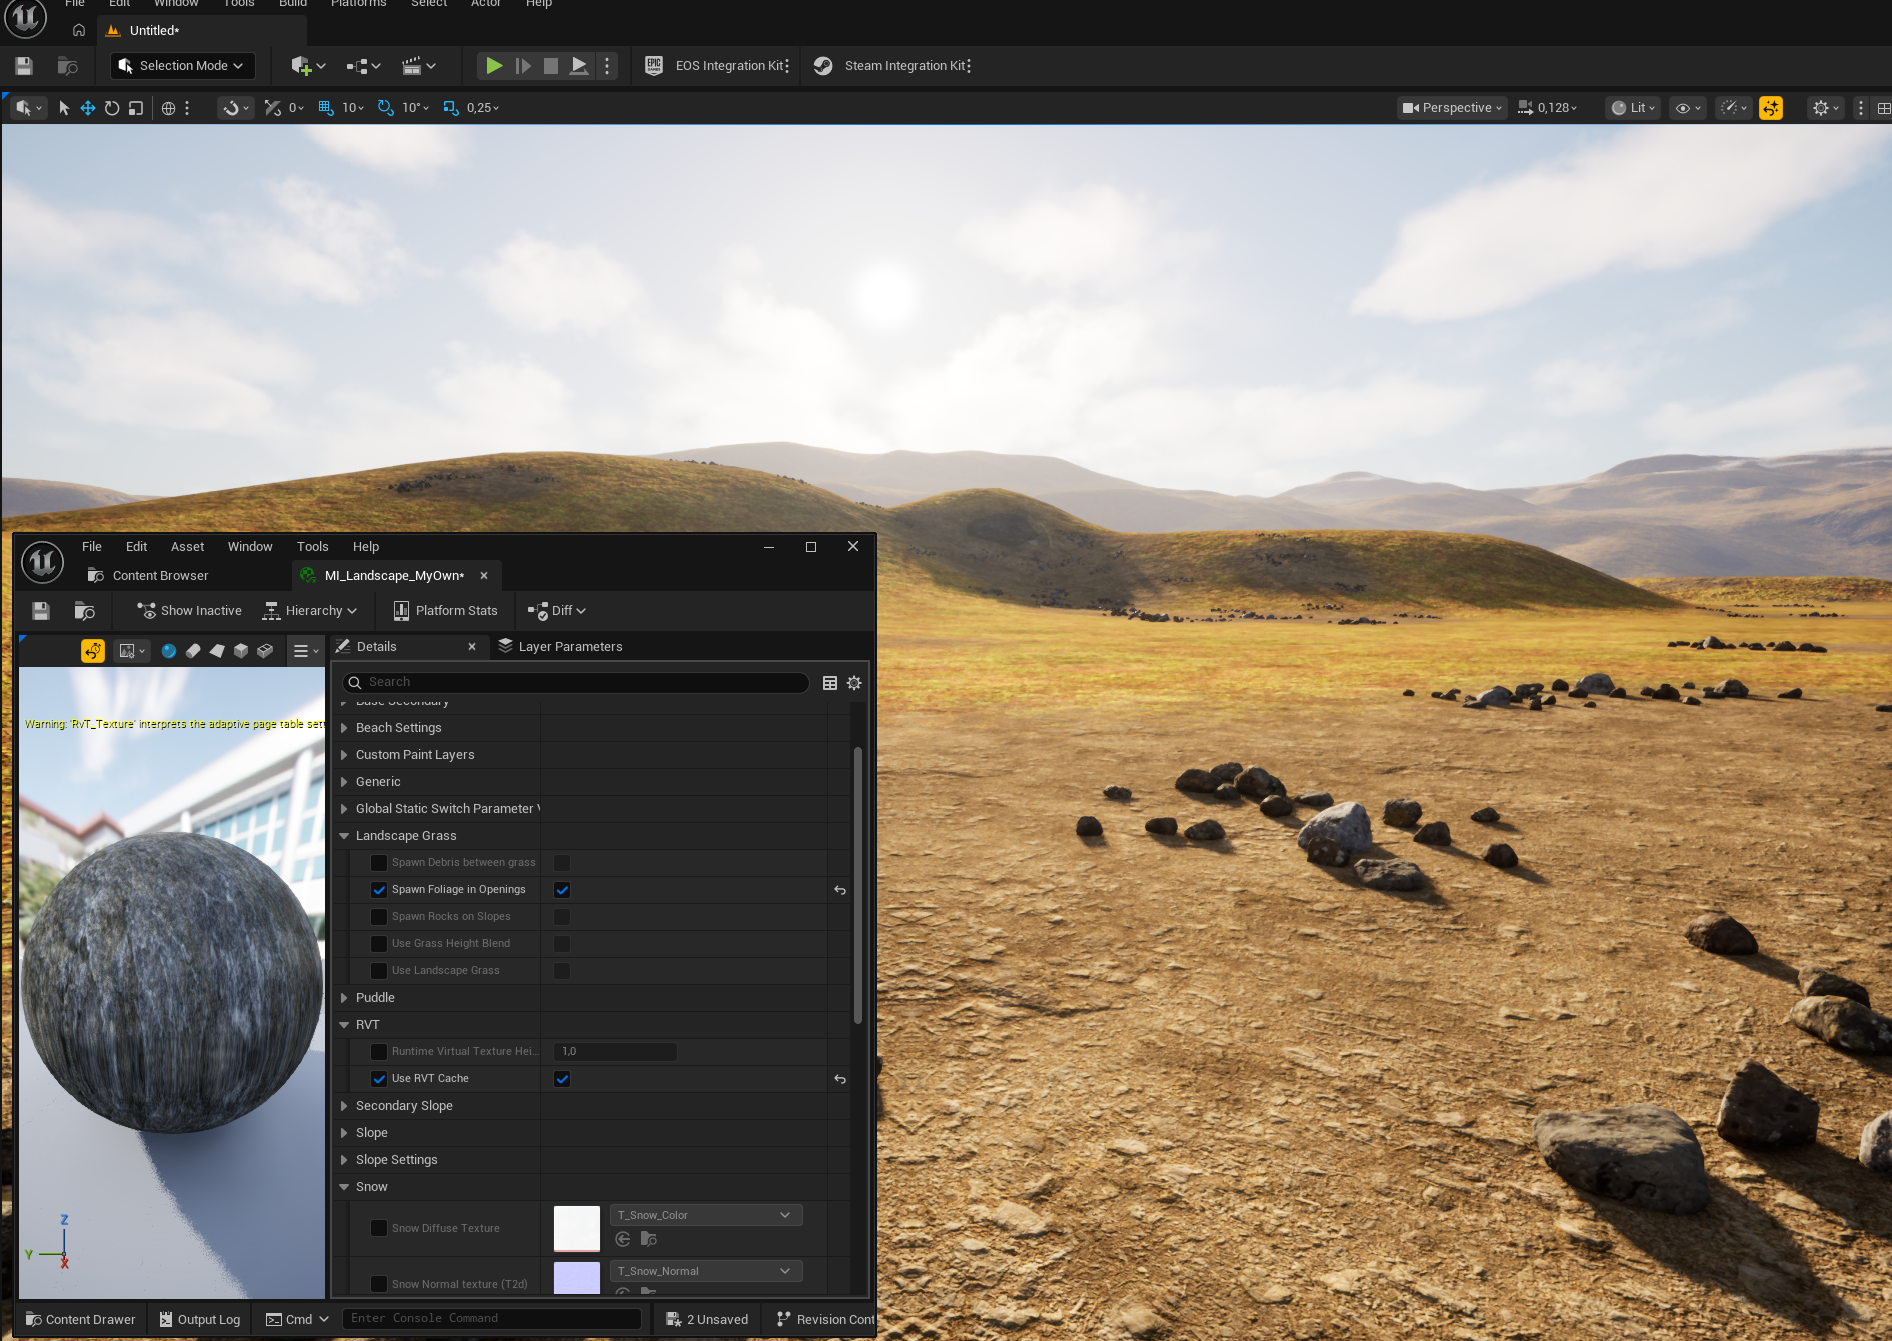
Add RVT (Optionally)
Runtime Virtual Texture setup is optional. RVT is powerful, but it is also more complex than the basic environment setup. If you have no RVT experience, skip this section at first and return after the rest of the project is working.
Hyper projects usually have virtual textures enabled. Use the Hyper project configs as a base if you want to use this setup.
- In your landscape material instance config, enable Use RVT Cache.
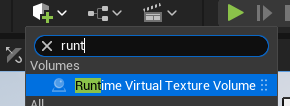
- Add two runtime virtual texture volumes:
- One for Base or color.
- One for Height.
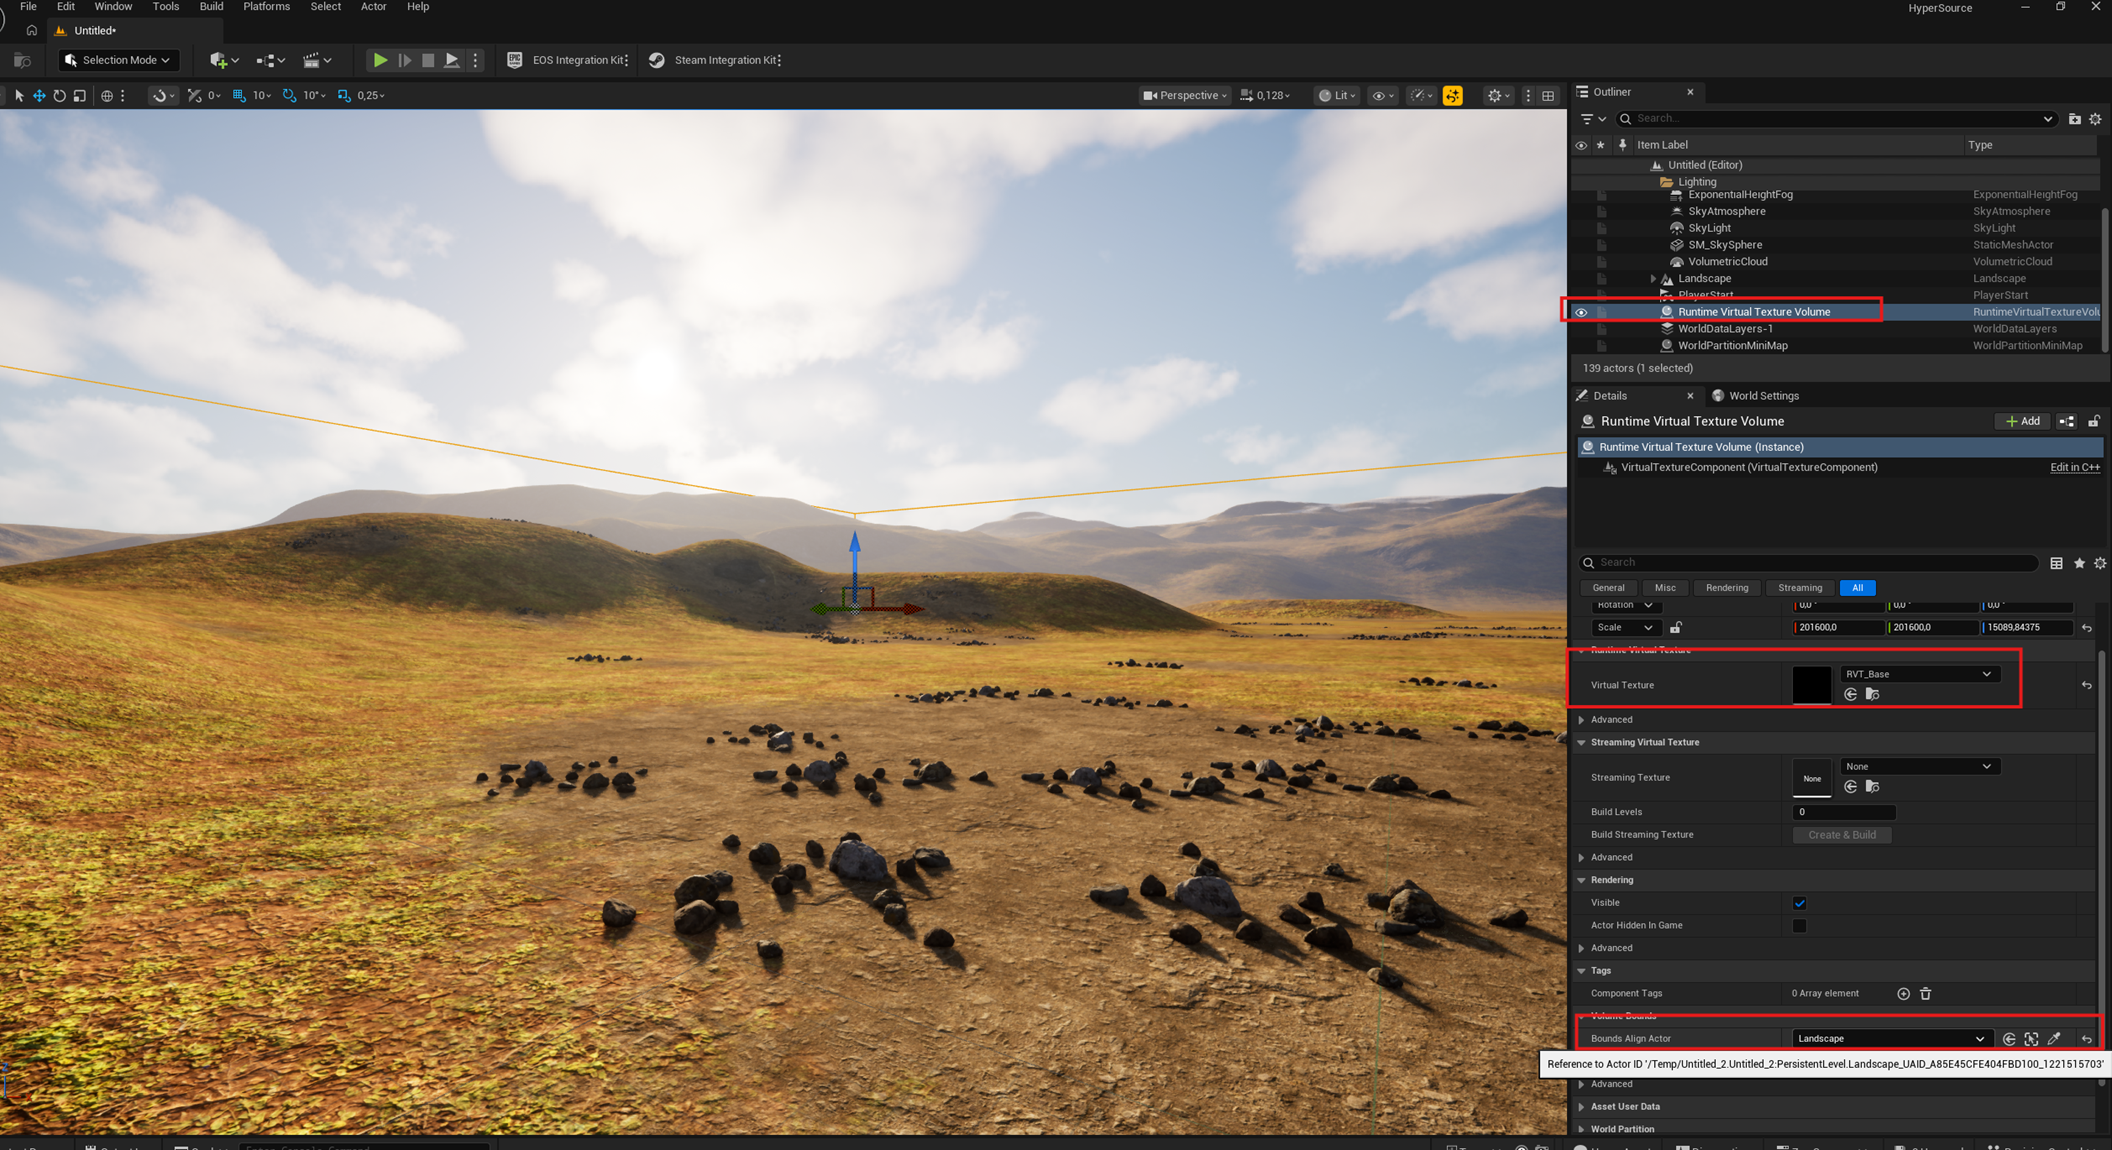
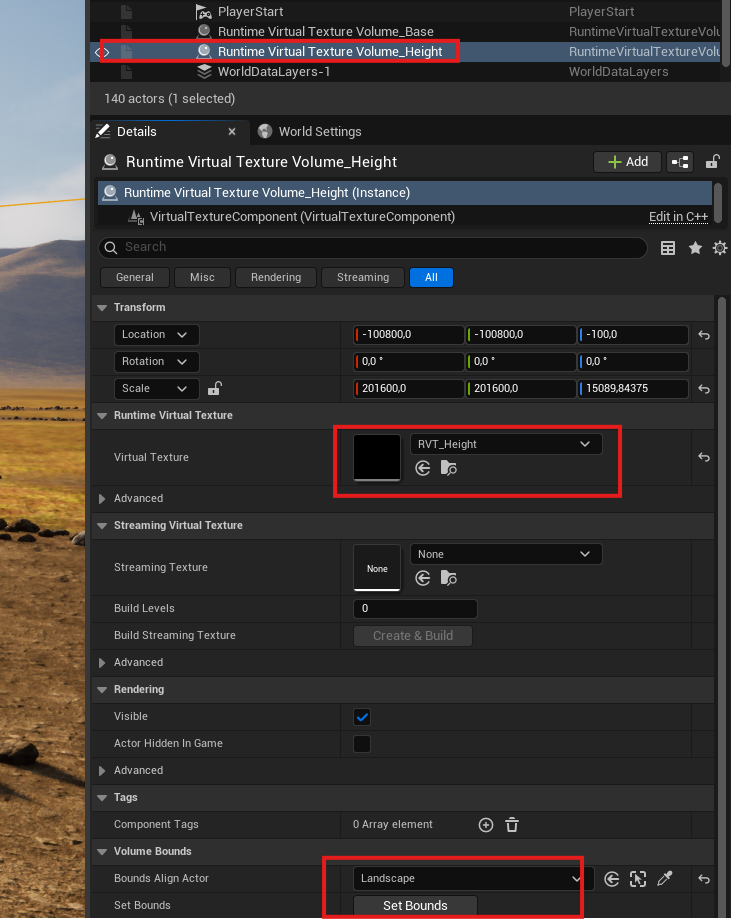
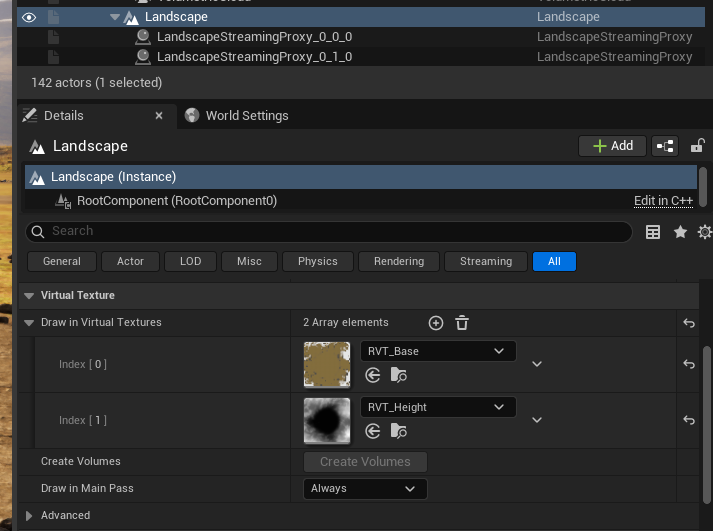
- On the landscape itself, select the configured RVTs.
-
Optional: if you have /Game/Hyper/Environment_Building/RVT/BP_GlobalOverride_RVT, drop it into the world.
- Actors and assets that already have an RVT option can auto-enable through this global override.

Add RVT height blending to an example mesh
- After RVT is set up on the landscape, test blending with a mesh.
- Choose a rock mesh. The example uses /Game/Hyper/ResourcePack/Environments/Rocks/BasicRock/SM_Rock.
-
Duplicate the required assets into your own folder.
- In this example, the material, textures, and mesh are duplicated.
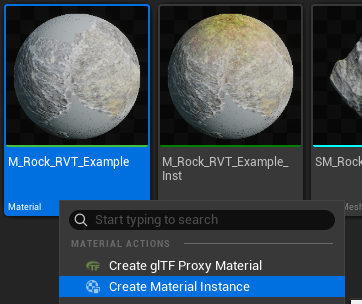
- Create a material instance from the copied or created material.
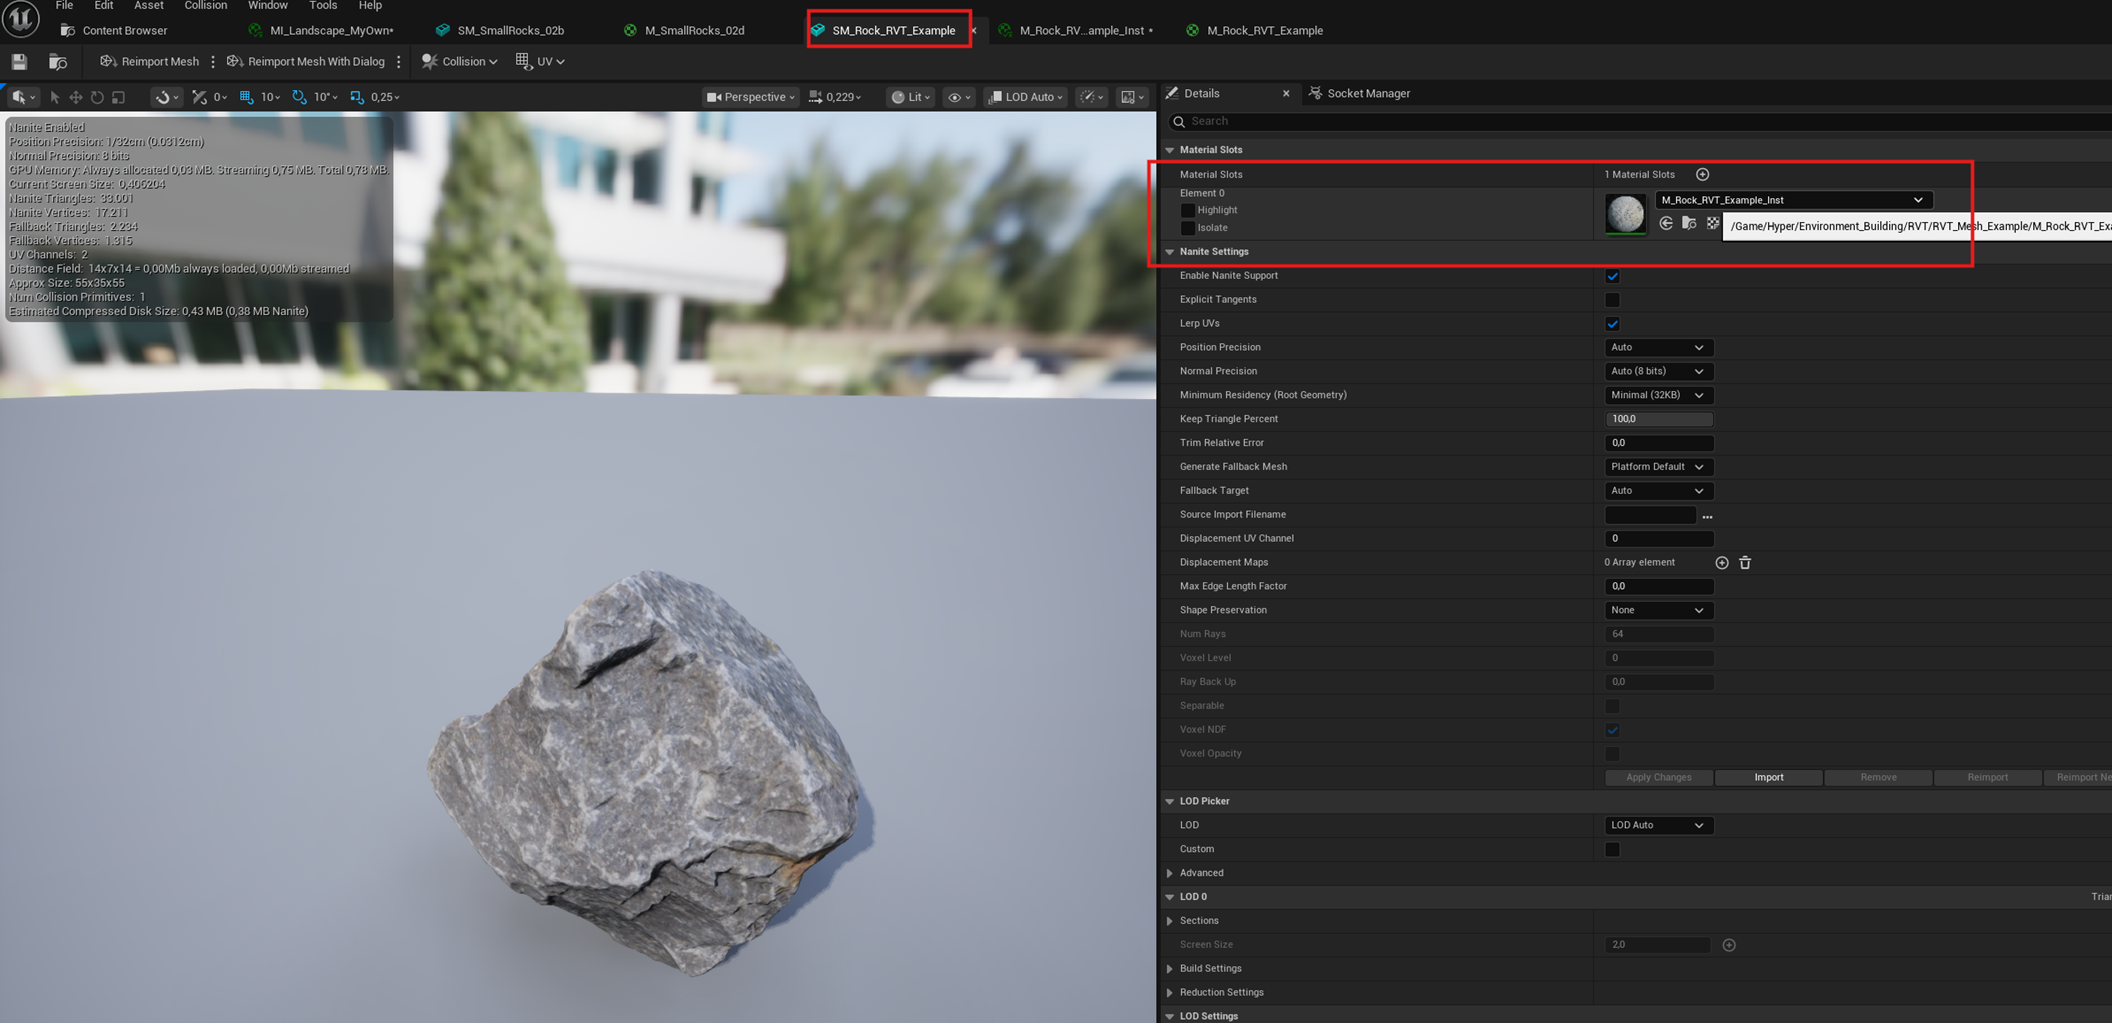
- Assign the material instance to the new mesh.
- Make sure the textures used in the material are virtual textures. This is required and only available if the project supports virtual textures.
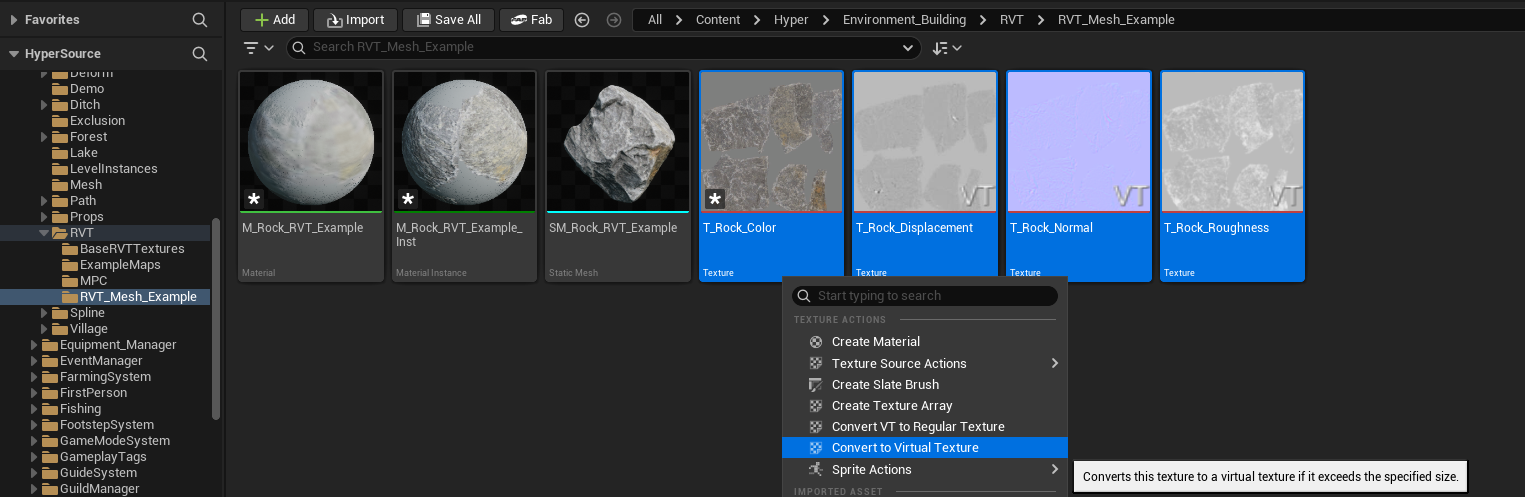
-
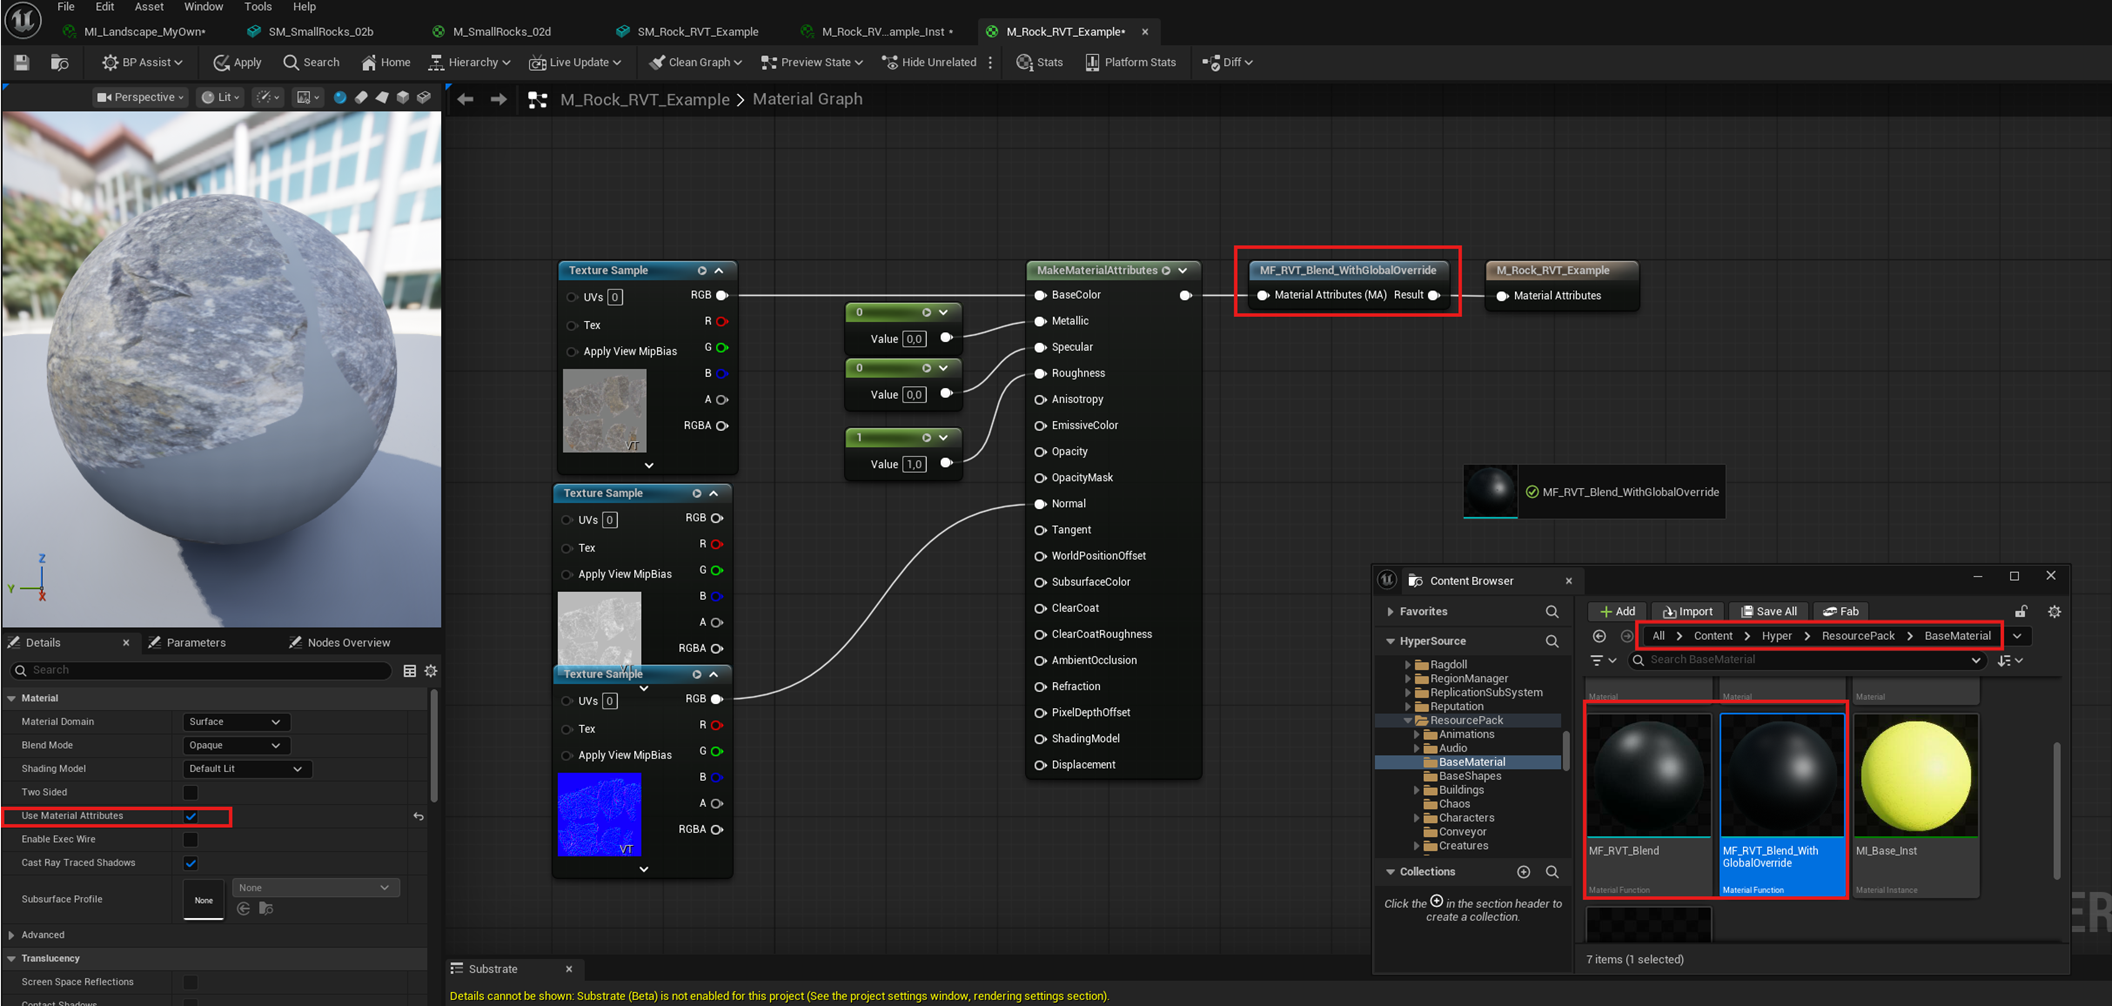
Set up the material.
- Make sure texture samples are virtual. If they are not, clear the texture and assign it again so Unreal can set it correctly.
- Add MF_RVT_Blend, or the global override version if you use that setup.
- The function must use material attributes.
- In the assigned material instance, set the RVT settings.
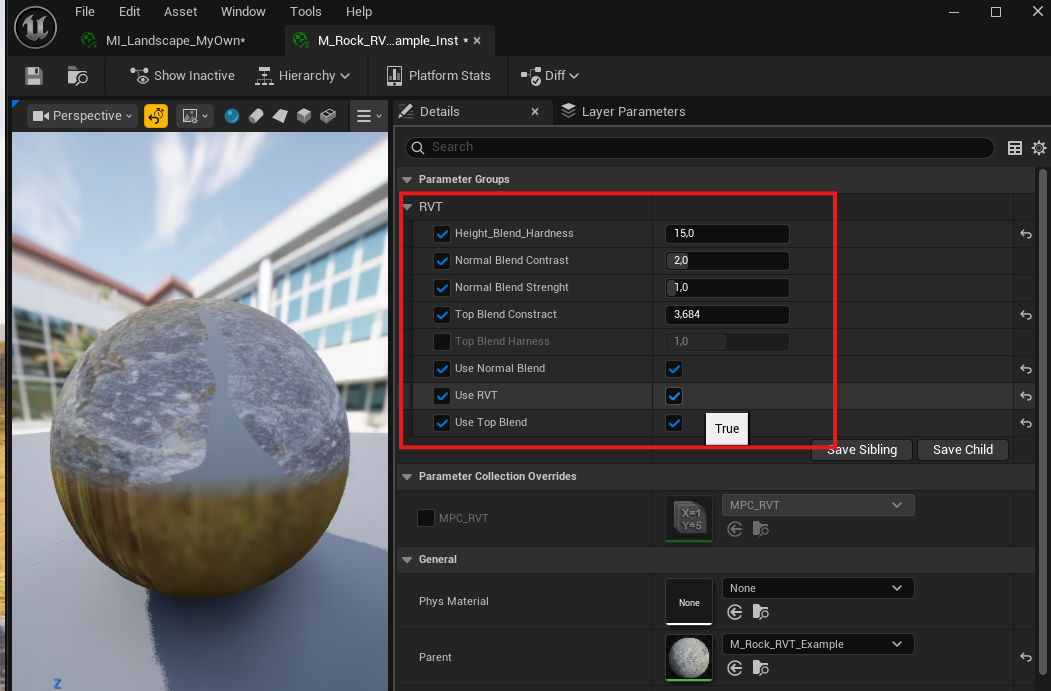
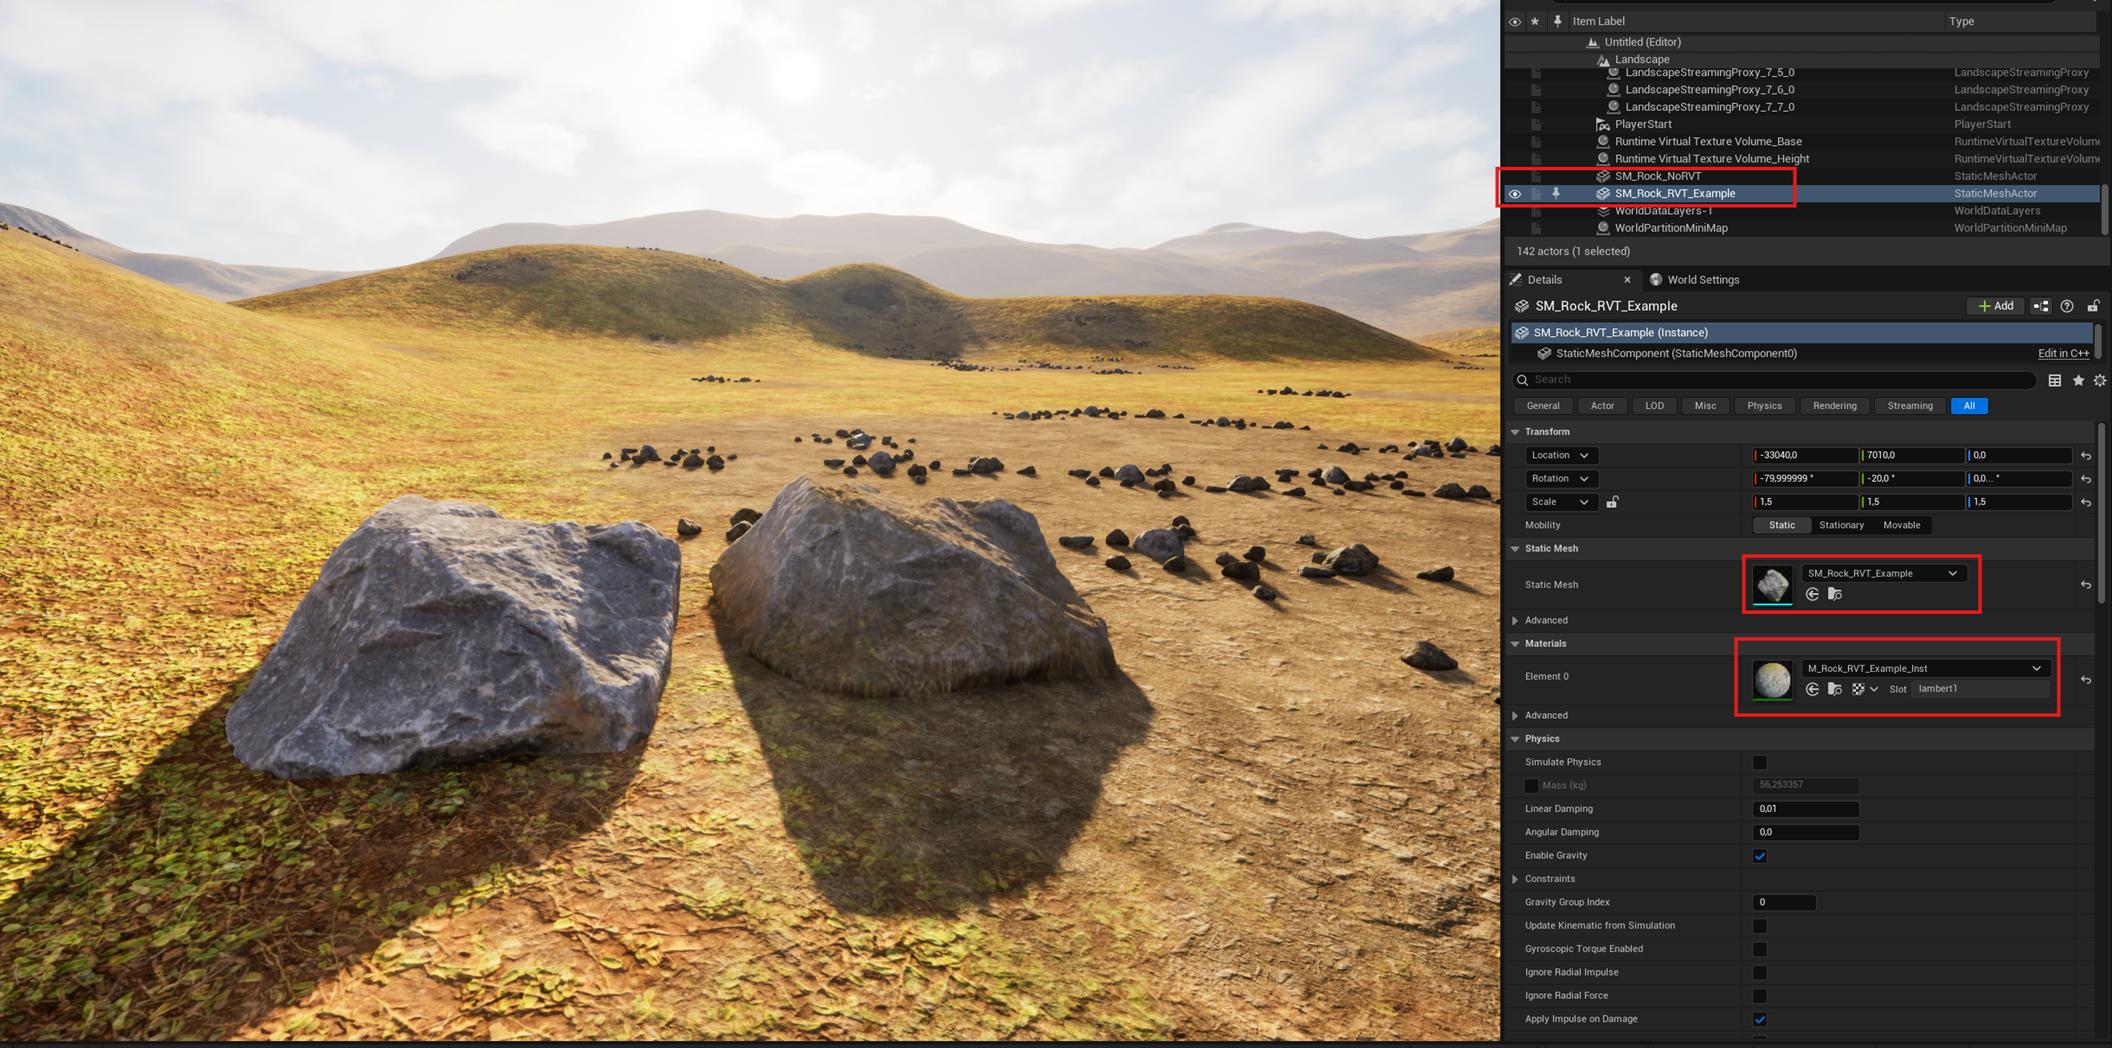
- Drag the RVT-based rock with the assigned material instance into the world.
- Compare how it looks with and without RVT blend.
Add a biome
- If you have the Biome Generator, included in the Environment Building Toolkit, navigate to /Game/Hyper/Environment_Building/Forest/Blueprints/BP_Forest_Box and drag it into the world.
- If you use a world partition map, select Is Partitioned on the PCG component inside BP_Forest_Box.
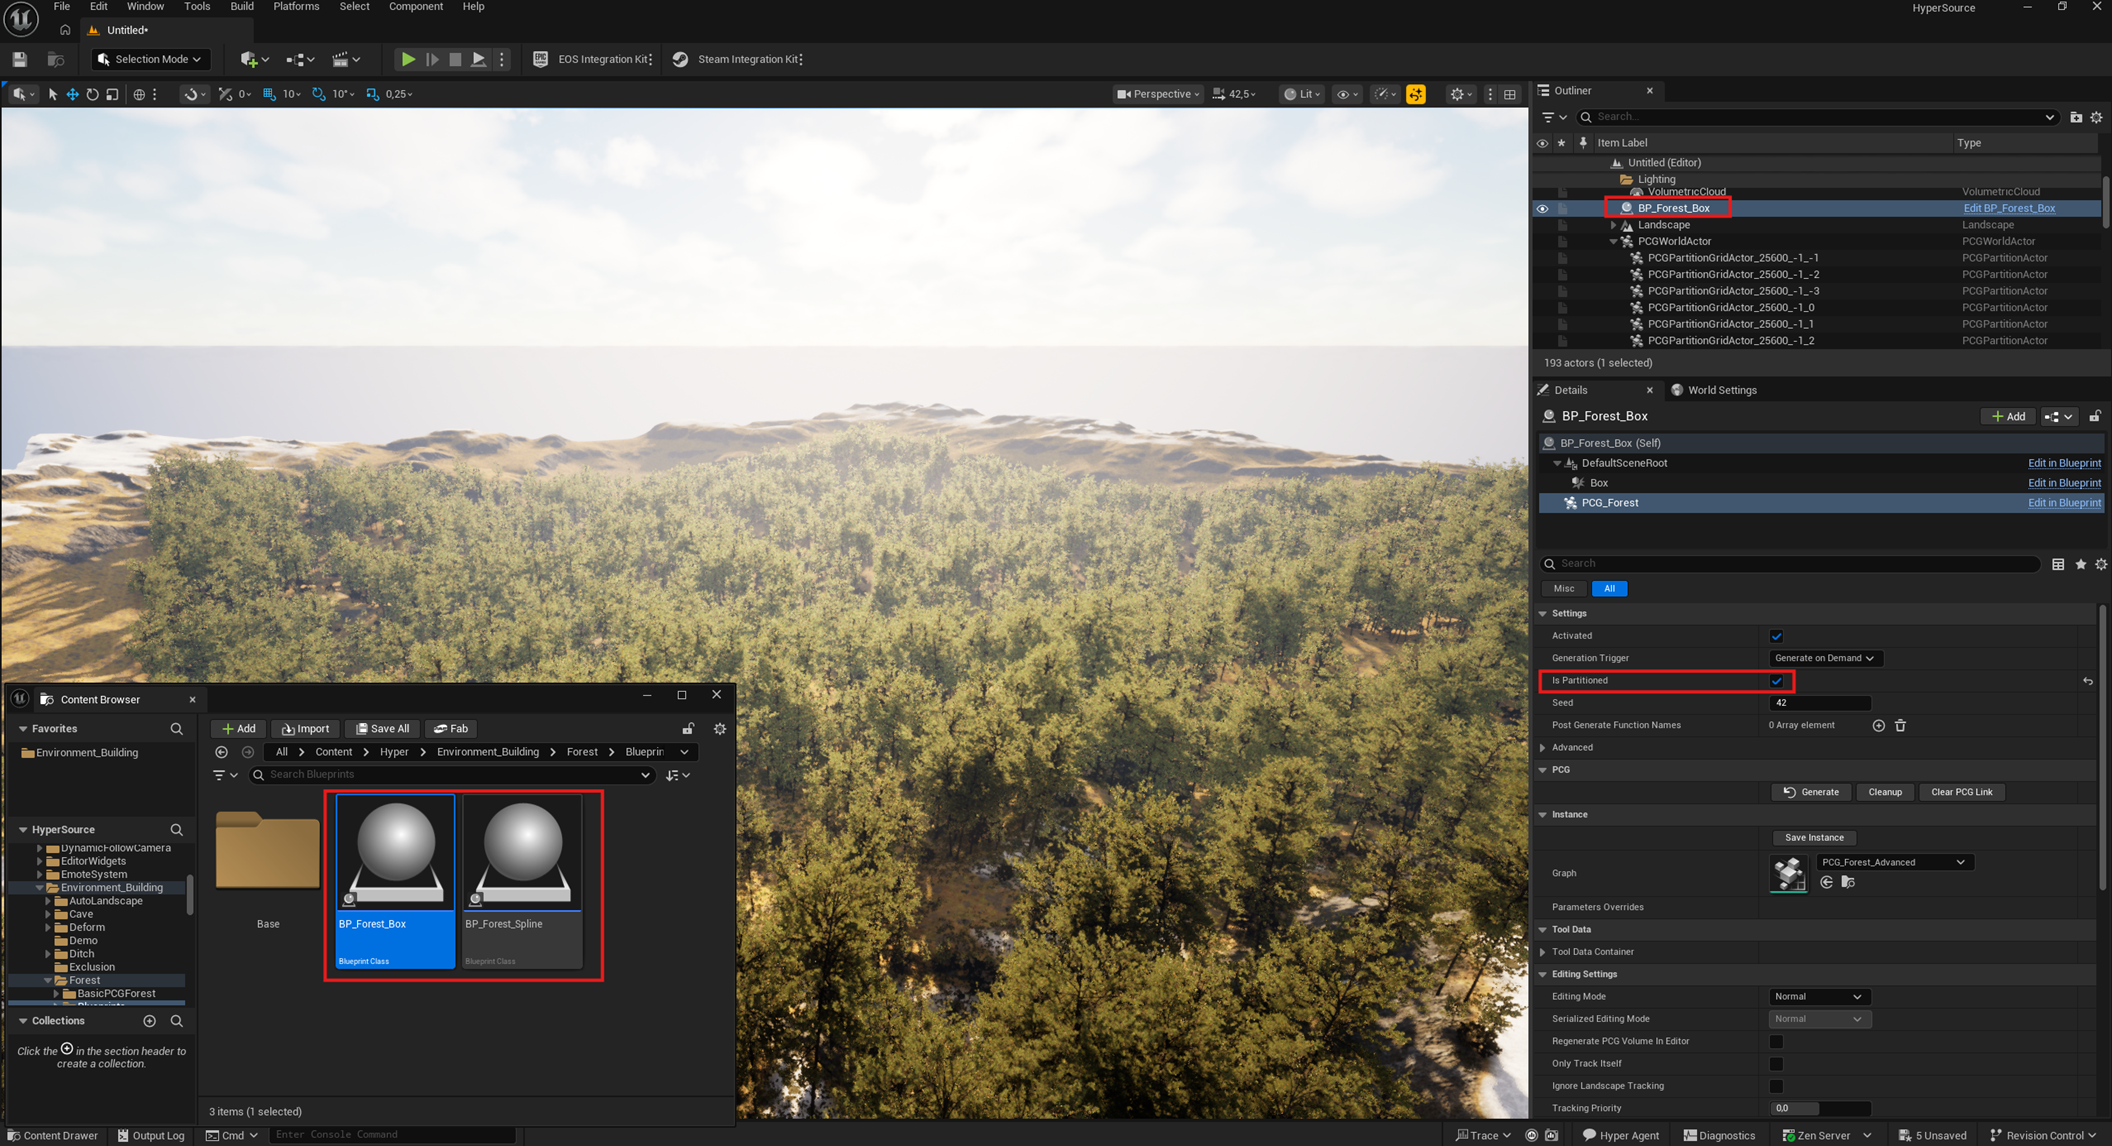
- Select the setting you want. In the example, Sparse is used.
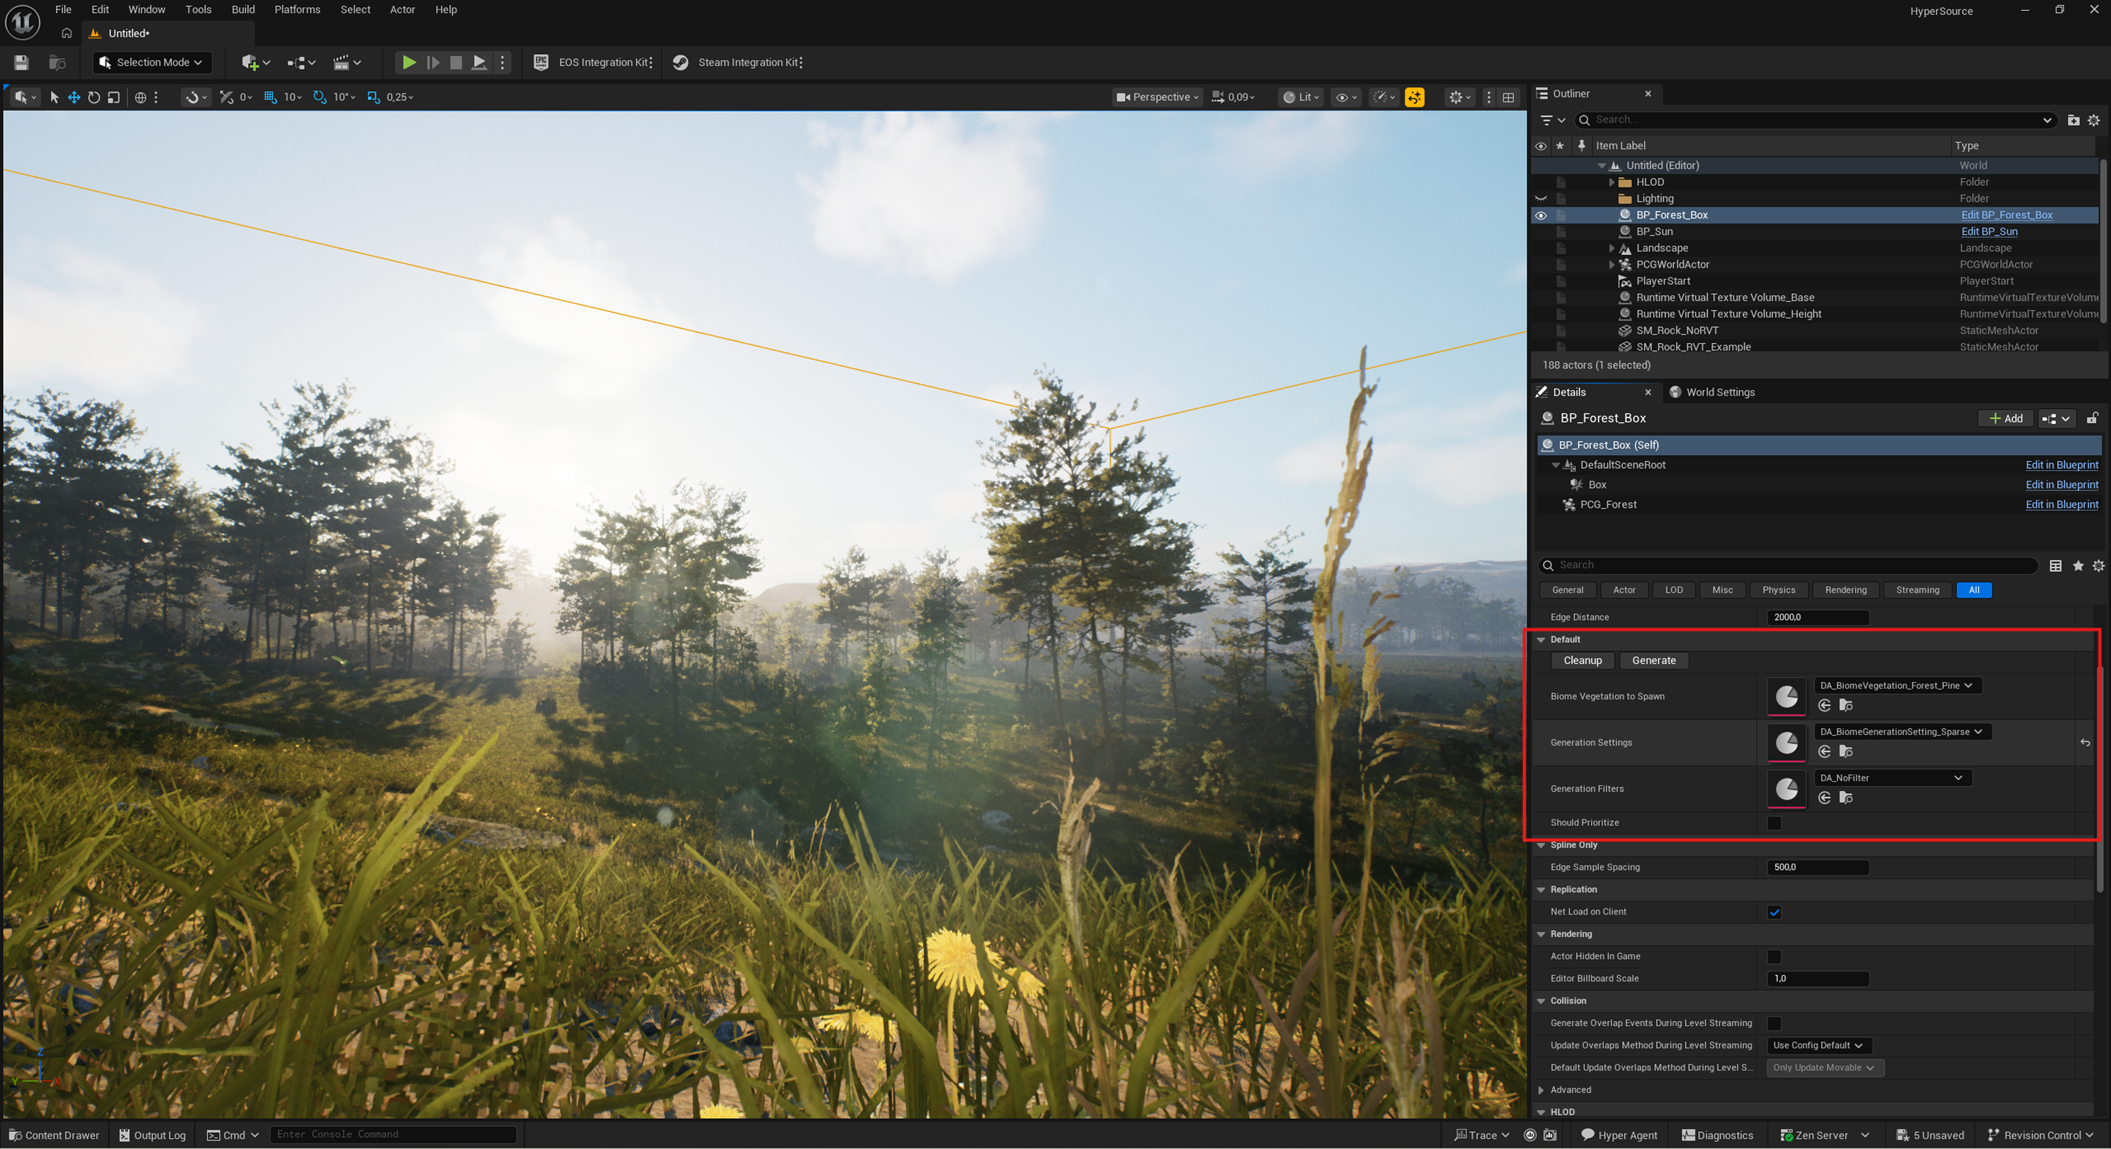
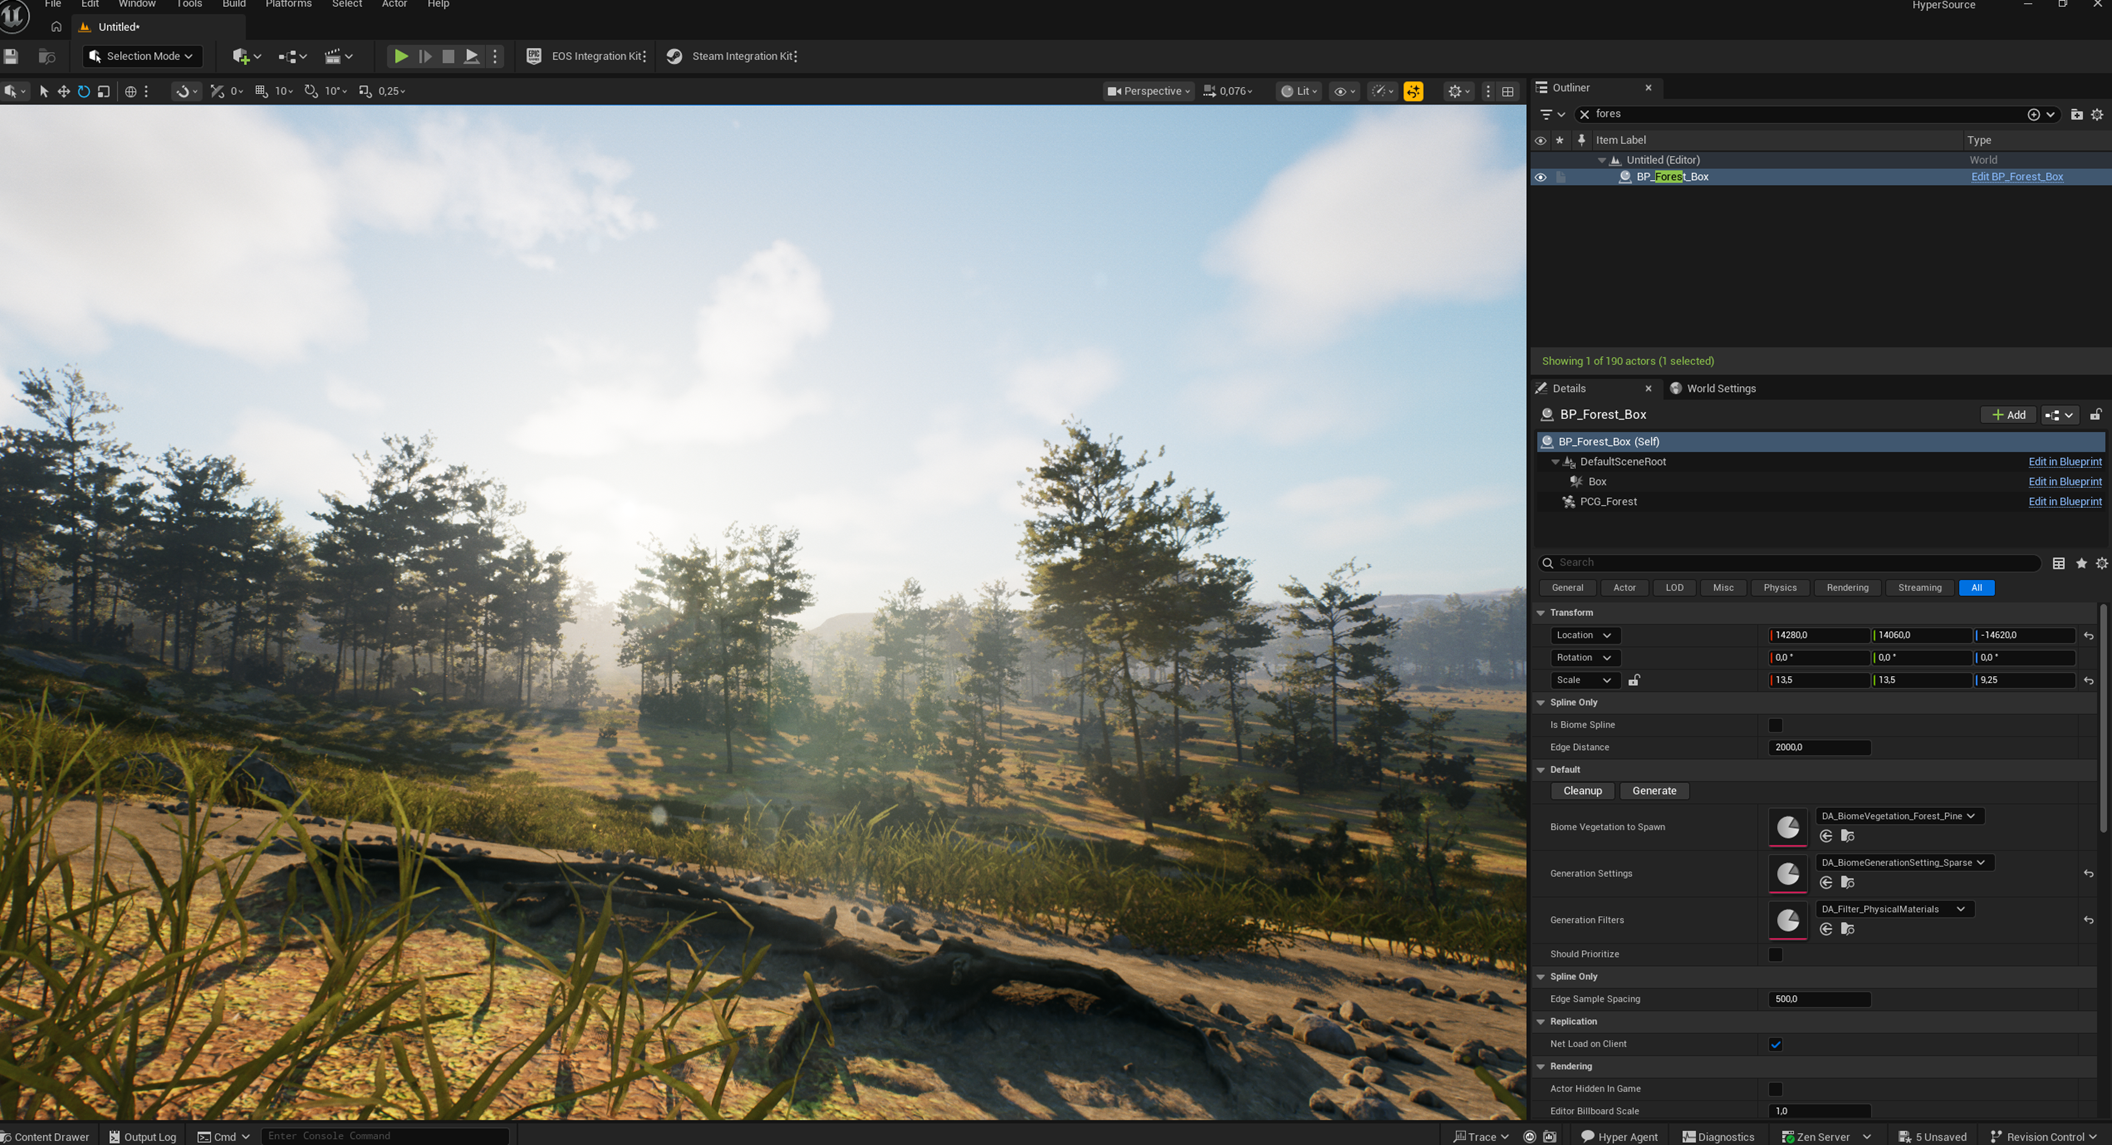
- The generation filter can be used for physical material filters and similar advanced rules.
- In the Hyper setup, this should already work well. For example, it can avoid generating grass on dirt patches and place trees more appropriately.
Paint Custom layers
- Some projects need custom-painted landscape layers.
- In your config, enable custom paint layers.
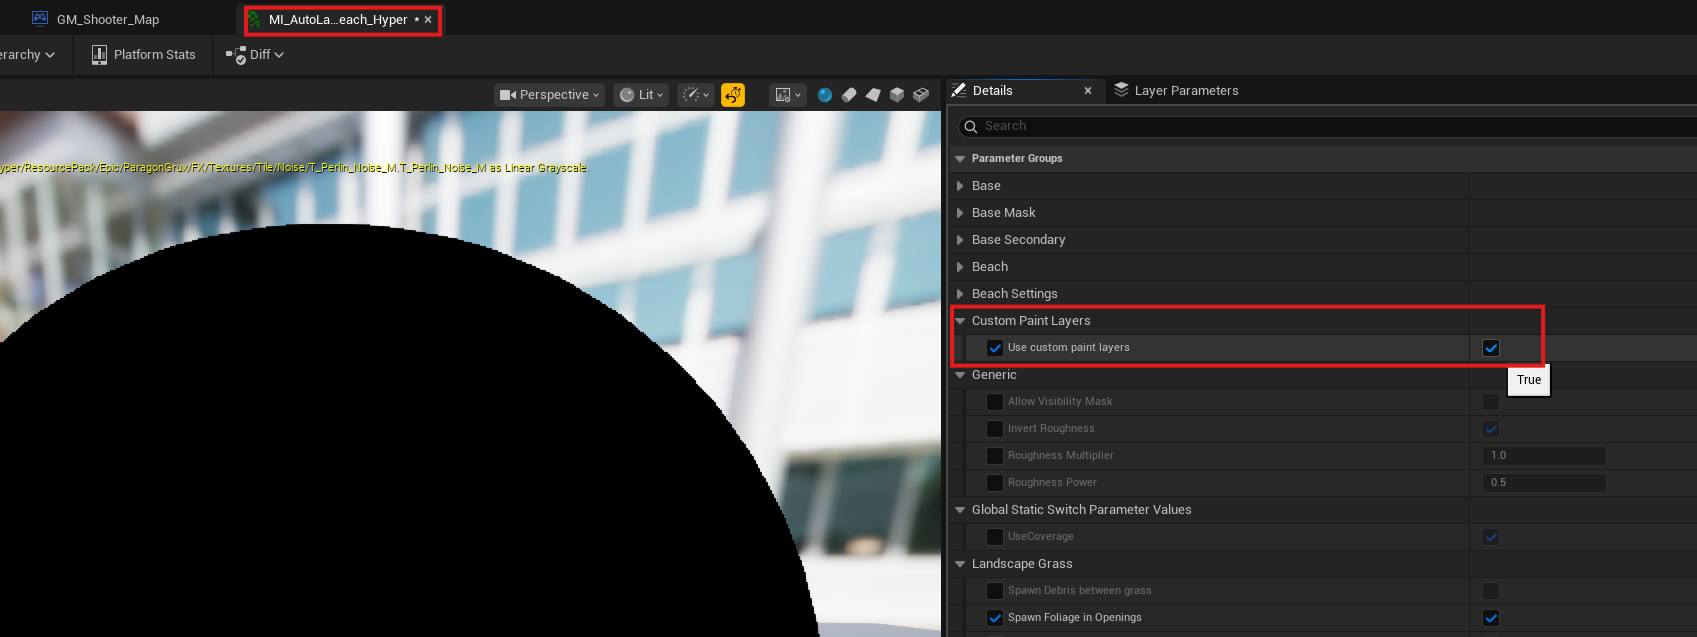
- In Landscape Paint mode, create layers from the assigned materials.
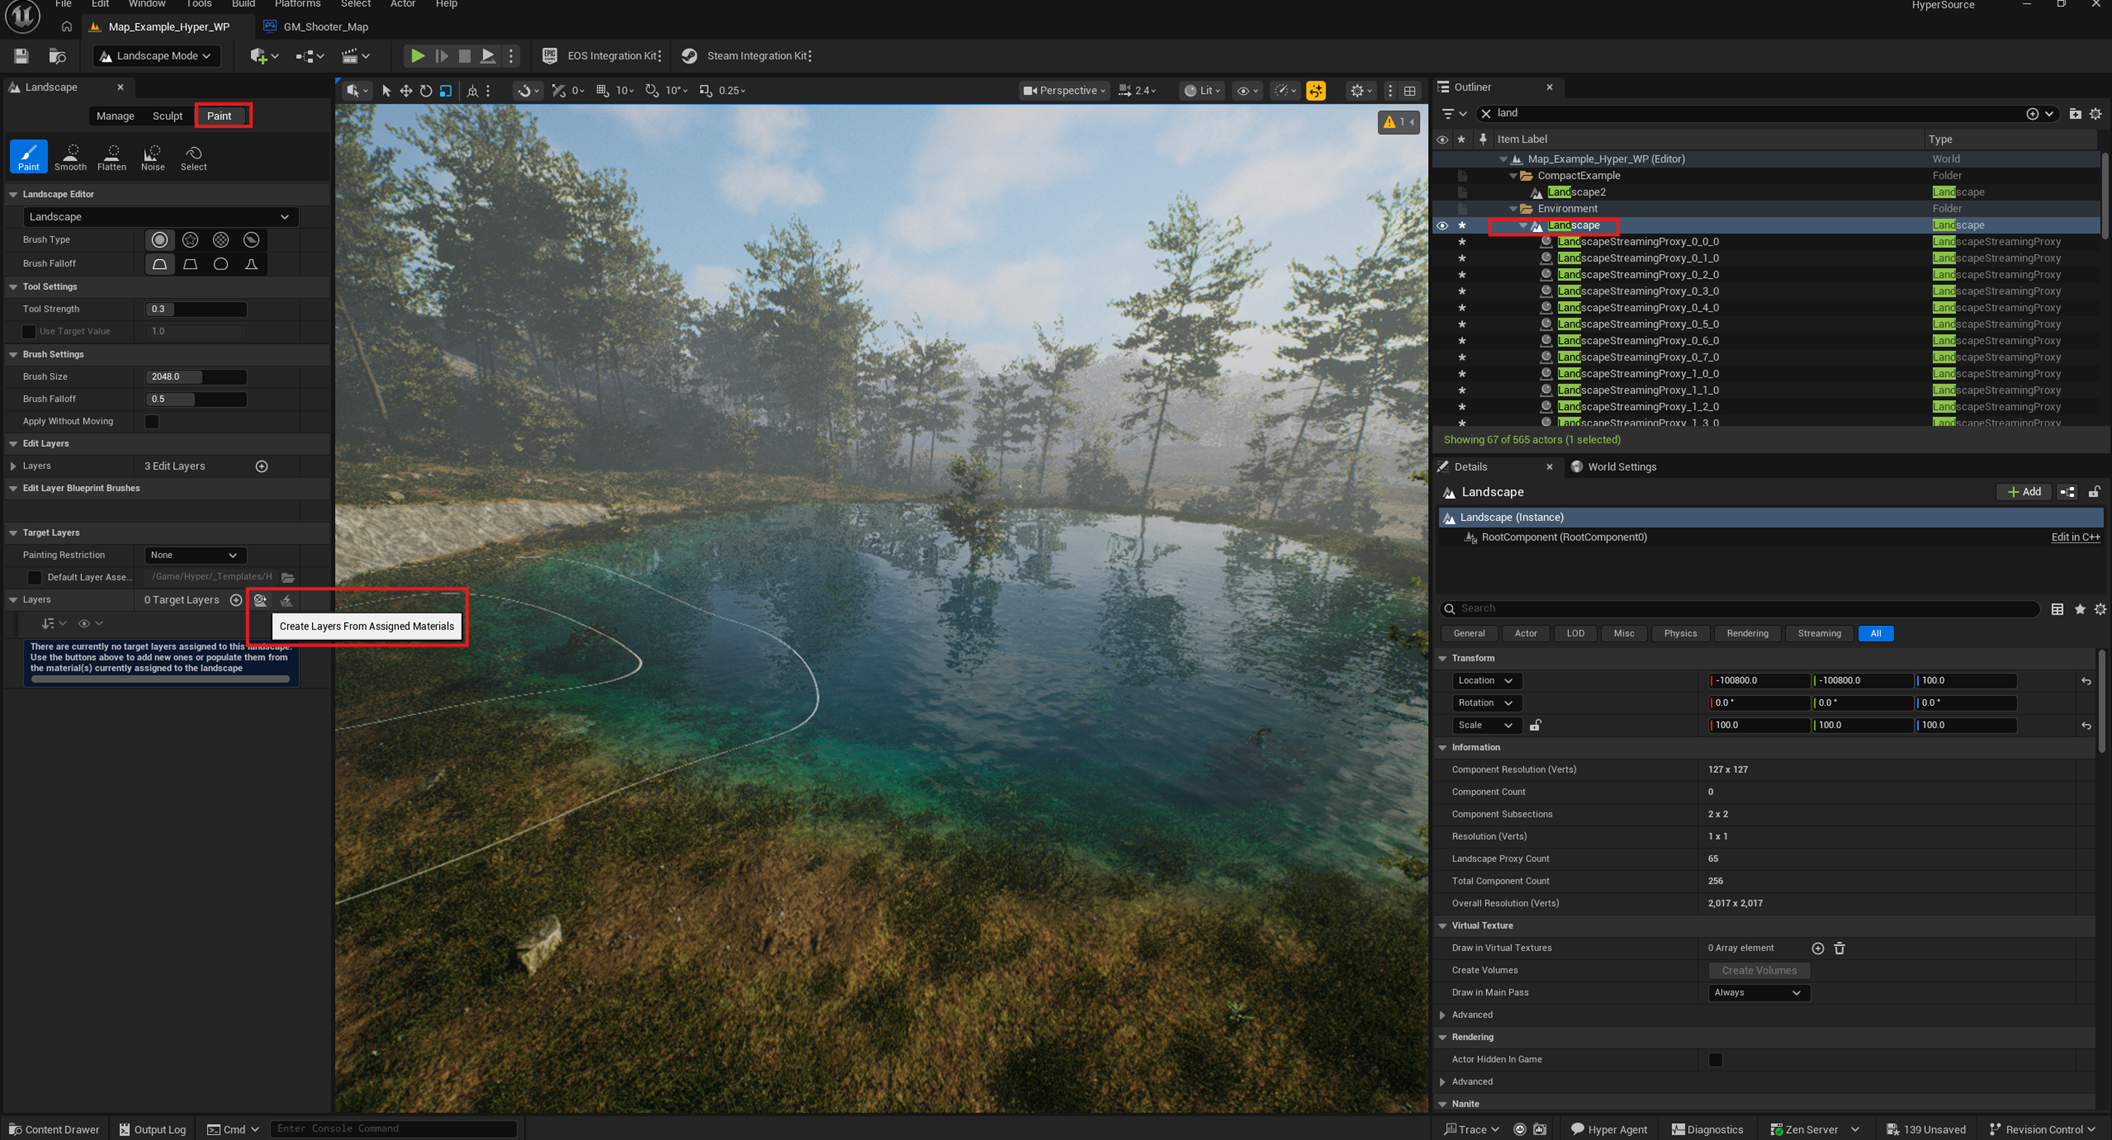
- Select the layer and start painting custom areas.
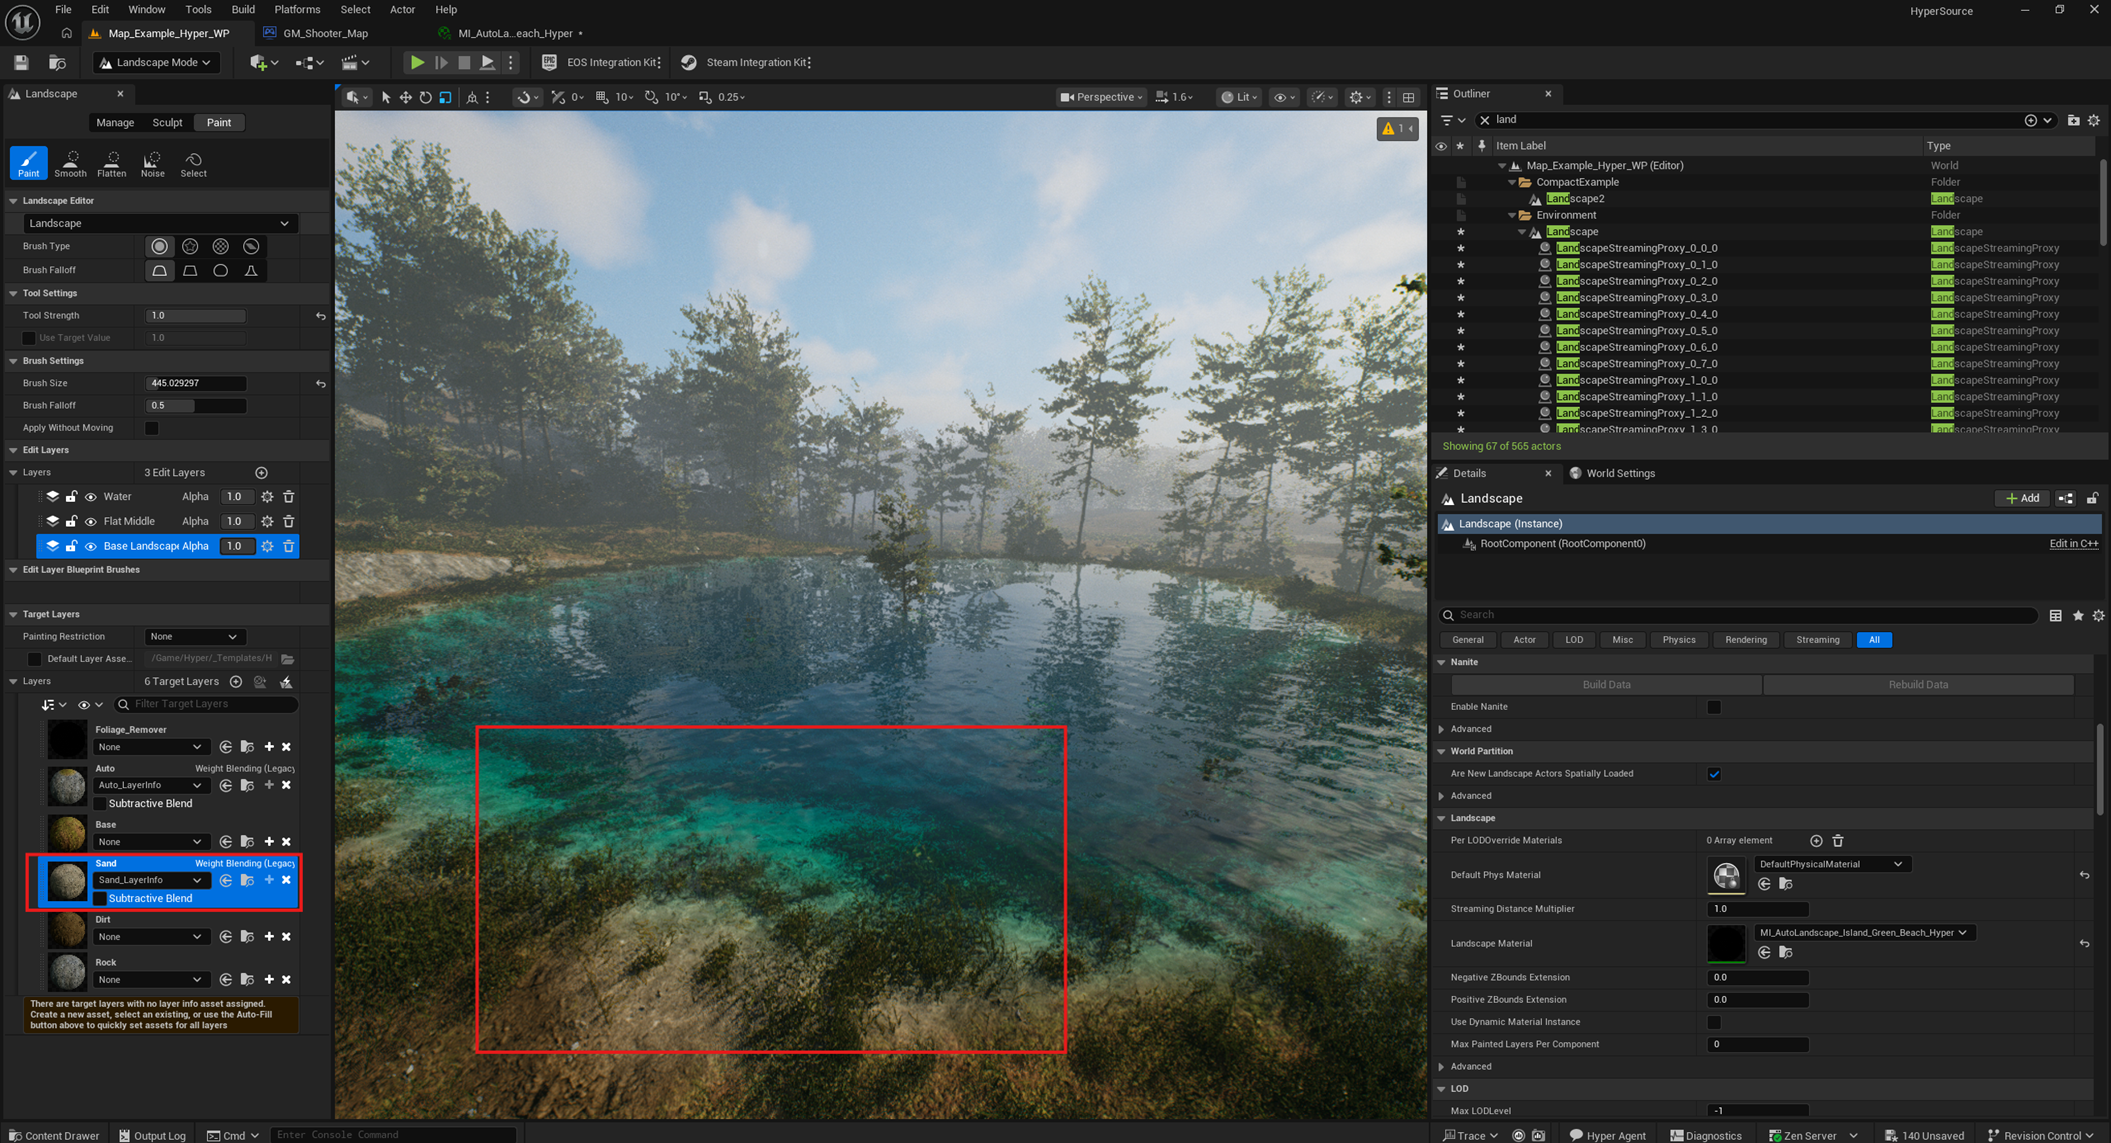
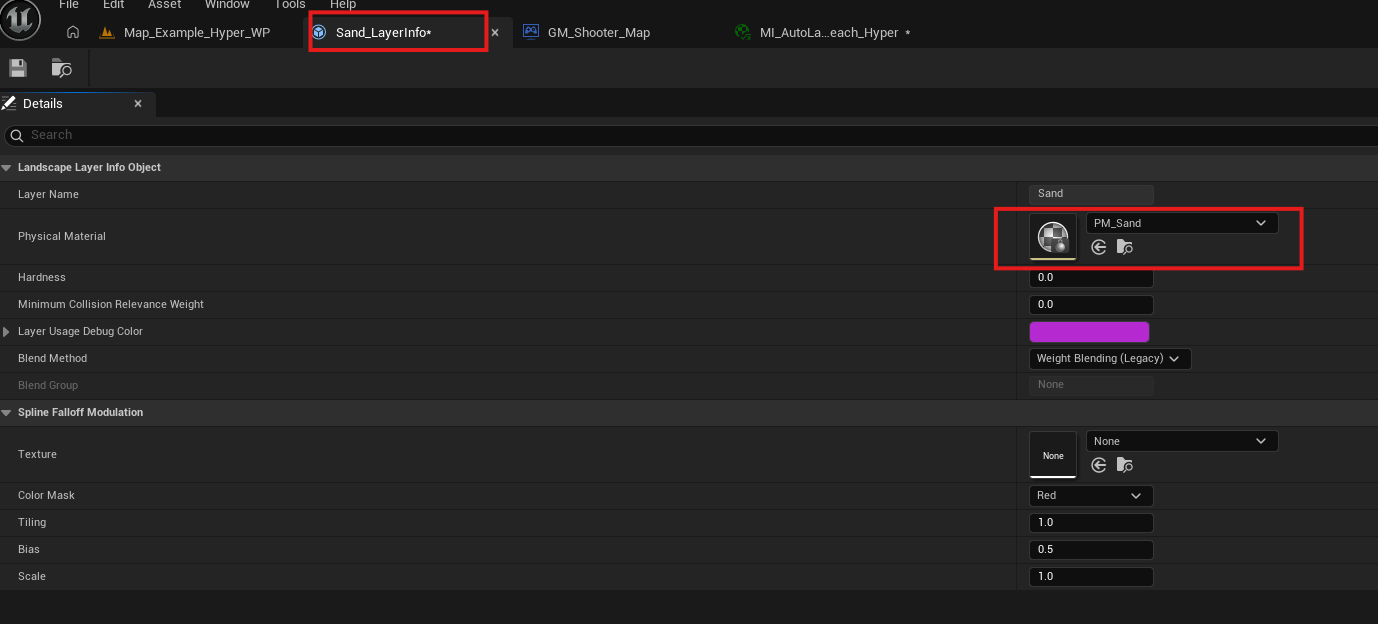
- Pro tip: assign Hyper physical materials to the landscape layers.