Combat-framework #
If you want to check out our walkthrough of the combat framework, check this video:
We also have a tutorial in our Udemy course within our survival framework on how to setup a basic combat system from scratch.
The Hyper Combat Framework #
This document aims to go over the main features of the system. It is good to know that combat is basically a combination of 3 core systems: Attribute management, Locomotion and Equipment. So it means for those details, please make sure to check those details. This document is focussed on the core combat features that is possible due to the combination of those systems.
Types of Combat #
The system is aimed to work well with the most common types of combat that you will see in any game ranging from an adventure, RPG, survival, or fast past shooter. The types that are included:
- Ranged
- Firearms
- Pistol
- Rifles
- Shotguns
- Sniper Rifle
- Bows
- Bow and arrow
- Firearms
- Melee
- One Handed weapons
- Sword Normal
- Sword Light
- Dagger
- Spear
- Two handed Weapons
- Blade
- Staff
- Hammer
- Dual Wield
- Dual Hatchet
- Dual Sword
- Dual Sword Light
- Dual Heavy Weapon
- Fists
- Torch (For Light, no combat, is optional)
- One Handed weapons
- Throwables
- Grenade
- Flashbang (without post process flash, that should be done via the advanced attribute manager via the state effects)
- Smokebomb
- Throwing knife
- Spear (Including melee or throw)
- Defense:
- Block with current weapon like a sword
- Dual wield Shield with sword
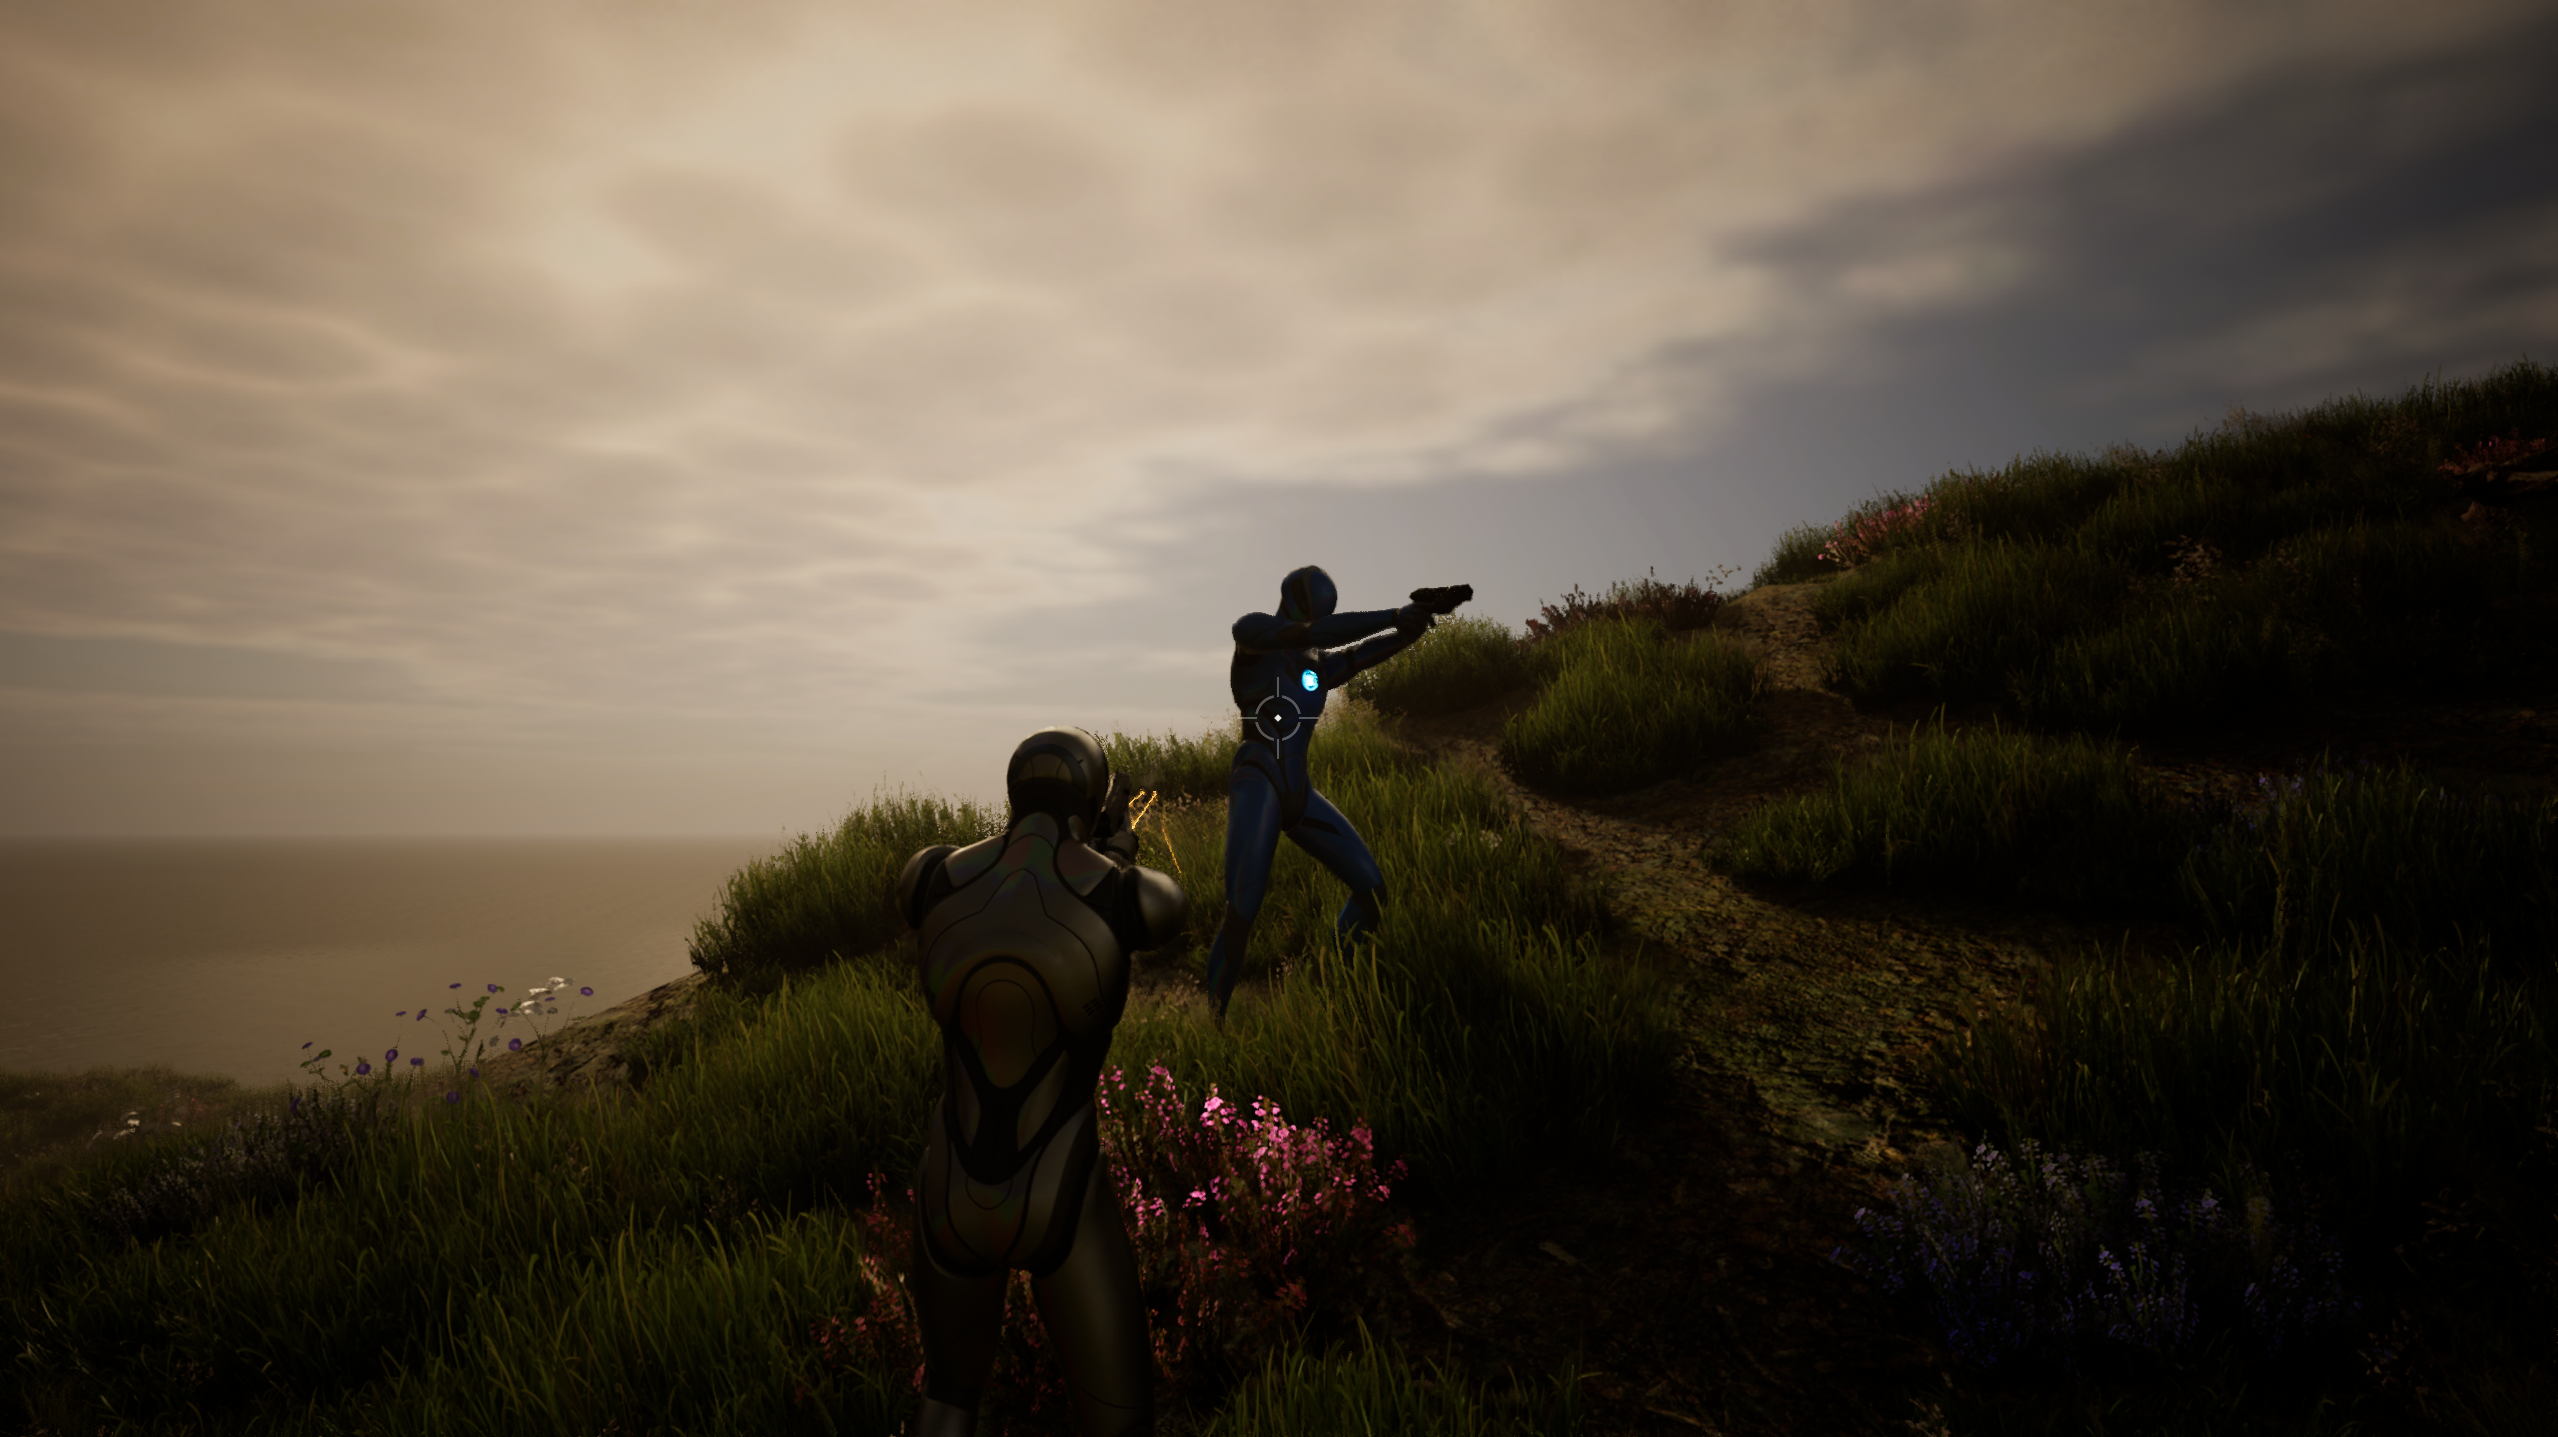
Ranged #
There are a multitude of ranged weapon possibilities. Included is:
- Firearms
- Pistol
- Rifles
- Shotguns
- Sniper Rifle
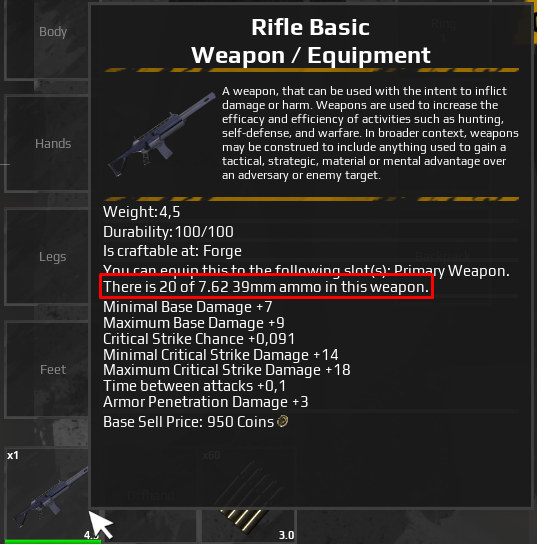
Ranged attributes are setup as follows:

The system also includes weapons like a shotgun. You can setup multiple traces in one shot.
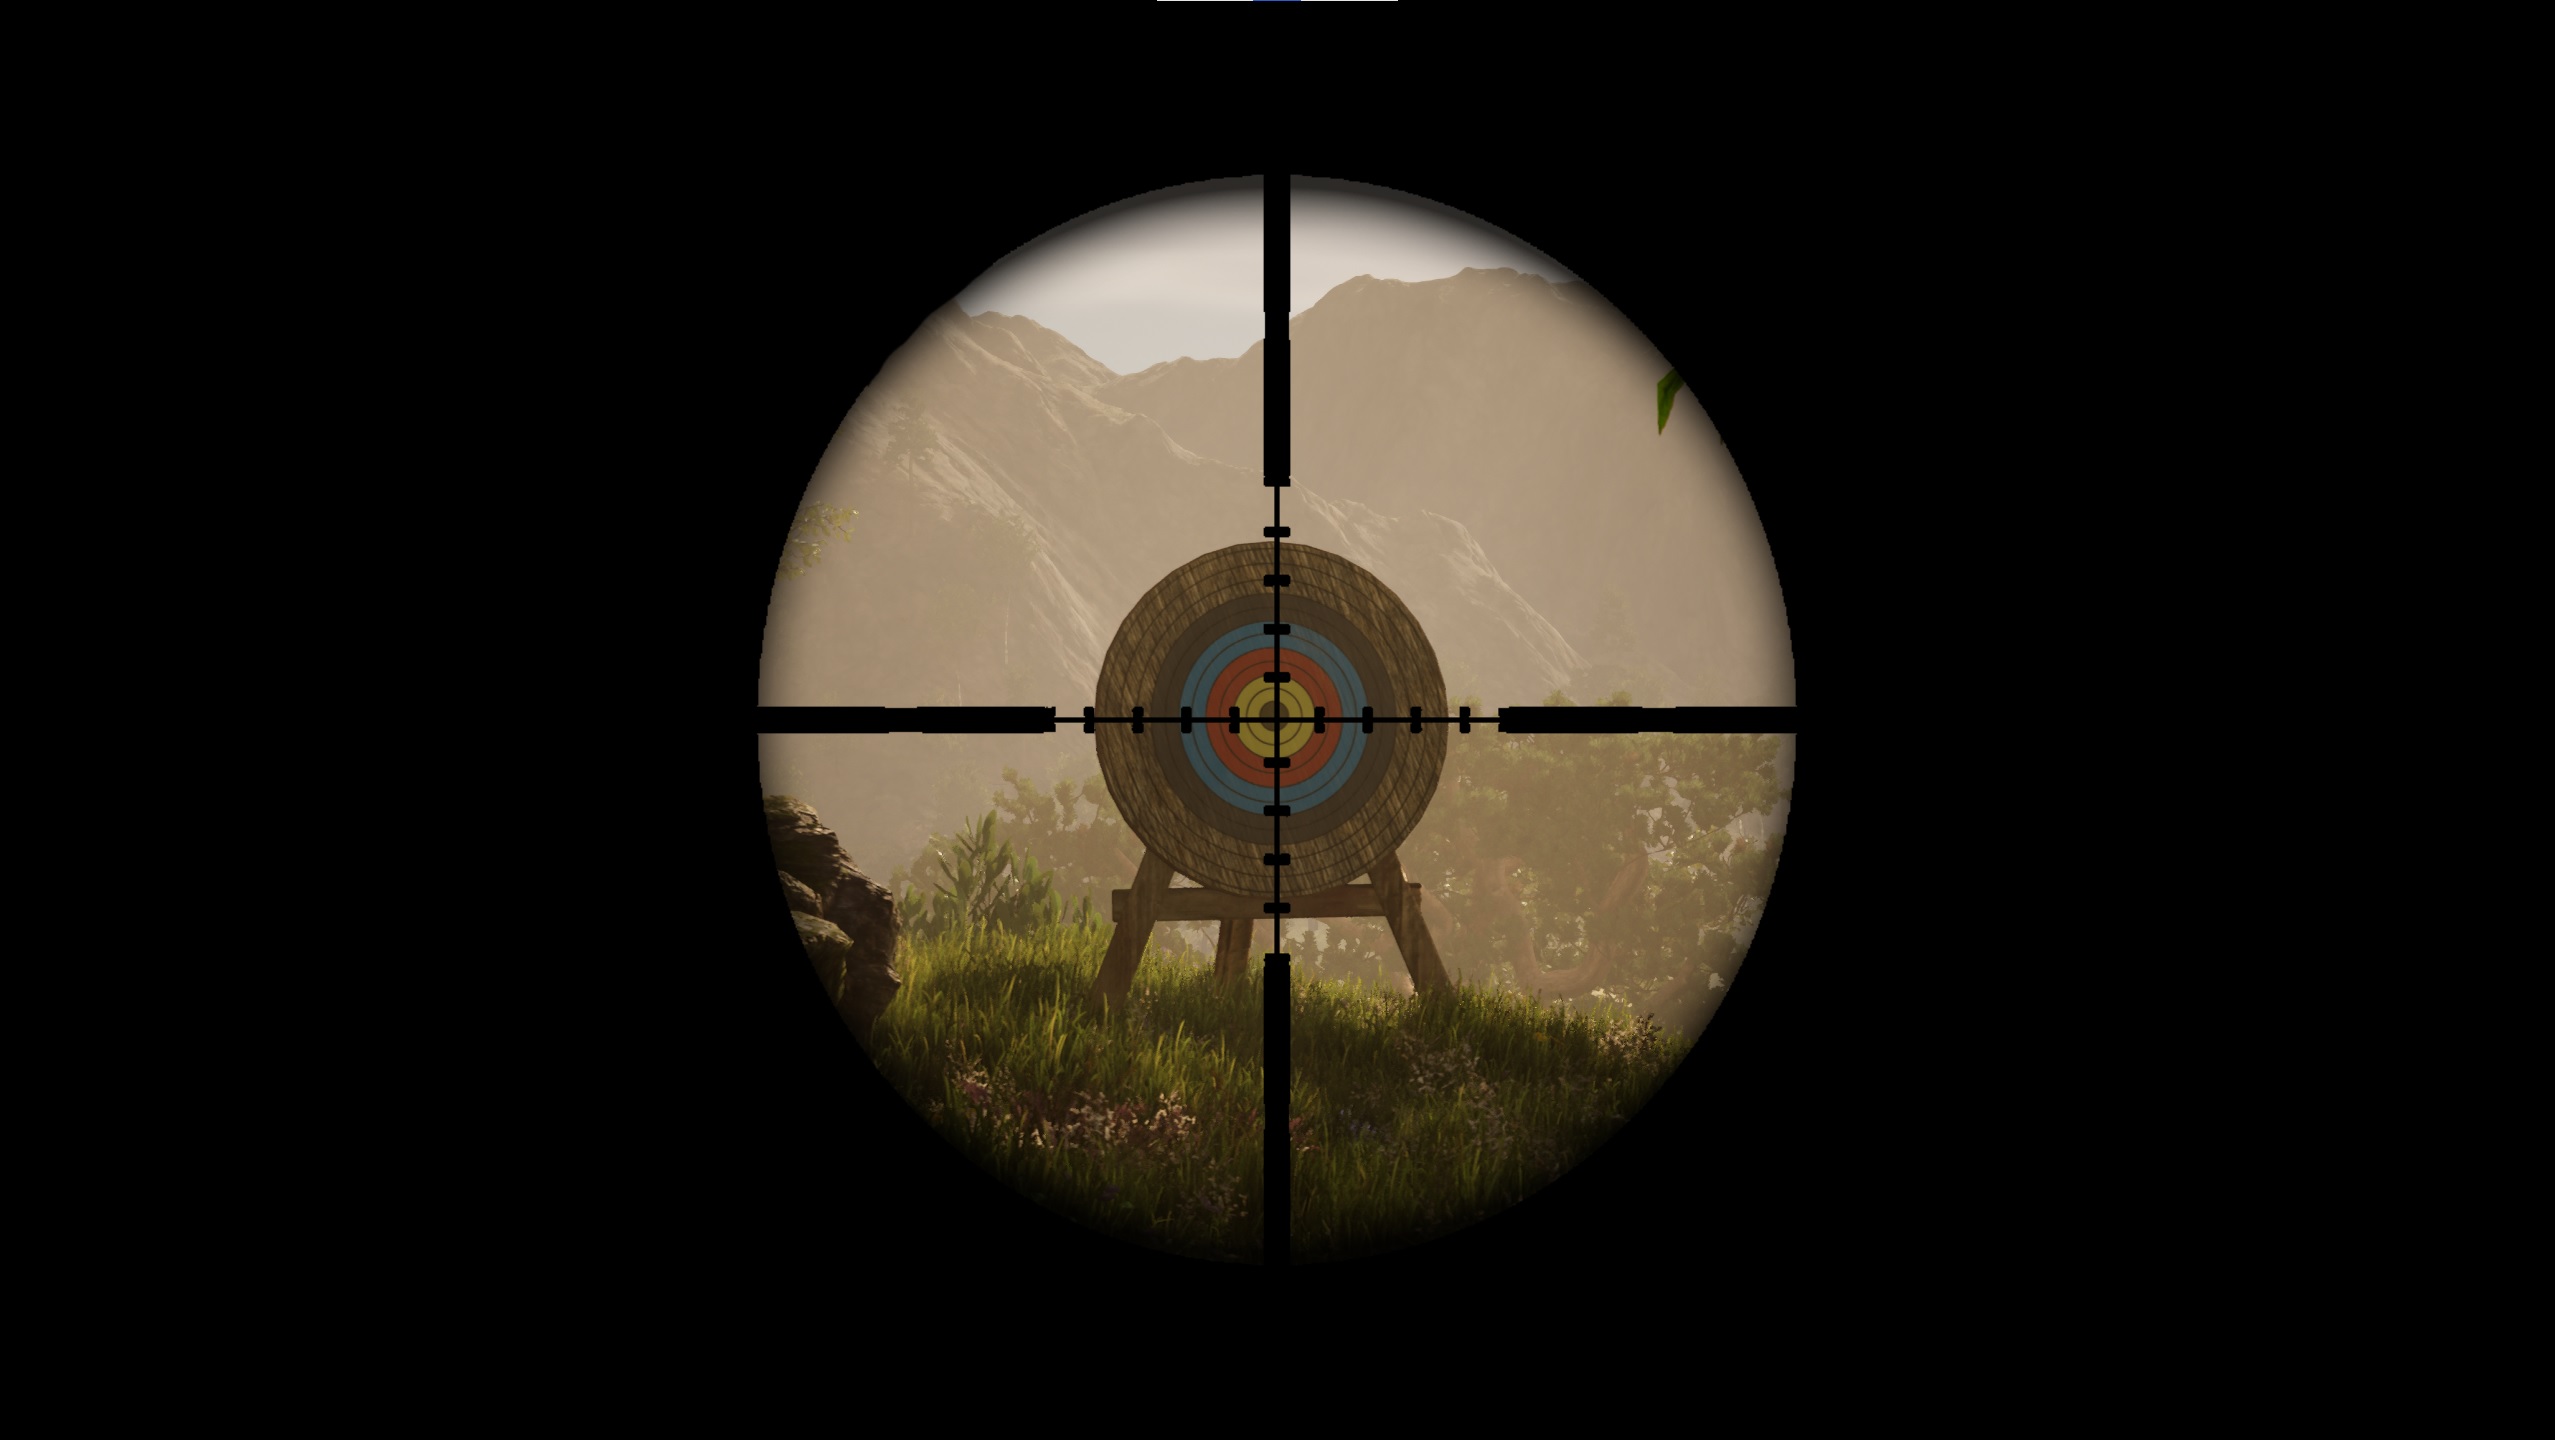
For snipers an overlay function is setup:
Left hand IK #
For weapons there has been a functionality made to use left hand IK placement. This is useful for weapons that you want to place both hands on. This is set up by adding a socket called ‘Left_Hand’ to your static meshes.
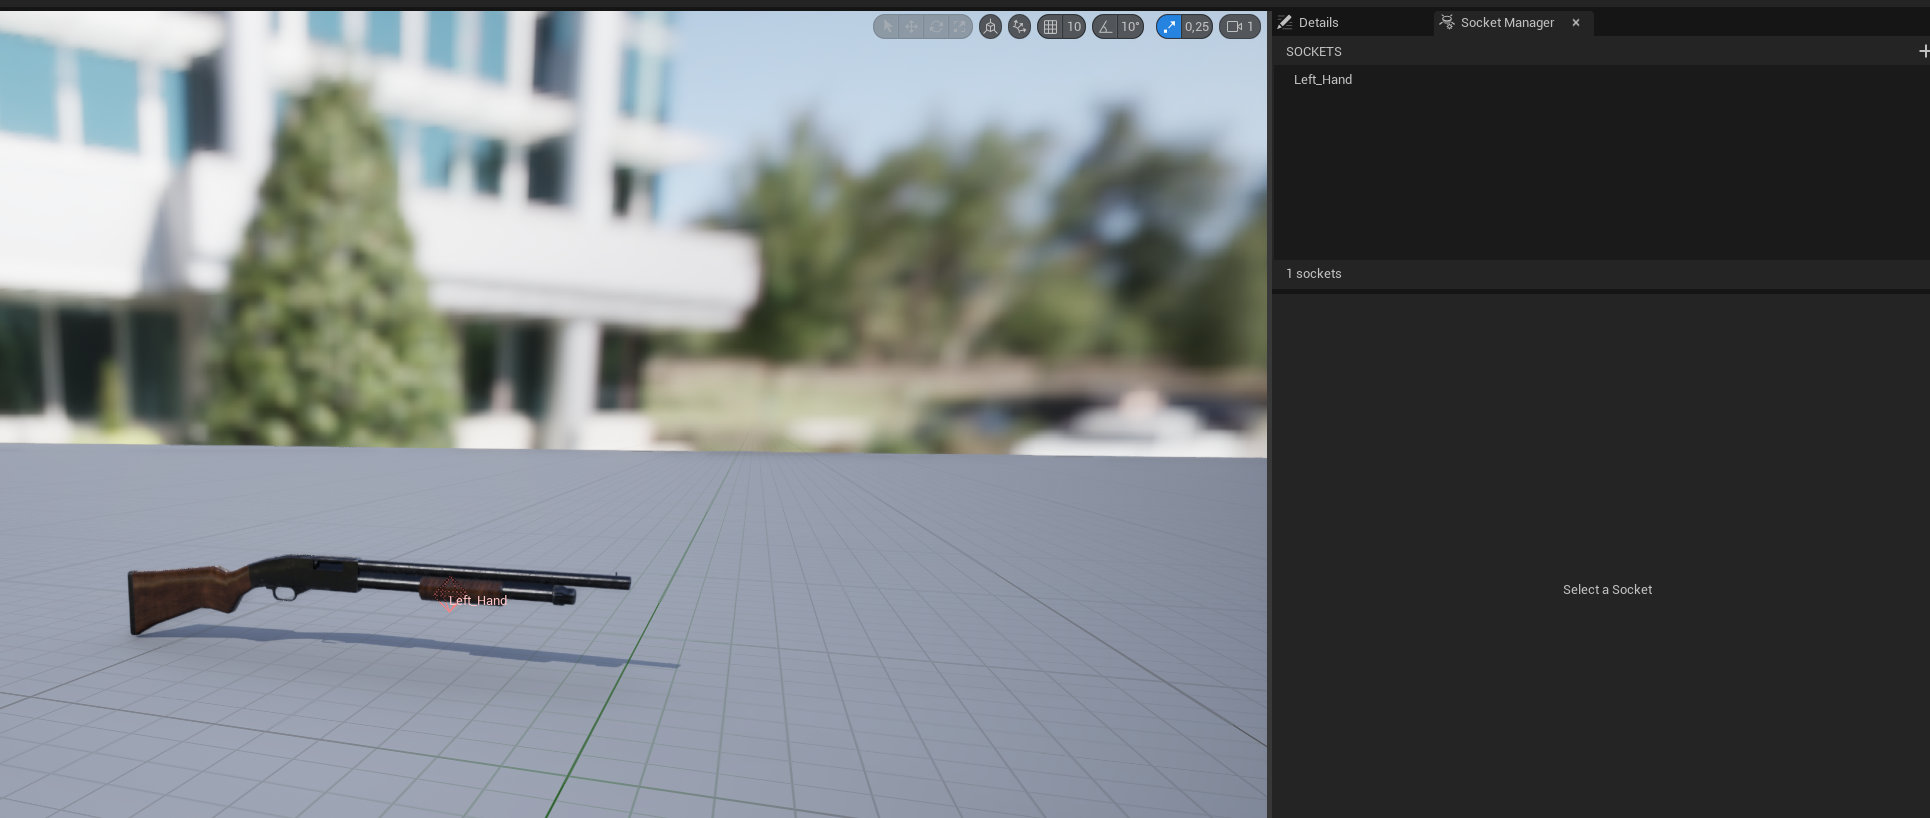
After that you should update these variables in your equipment data table.

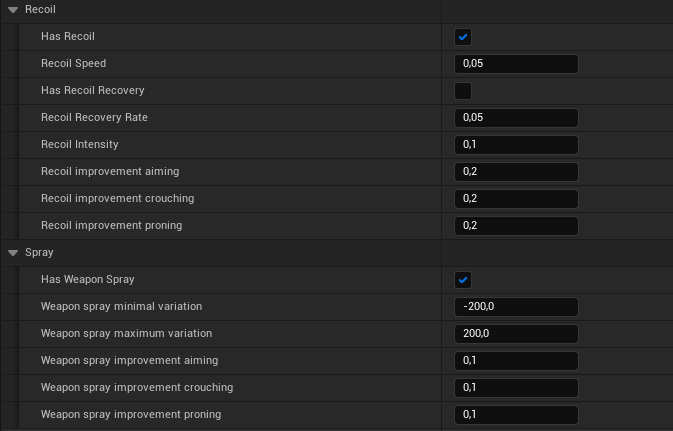
Recoil & Weapon Spread #
- Dynamically activate recoil and weapon spread on any weapon. This includes camera shakes. Is dynamically affected by a combination of proning, aiming, shooting, moving, and crouching.
- You can also define how many shots you want to fire per attack. E.g., 8 traces for one shot for shotgun like weapons
You can setup these settings in the data table, this will also impact the crosshair.
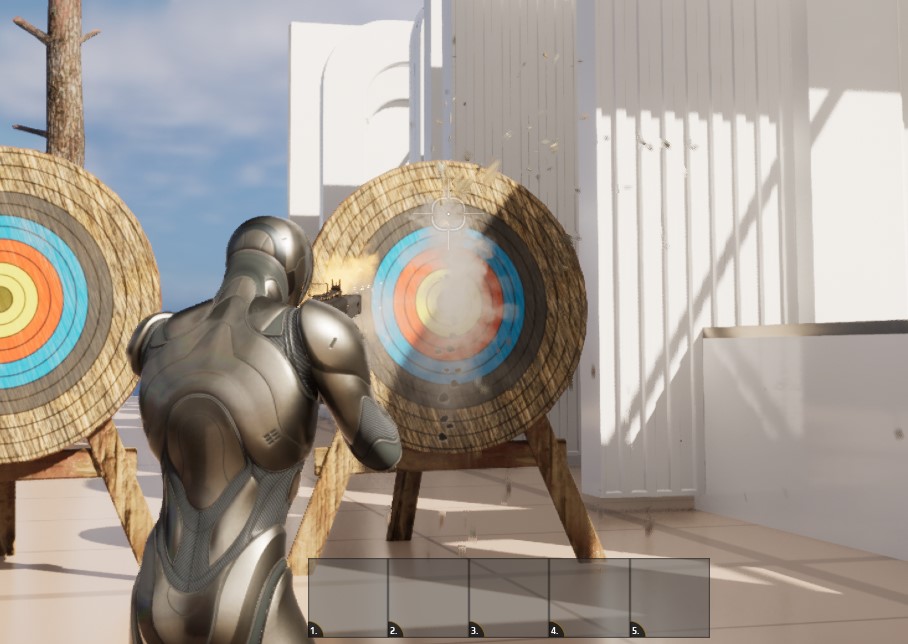
Dynamic Crosshair #
- Can switch crosshair based per weapon. I’ve provided a crosshair master to make dynamic crosshairs which has several parts.
- Center dot
- Hit (cross)
- Outer Cross
- Outer frame
- It can change based on:
- Crouching -> decrease outer cross and outer frame, minimize the increase when shooting
- Proning-> decrease outer cross and outer frame, minimize the increase when shooting
- Aiming -> decrease outer cross and outer frame, minimize the increase when shooting
- Moving -> increase outer cross and decrease directly, increase outer frame
- Shooting -> increase outer cross and decrease directly, increase outer frame
Ranged attack types: #
- You can switch the weapon between single, burst, and automatic shots.

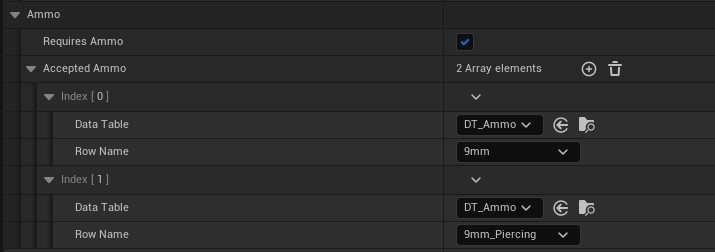
Dynamic Ammo logic #
- You can switch multiple ammo types per weapon. E.g., Piercing bullets
- Includes automatic and manual reload.
- Visual ammo representation like a quiver for the arrows
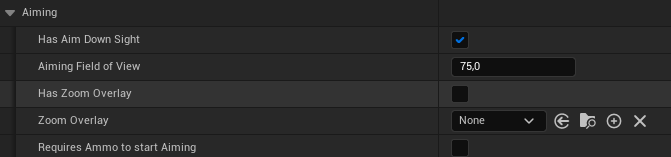
Aiming Down Sight #
- Includes a dynamic ADS function to zoom in and sets to strafe movement.
Ammo management #
Ammo can reside in multiple places:
- In the world as an inventory pickup
- In the inventory itself
- Equipped in the ammo slot.
- Equipped in the weapon itself.
To get the ammo in the weapon,
- Please make sure that a weapon is equipped that uses ammo.
- Equip accepted ammo in the ammo slot.
- Reload by to try to fire or click R to transfer ammo from the slot to the weapon.
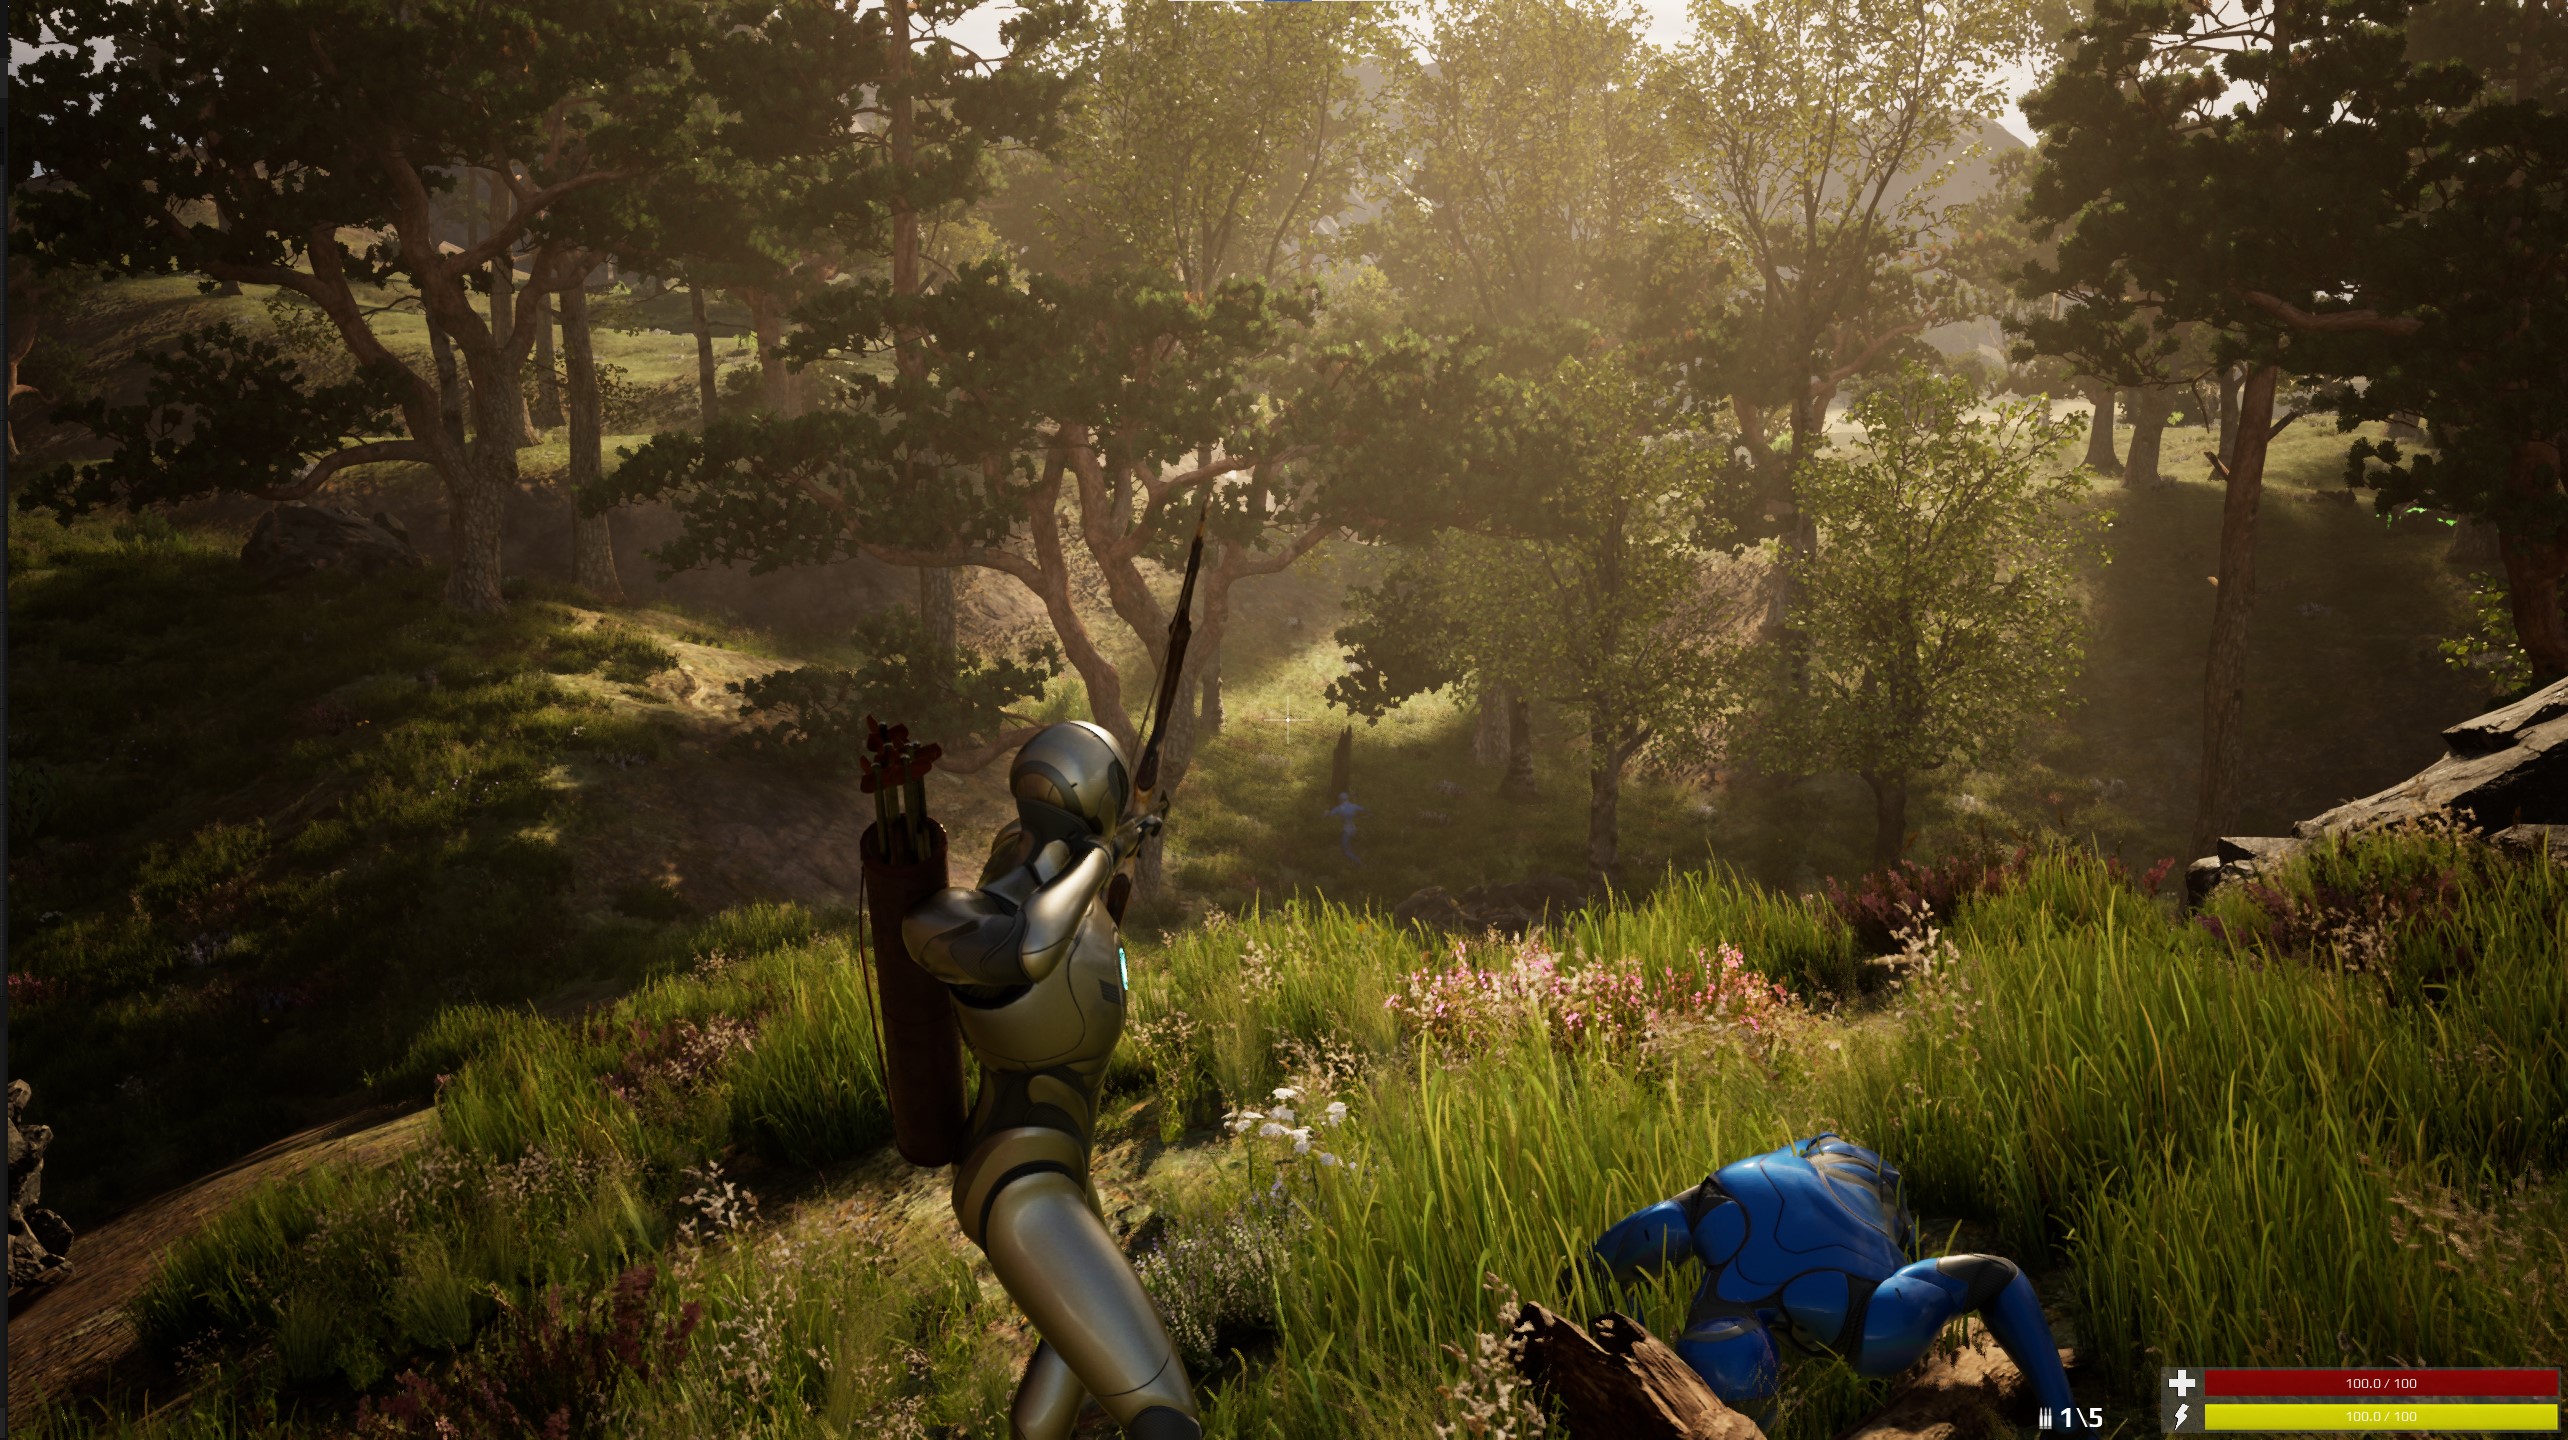
Bows #
There is a bow and arrow included. Note the “Visual Ammo Actor”, the quiver is realtime updated. Based on the amount of arrows in the inventory.
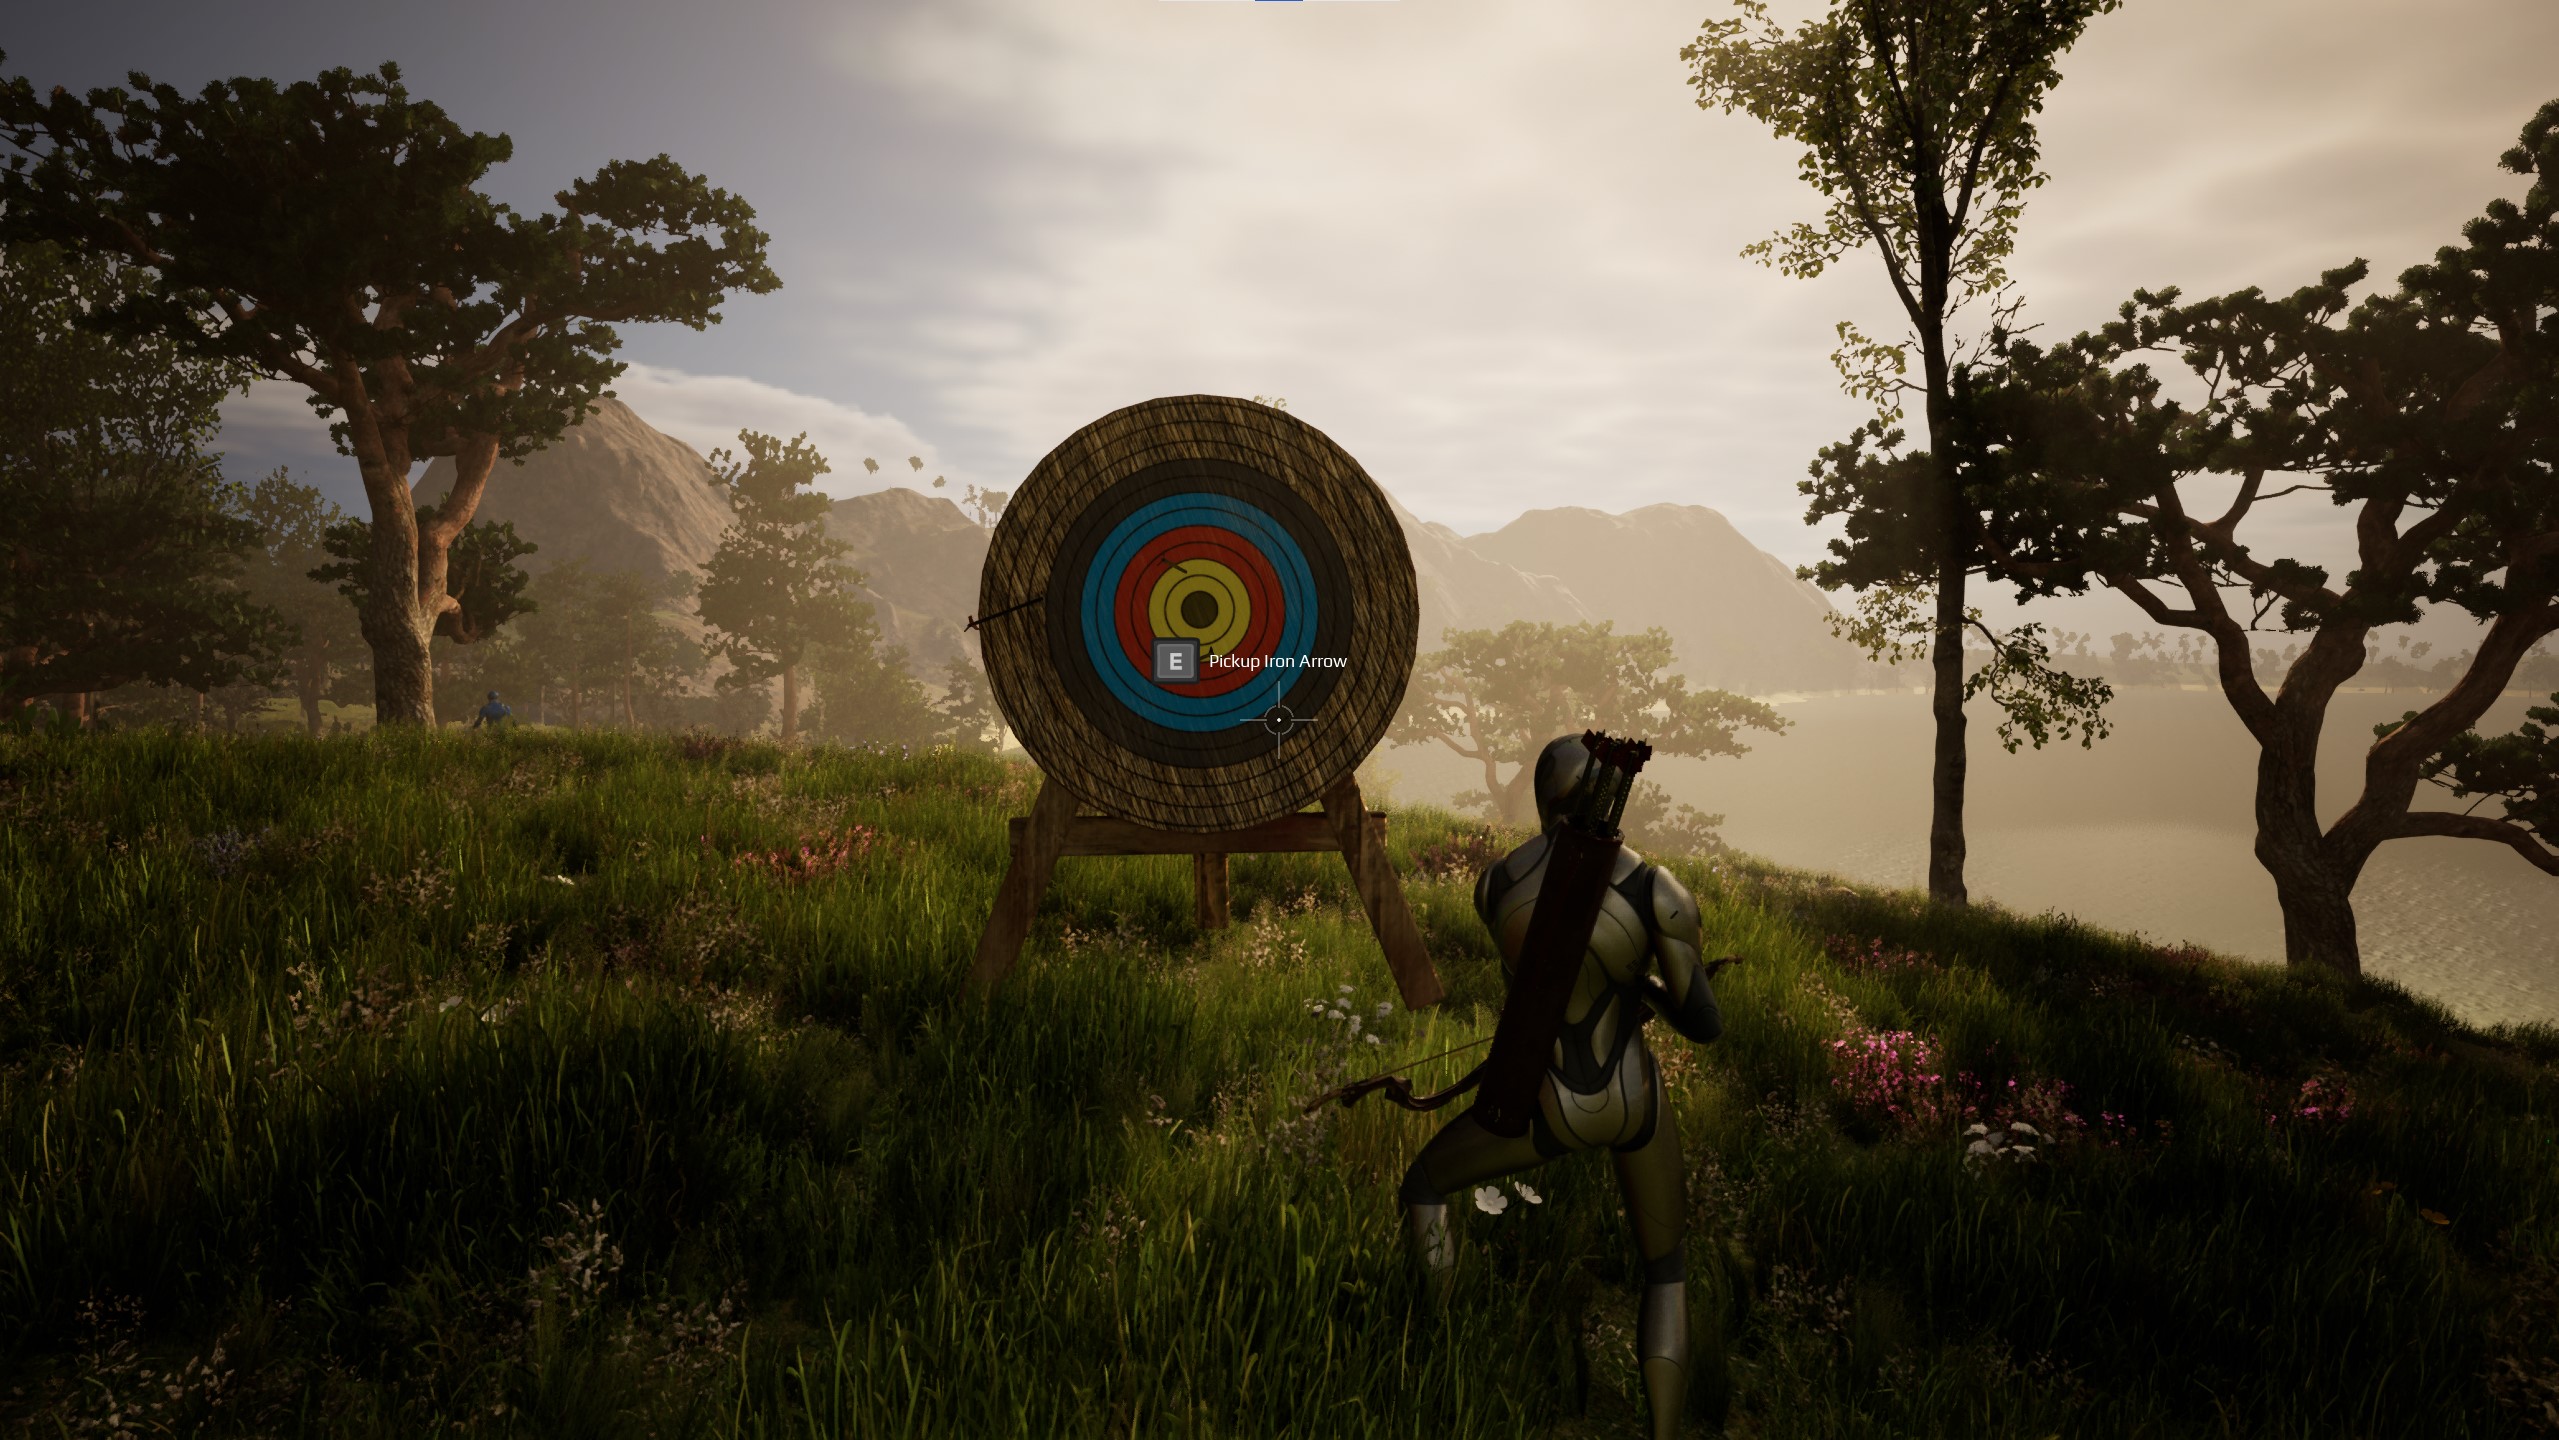
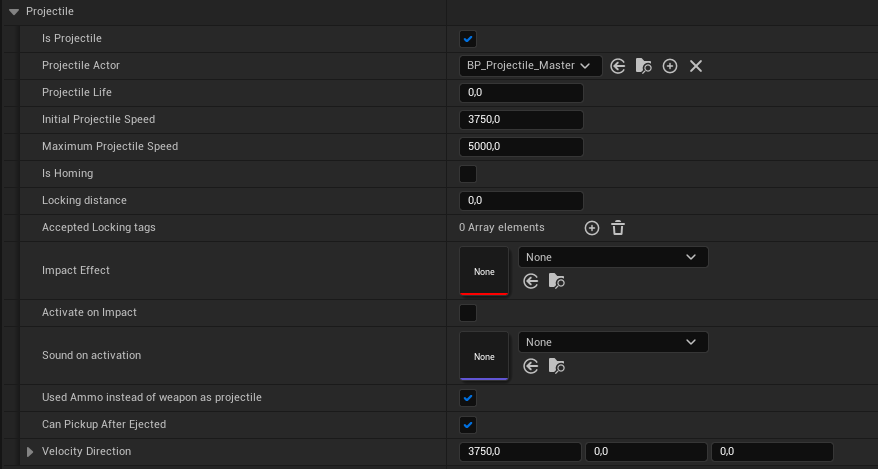
For ranged weapons that use projectiles you also need to setup the projectile and throwable settings. In the projectile settings It has the option to stick onto a specific tag. You can make projectiles being pickup able again:
Throwables and Projectiles #
The following throwables are included:
-
- Grenade
- Flashbang (without post process flash, that should be done via the advanced attribute manager via the state effects)
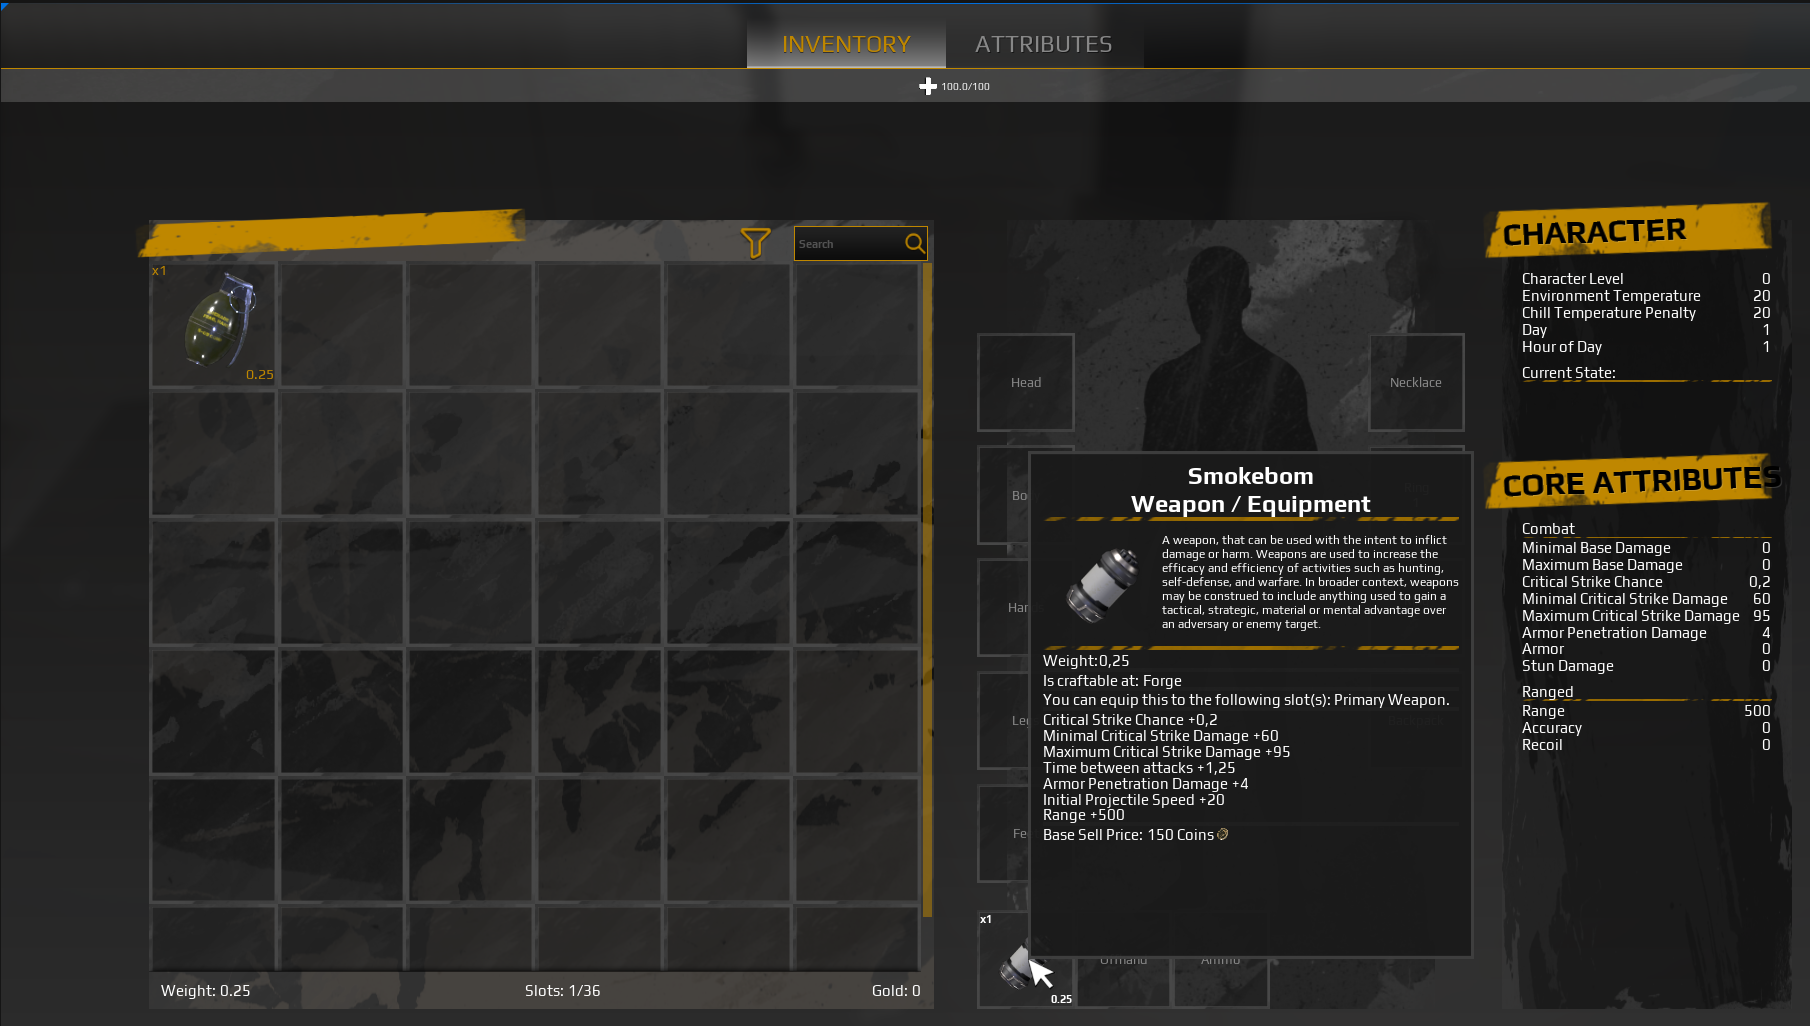
- Smokebomb
- Throwing knife
- Spear (Including melee of spear)
Dynamic Throwable/Projectile logic
-
- Throwables are defined as a projectile. It uses factors like initial speed, gravity, etc.
- Optional projectile prediction
- Optional stick to hit object by tag detection. E.g., an arrow to a character or a target practice board.
- Homing projectiles, searches for radius with a certain tag e.g., Heat
The following settings are available: For instance, the arrow of a bow is being used as a projectile.
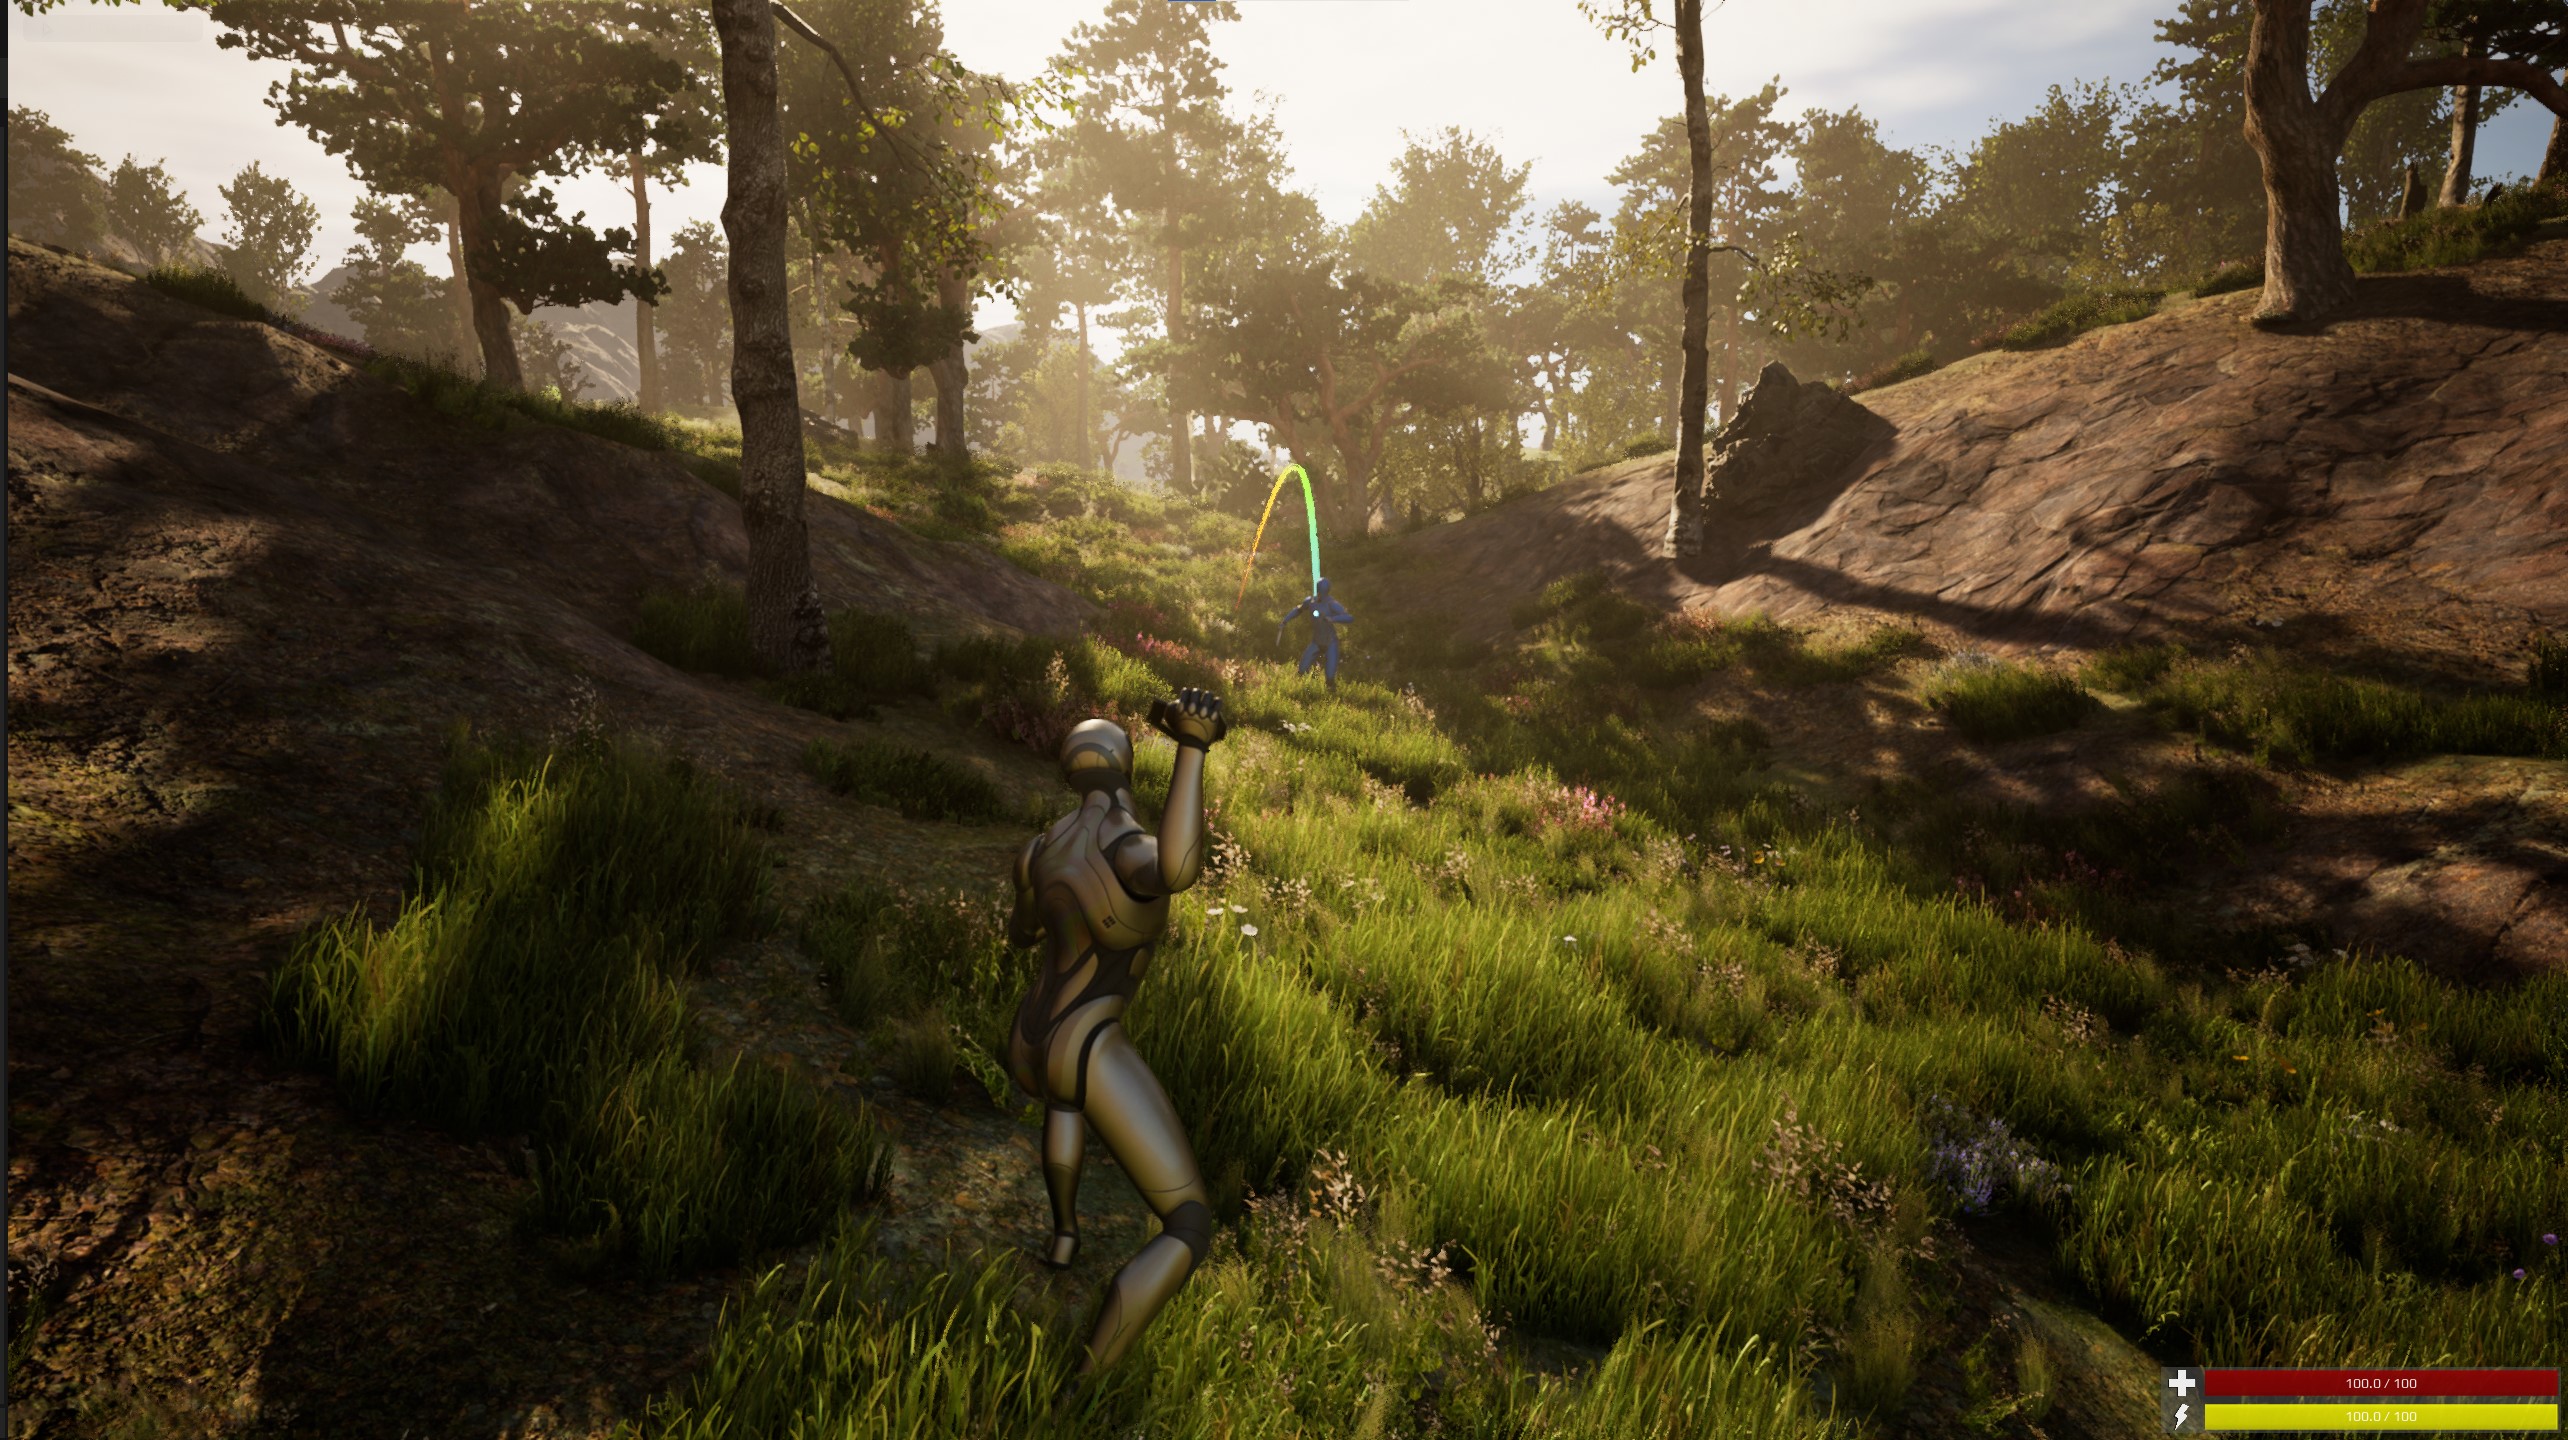
Projectile Trajectory Prediction #
It is optional to use a prediction trace for the throwables. The prediction trace is based on where the throwable is pointing. So if you have an animation that is pointing it to another direction while throwing, the trace will be off.
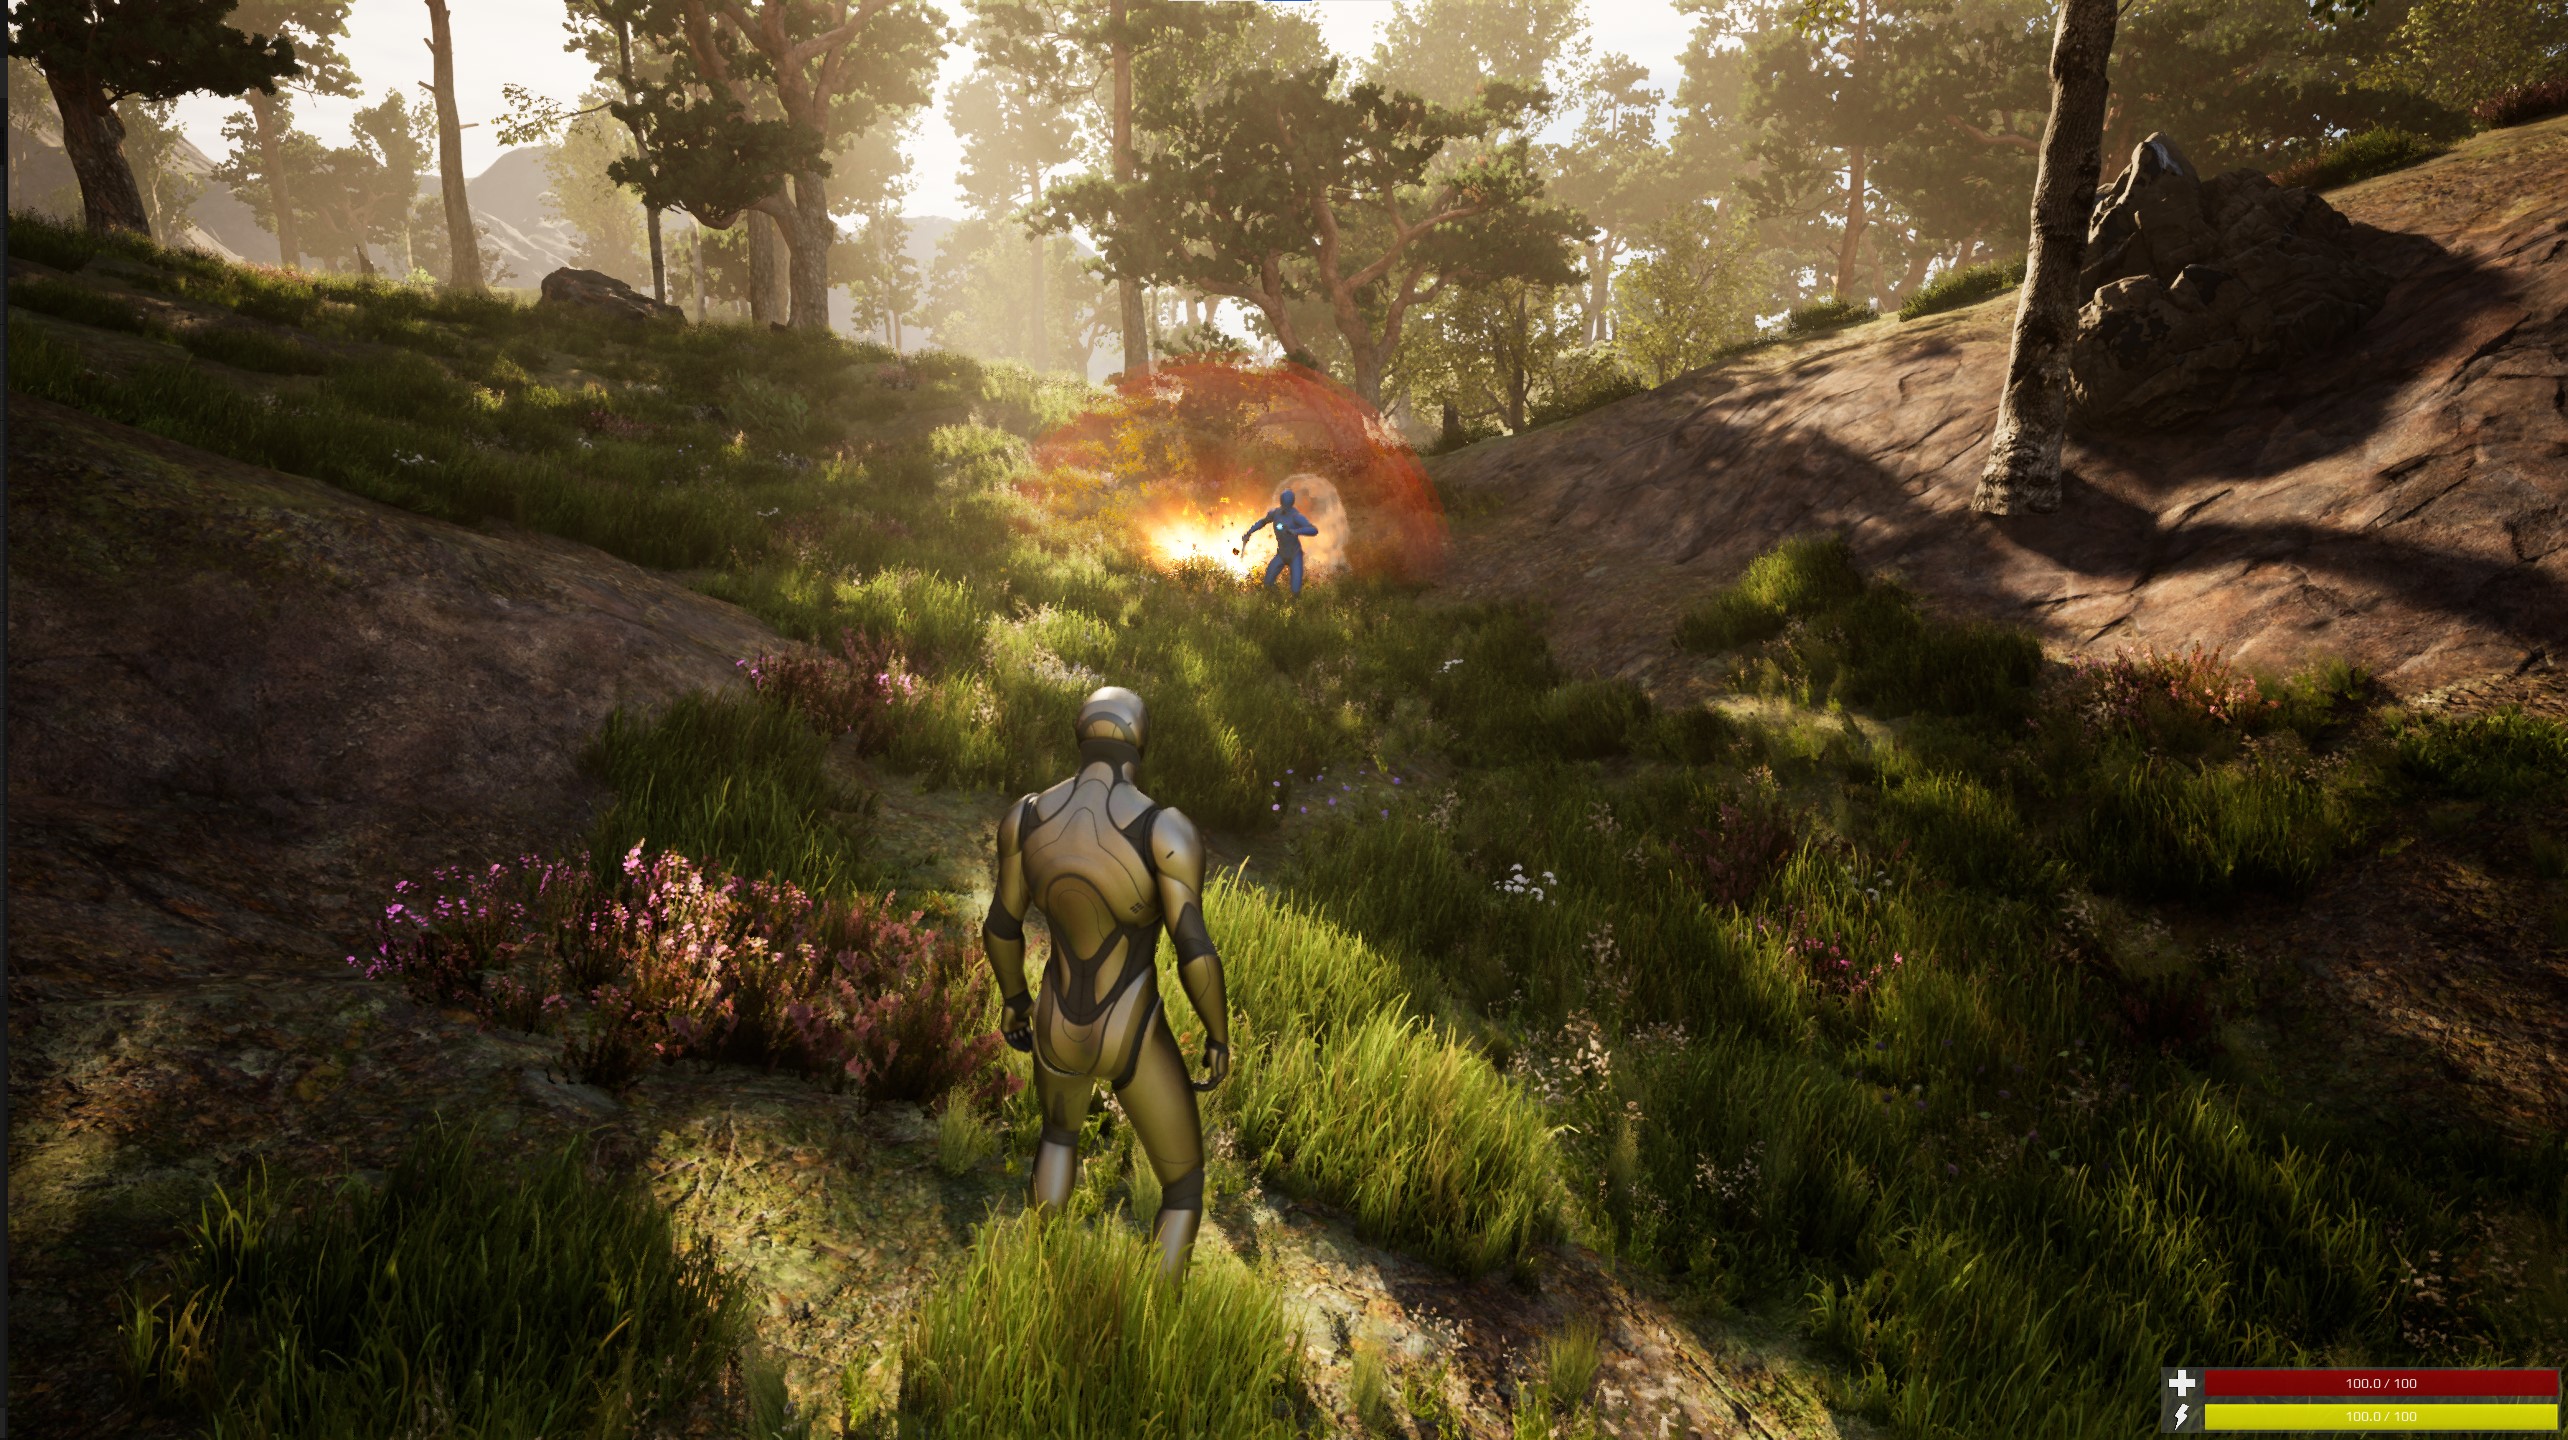
Smokebomb:

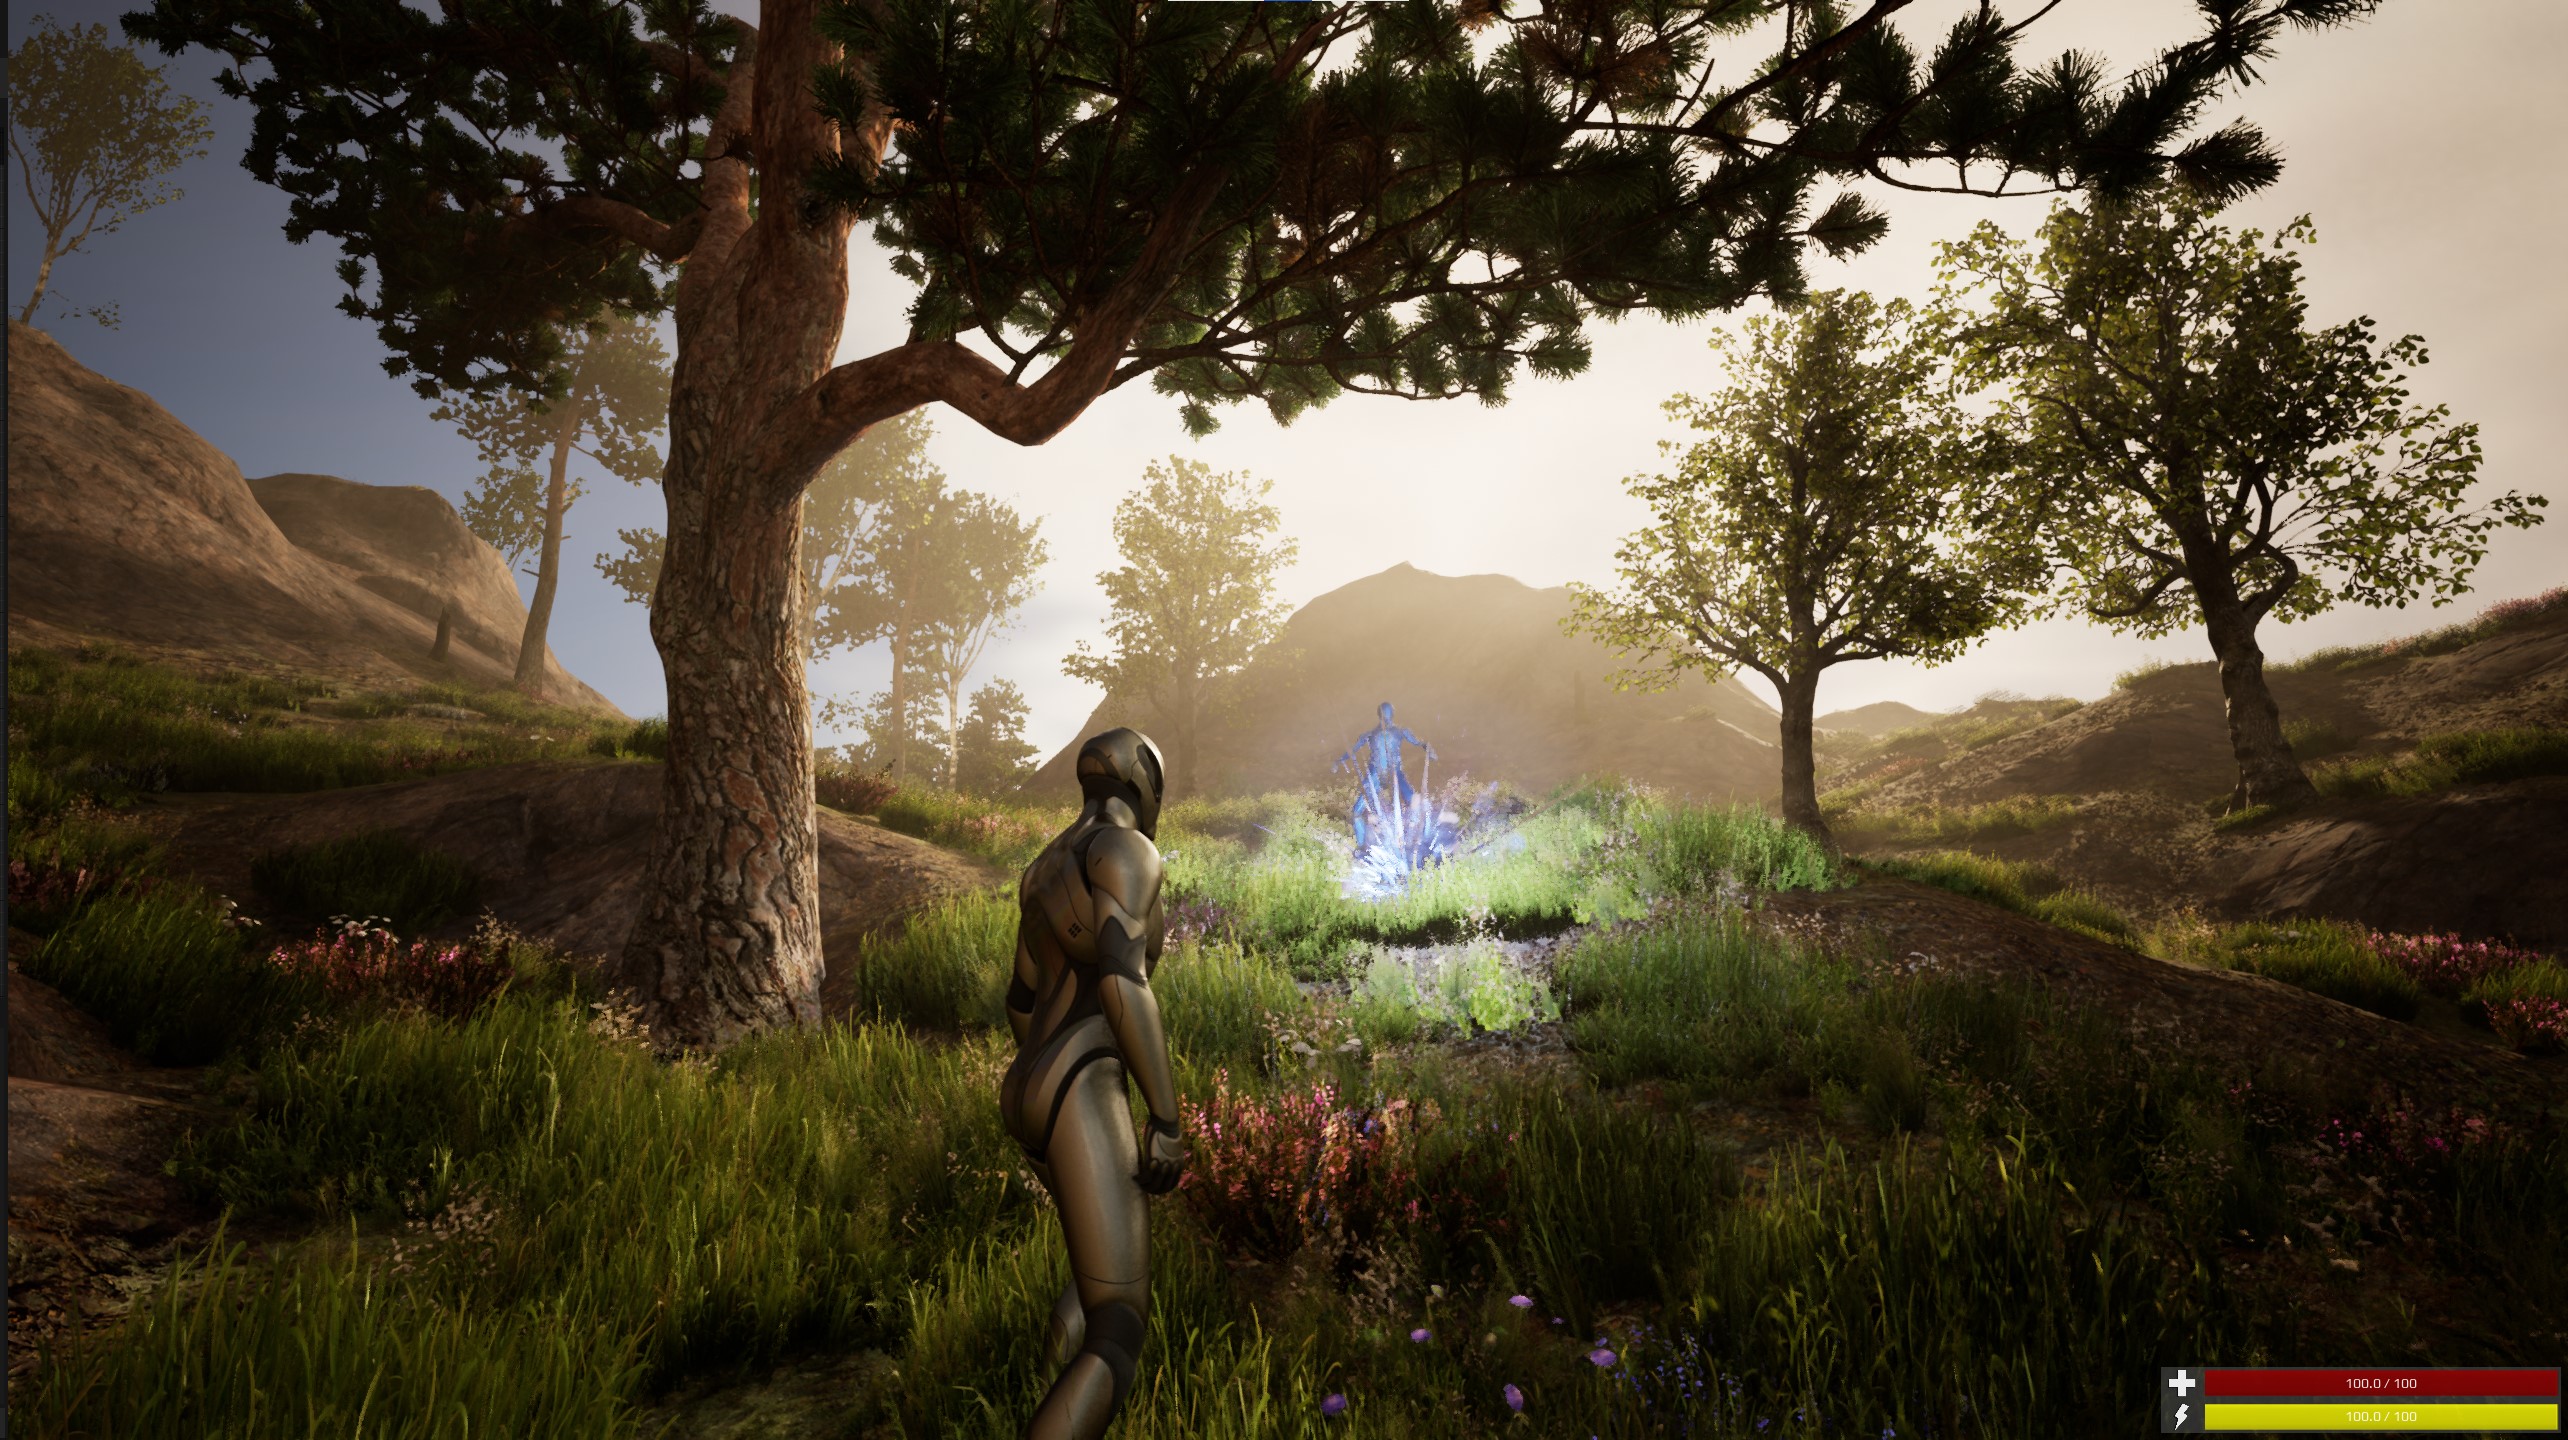
Flashbang: Please note that the flashbang itself has no stunning functionality in place. It has no post process flash, that should be done via an optional advanced attribute manager via the state effects.
Spear and Throwing knife #
Throwables are special in behaviour. Especially the spear since it is also a melee weapon.
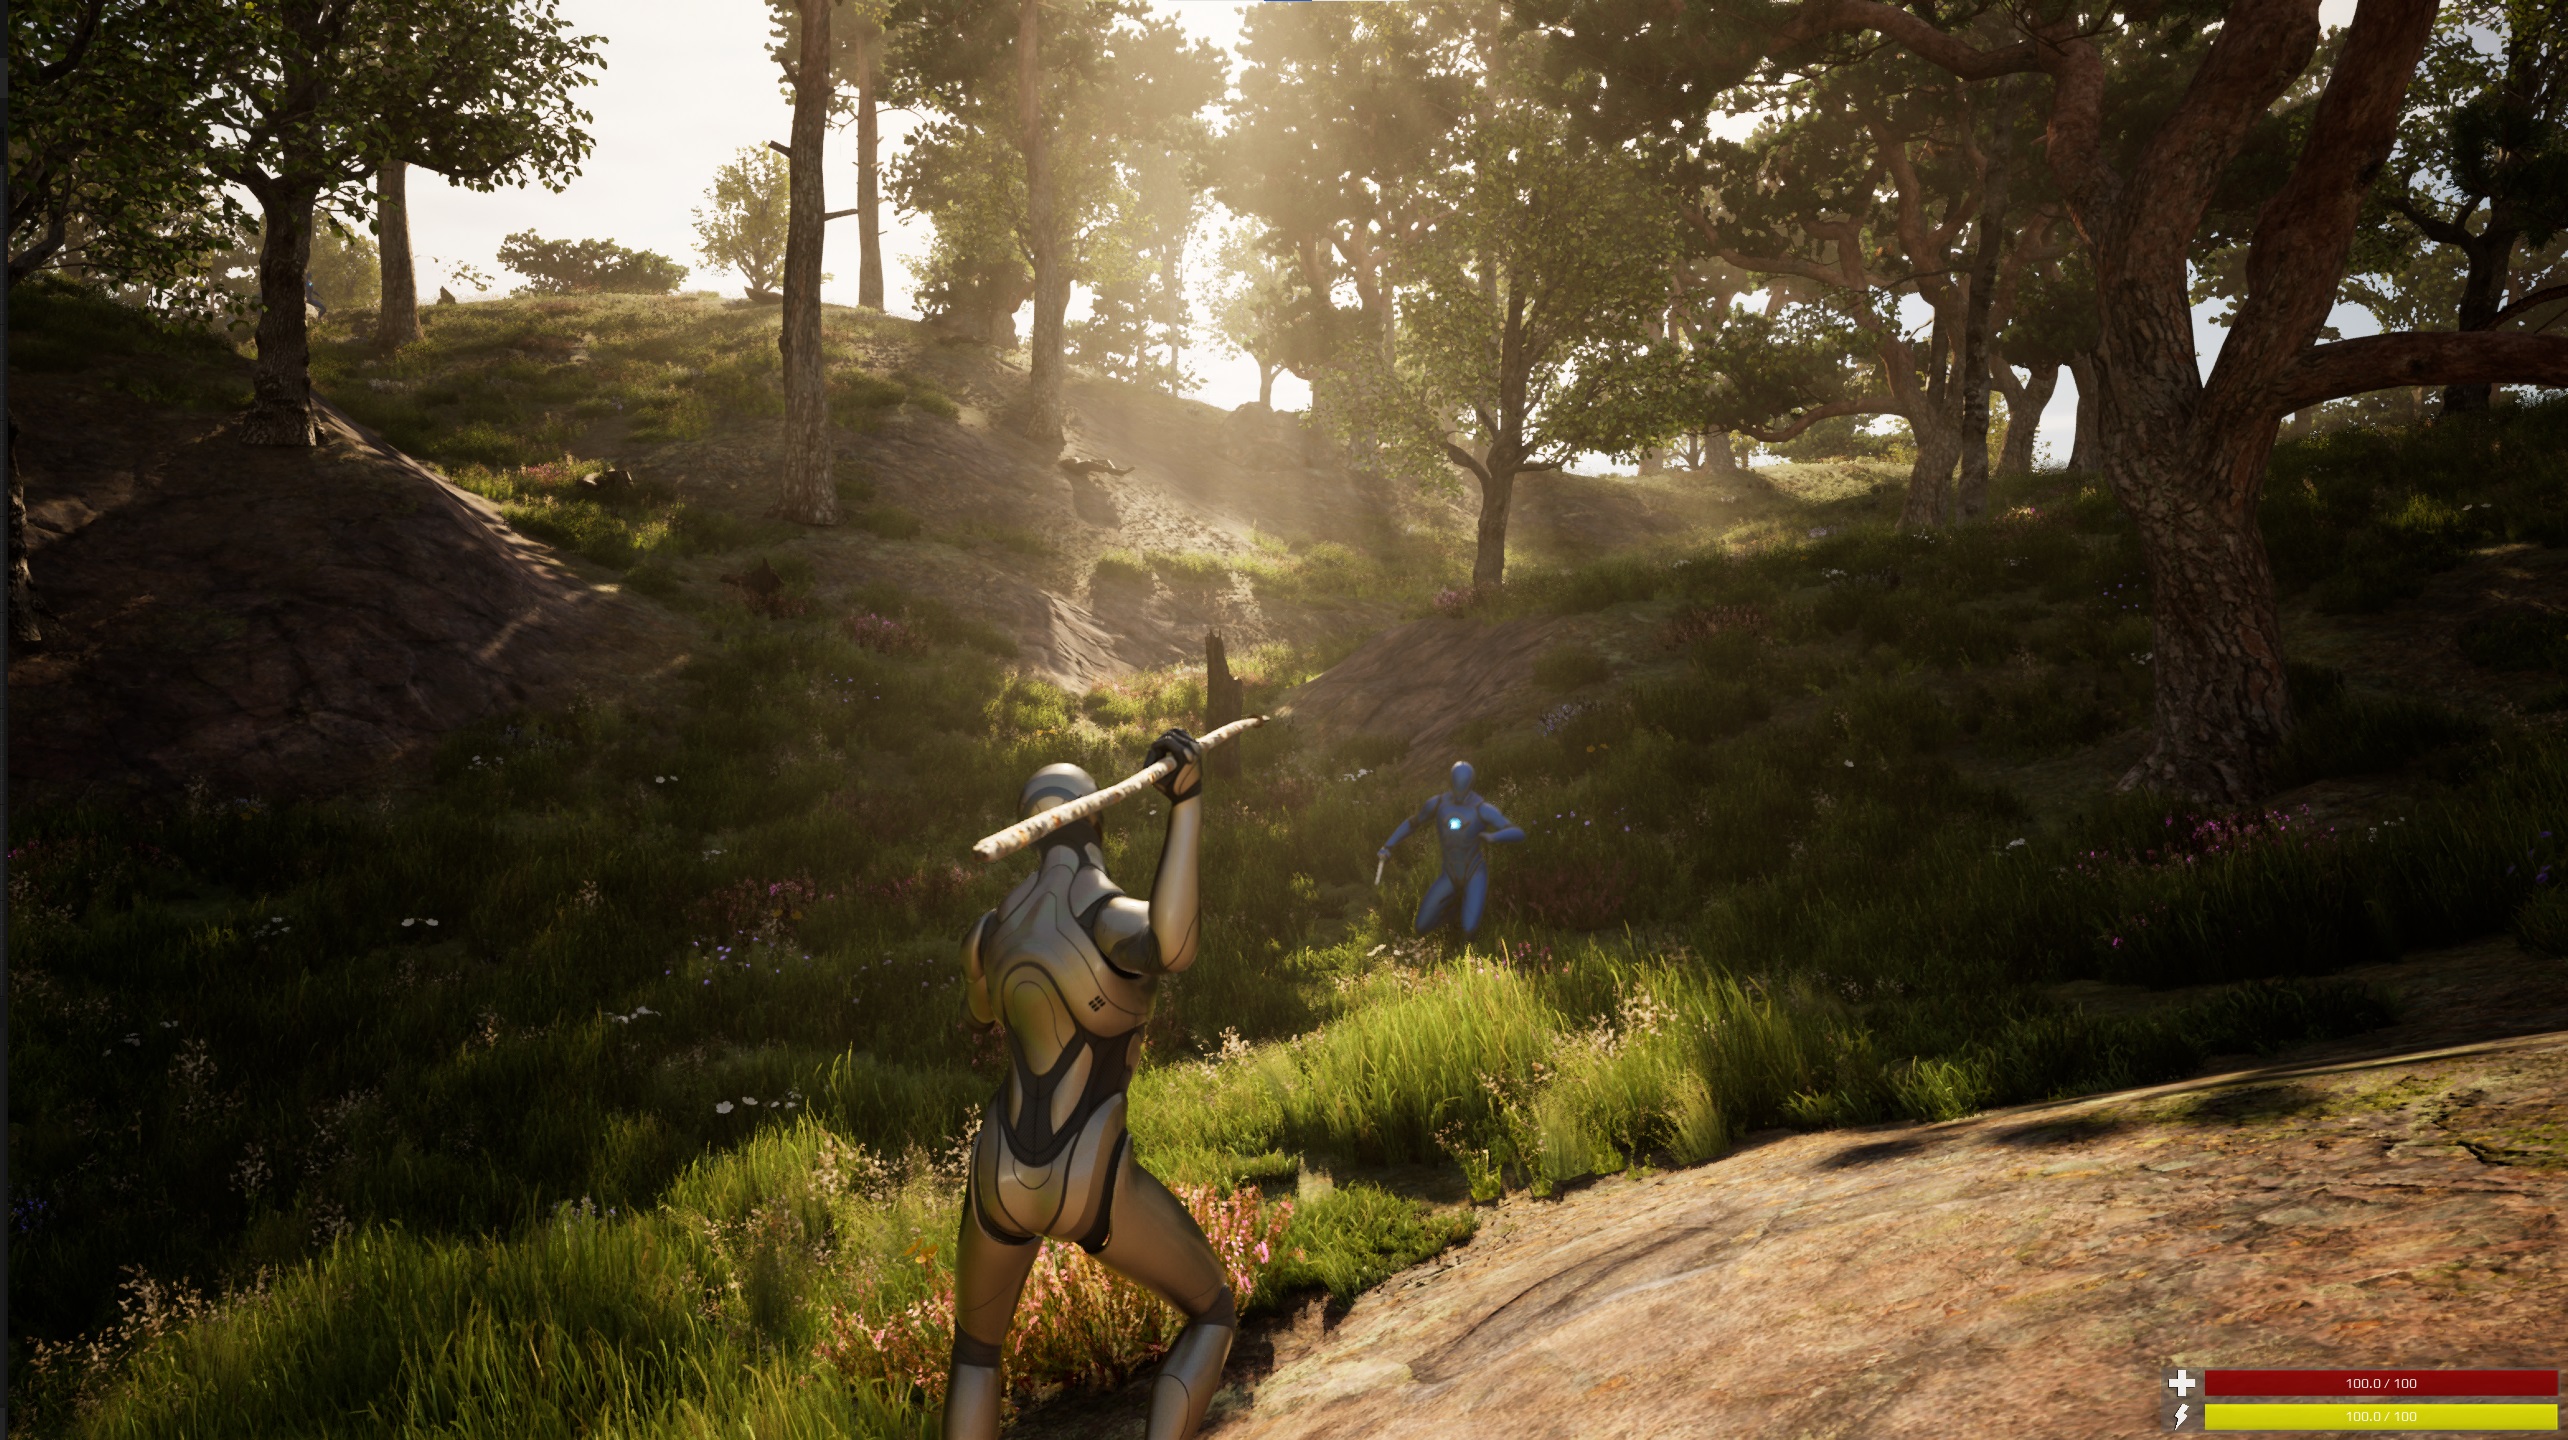
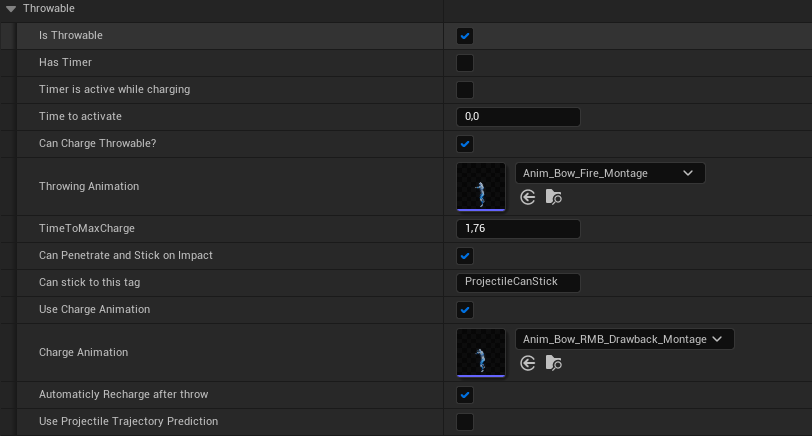
Throwable logic #
Holding down the fire button will charge the throwable until it hits the max. Instantly releasing the fire button will throw it at the base speed.

You can set up the charging time etc in the data table.

Some melee weapons can also be throwable. For instance, with the spear. In that case it will switch to the throwing mode when aiming.
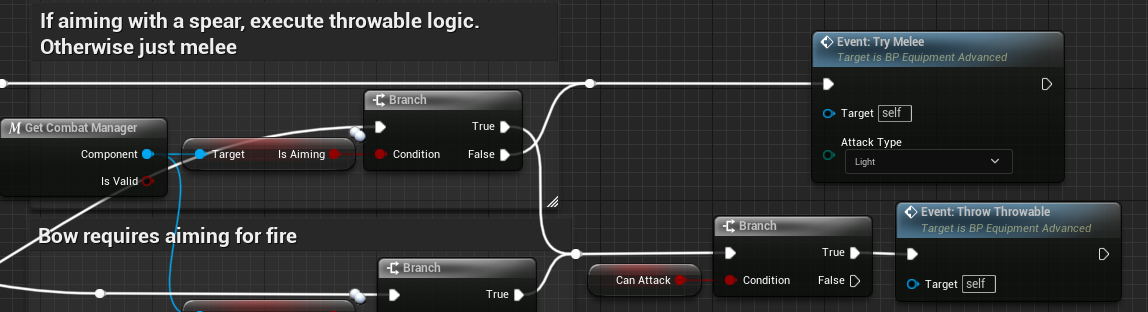
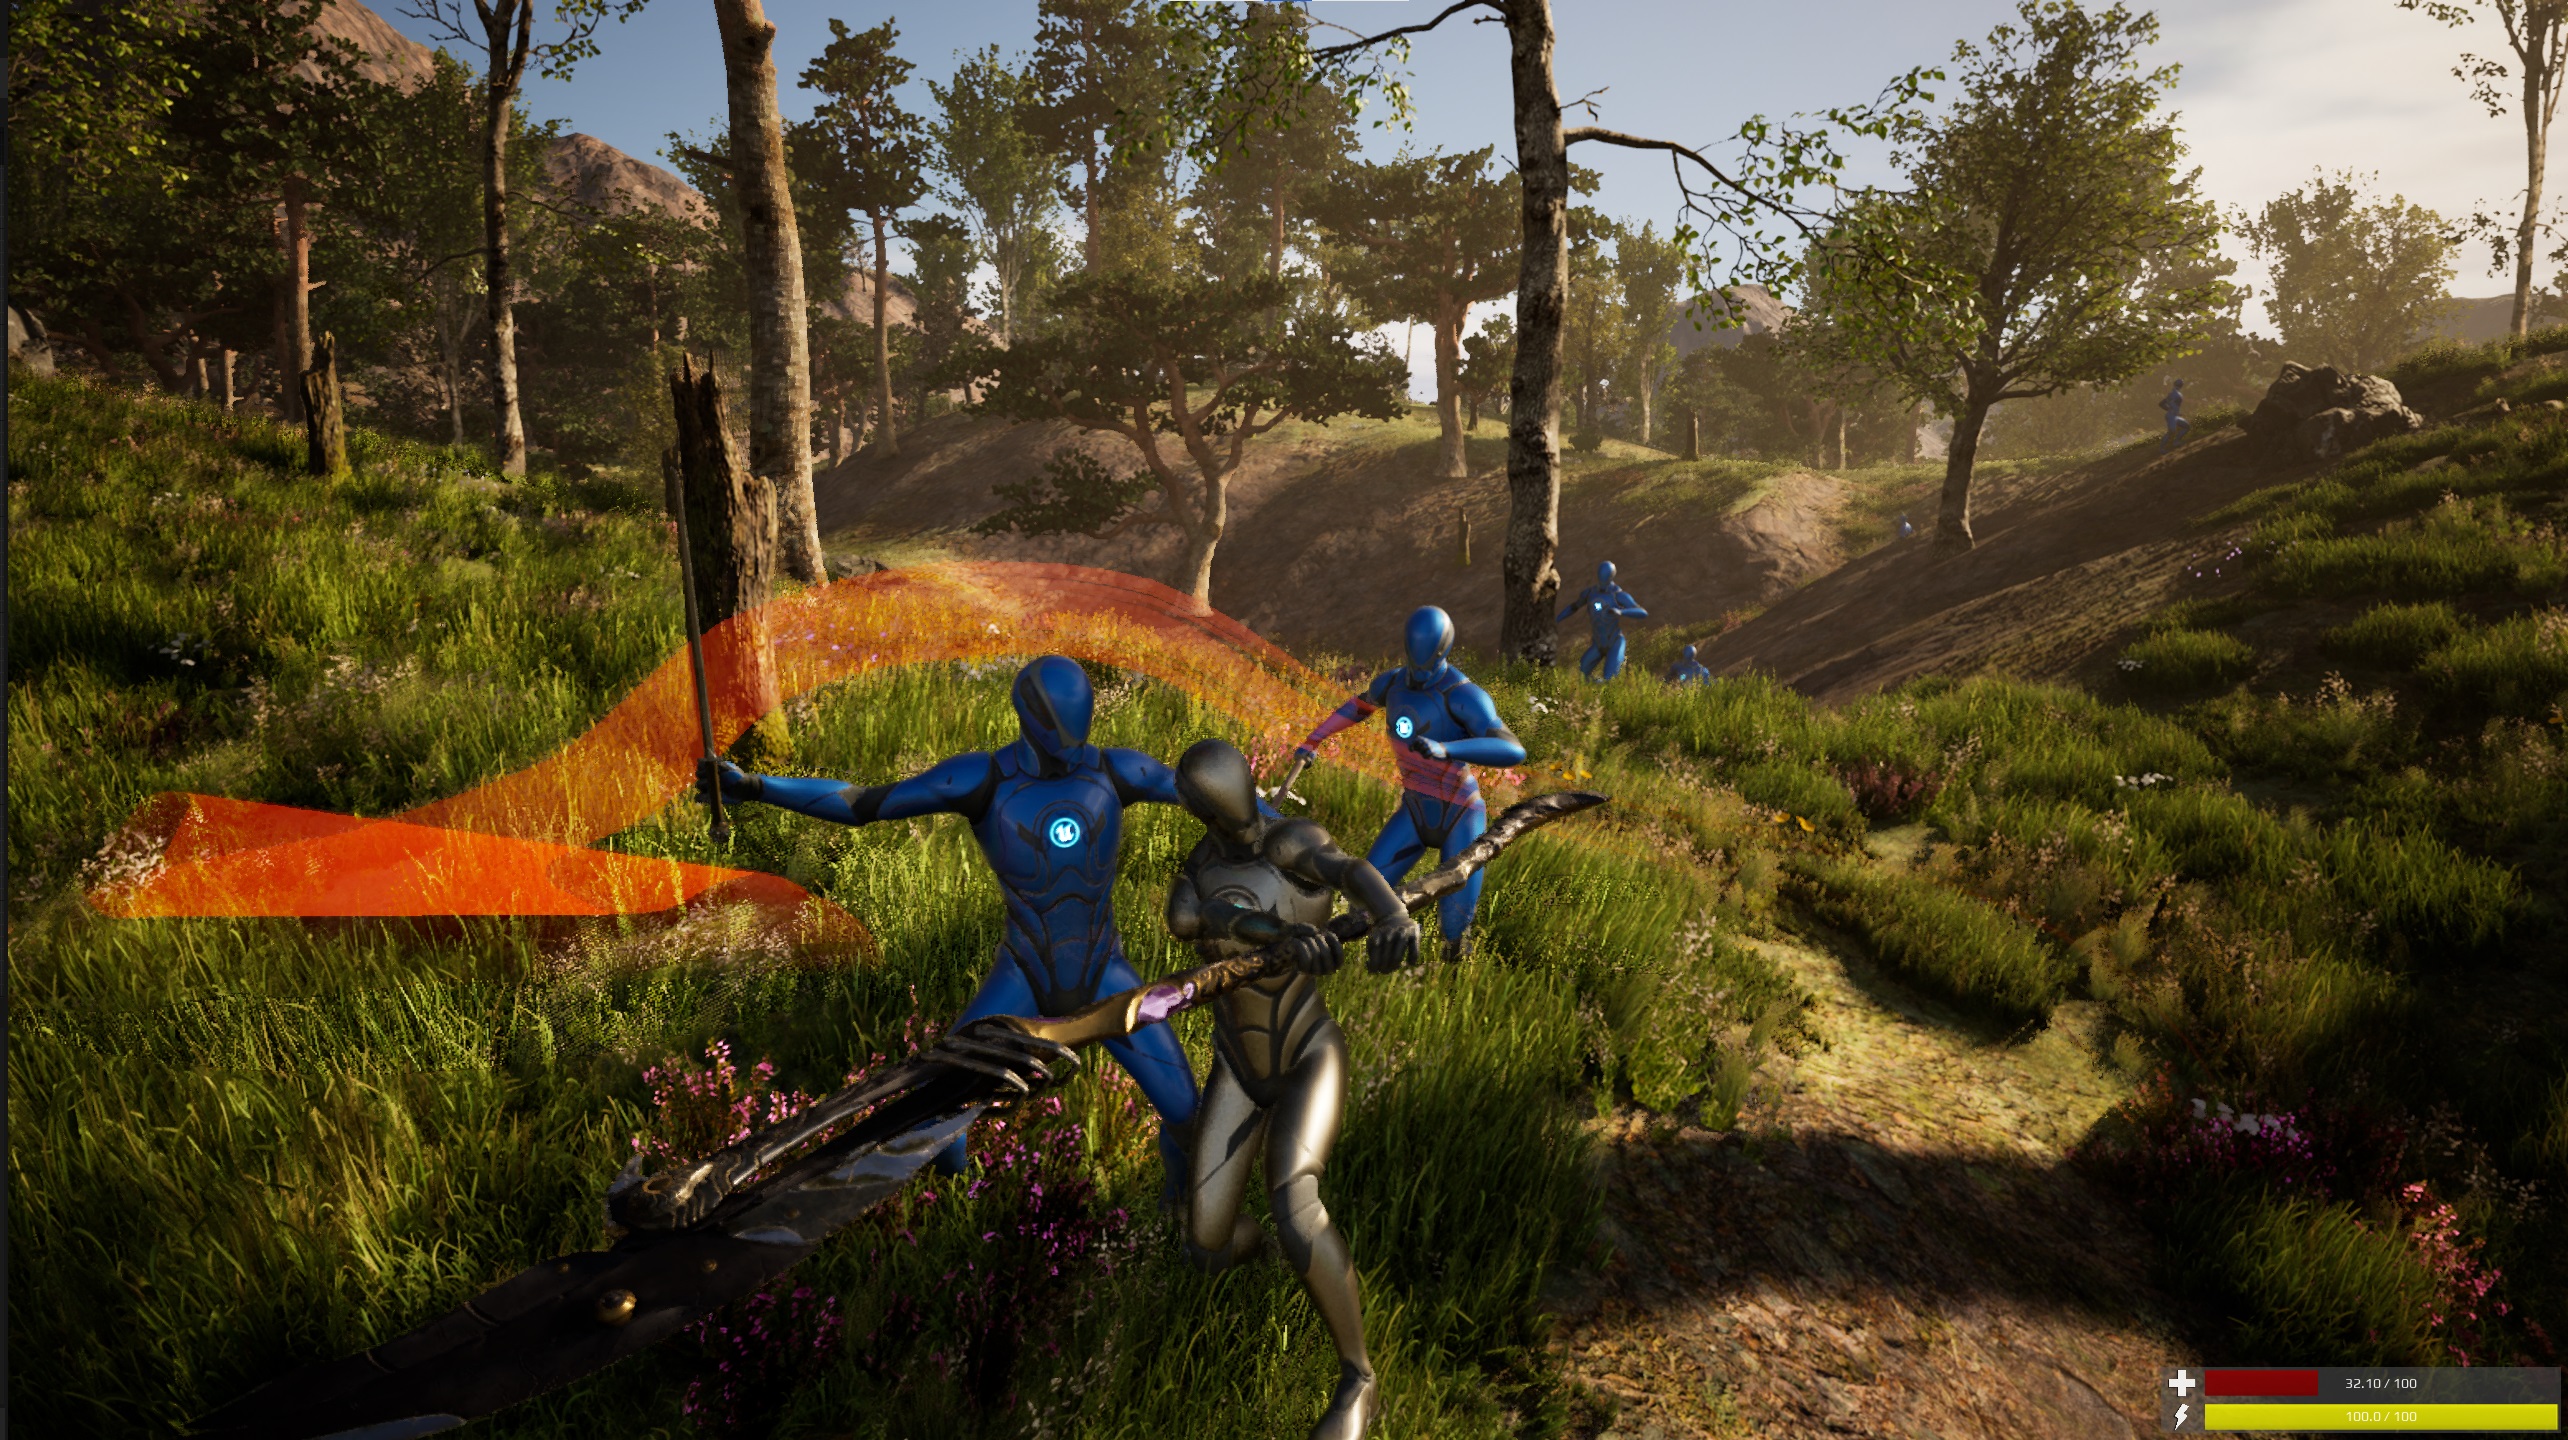
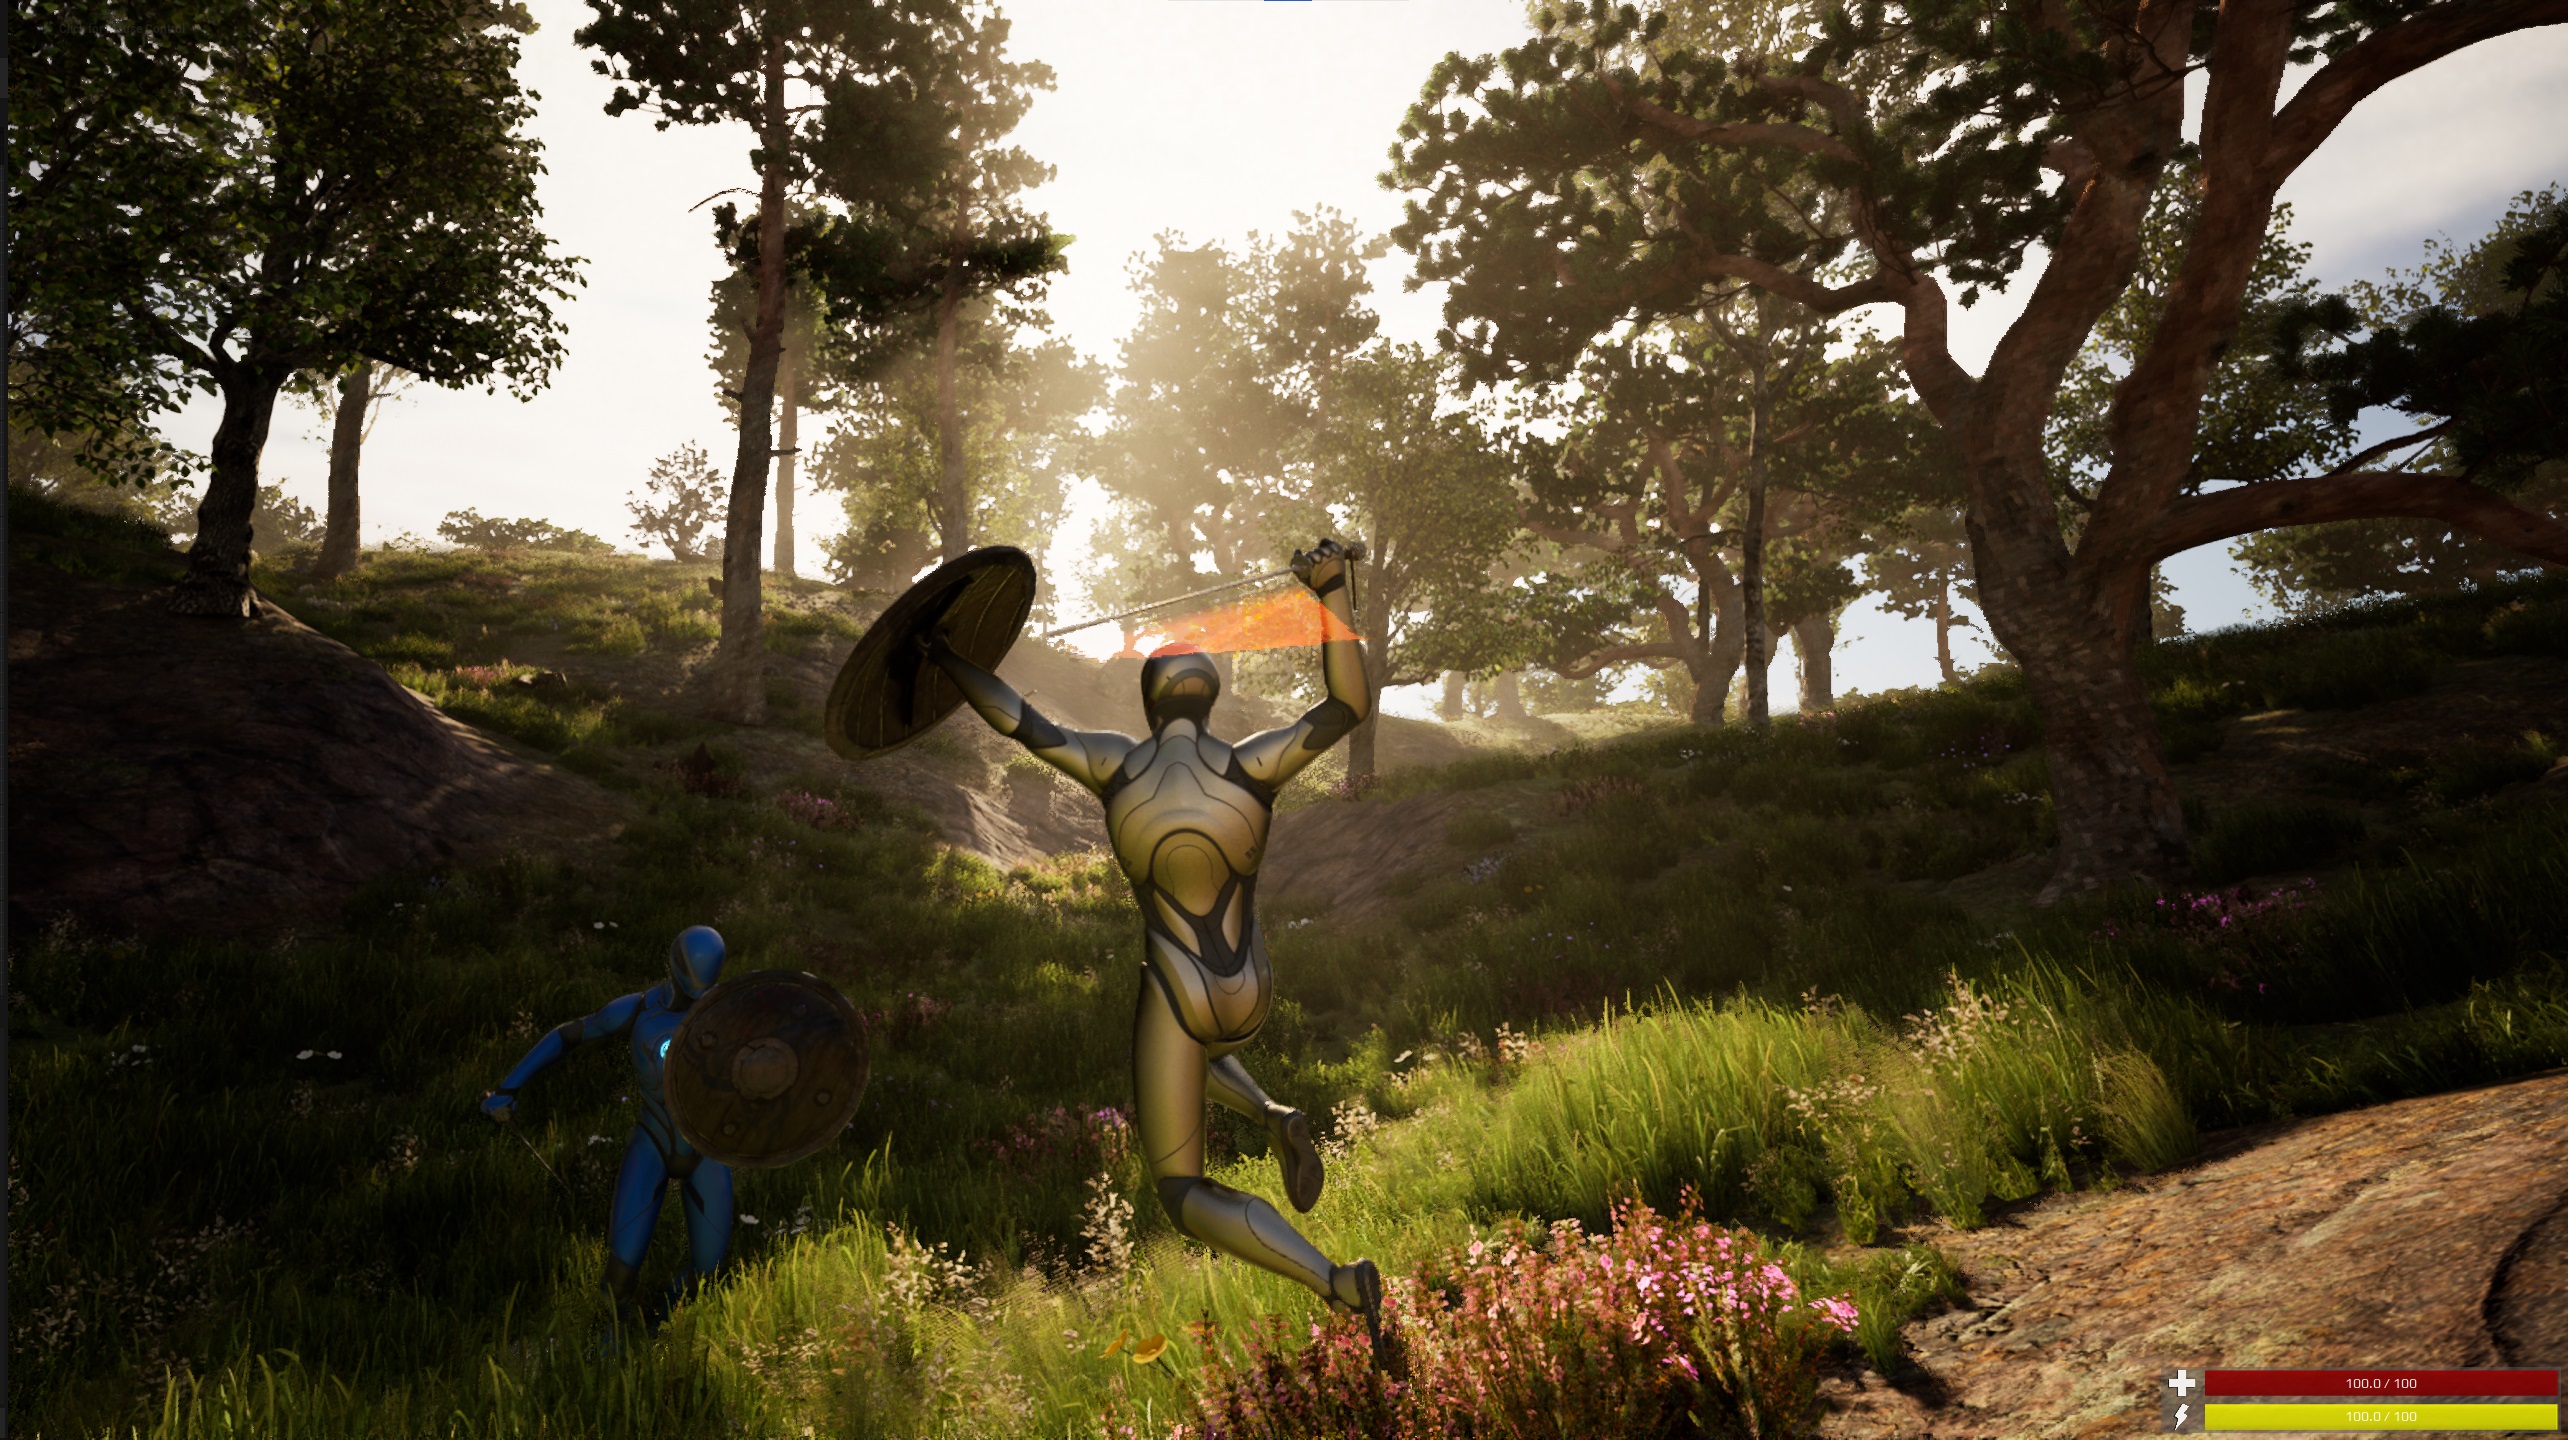
Melee #
The melee features include:
- Including combo’s
- Combo’s can be dynamically setup in the data table. Calculations are done based on data table input, no need for custom montage editing to define when next combo can be played.
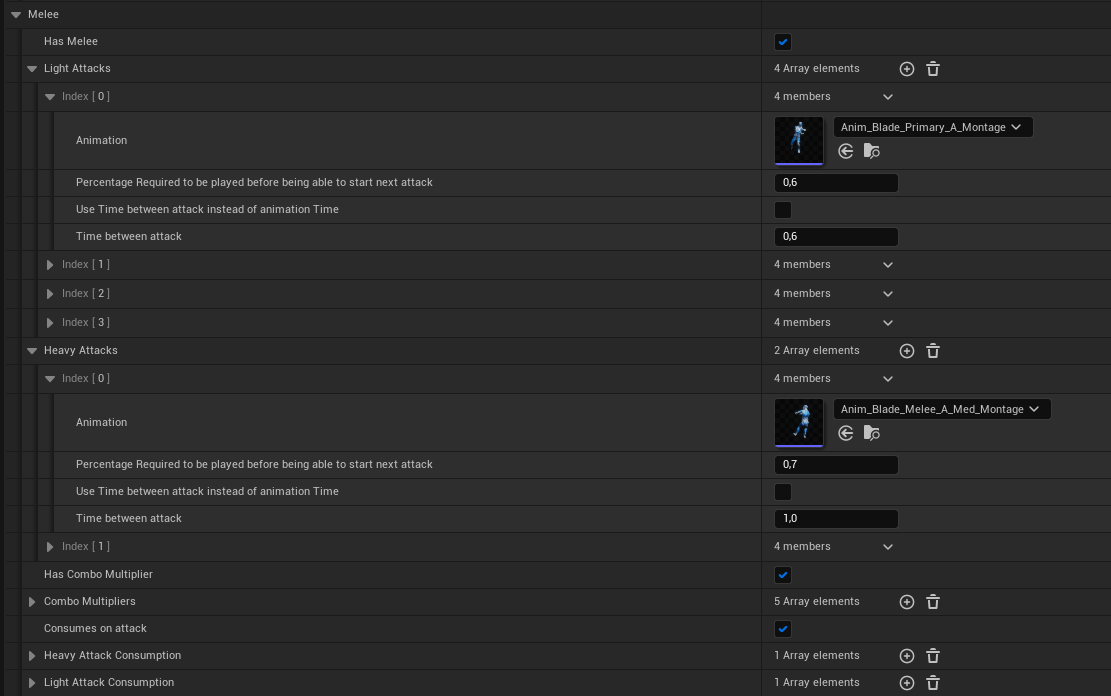
- Can switch between heavy and light attacks (also during combo)
- Currently based on Fully Body root motion. If desired, you can switch it up to upper body.
When no weapon is equipped, you can try to attack, and it will automatically switch to the fists layer.

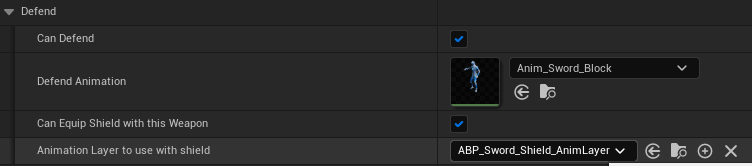
Blocking #
You can set up blocking capabilities on the weapon. It uses a blocking animation. You can block with the weapon itself, or with an offhand weapon like a shield. If you only use the weapon, you do not need to switch your animation layer. If the specific weapon can equip a shield with it, you can switch the used animation layer to the weapon including the shield. To be able to equip the shield, you first need a weapon that can have a shield combined with it.
Dual Wield #
Dual wield weapons is equipment that just spawns twice. You can setup the secondary spawn in the data table.

An example of a dual wield:
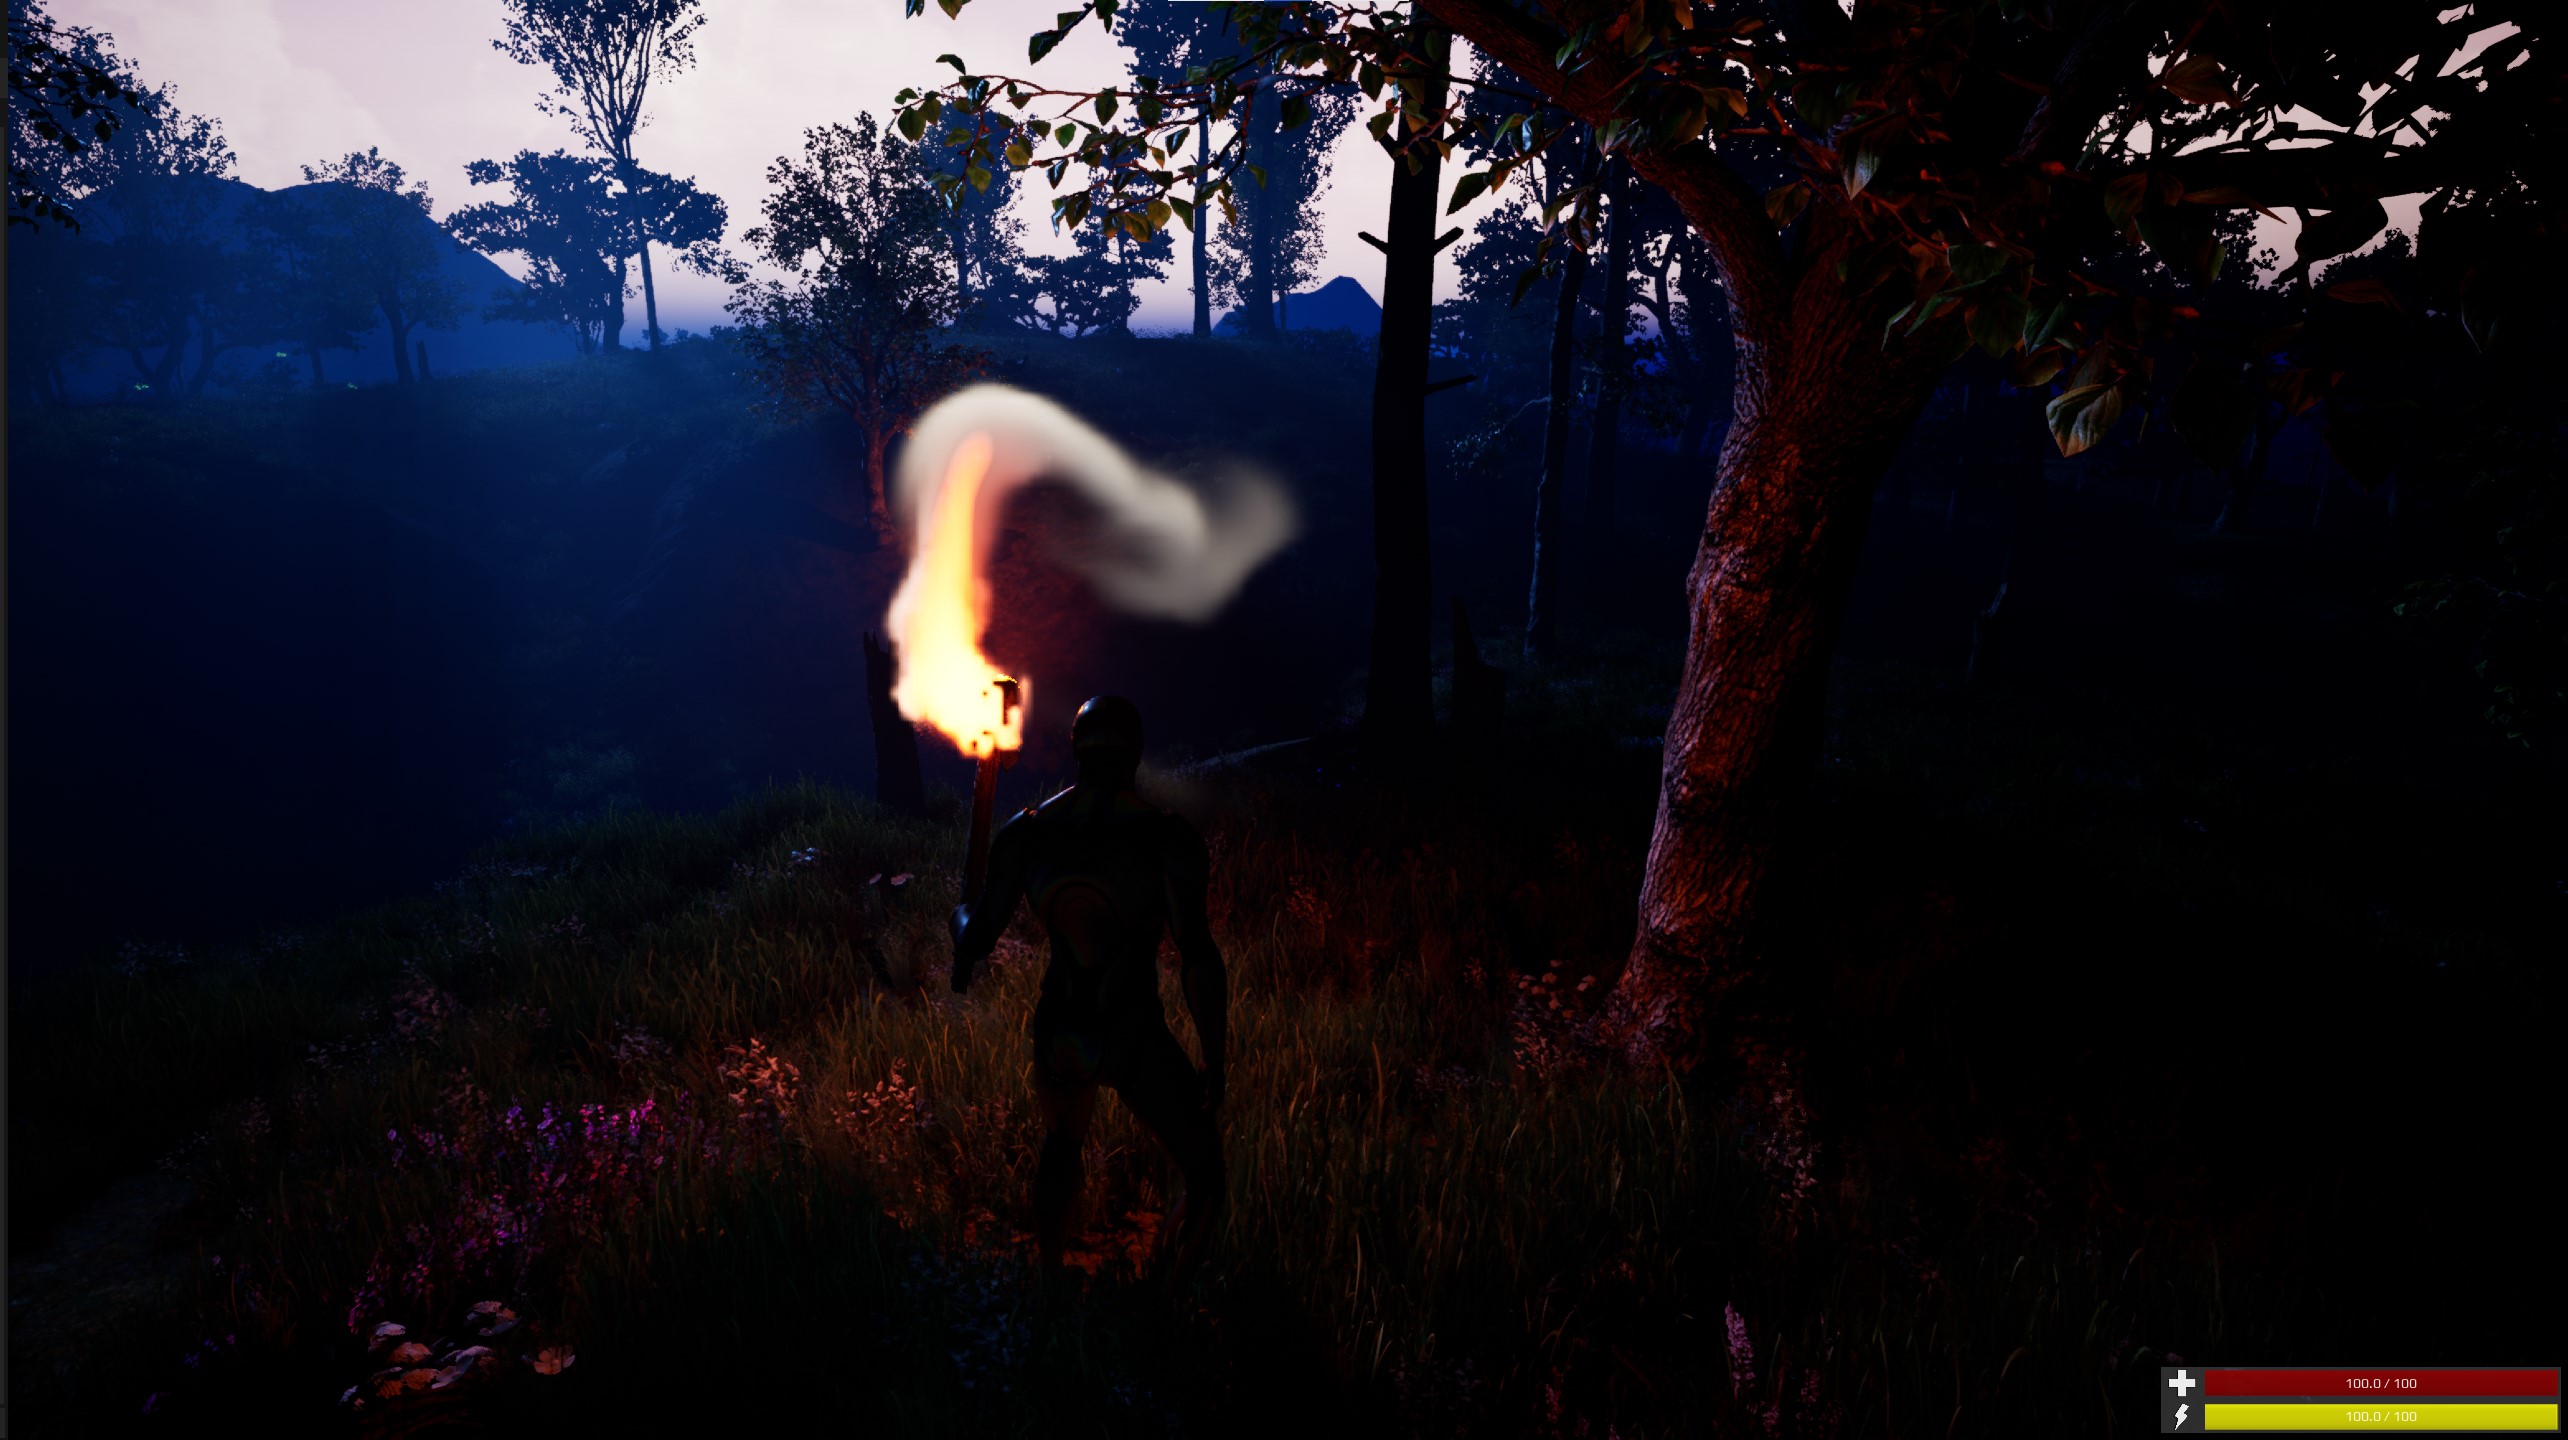
Torch #
As a complementary addition, the torch is included. It has no melee capability included. It is a blended animation on the left arm, and it makes sure to spawn a light and a Niagara effect.
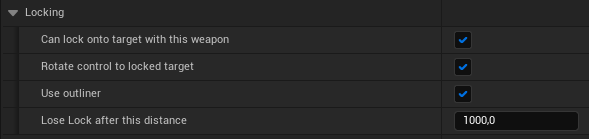
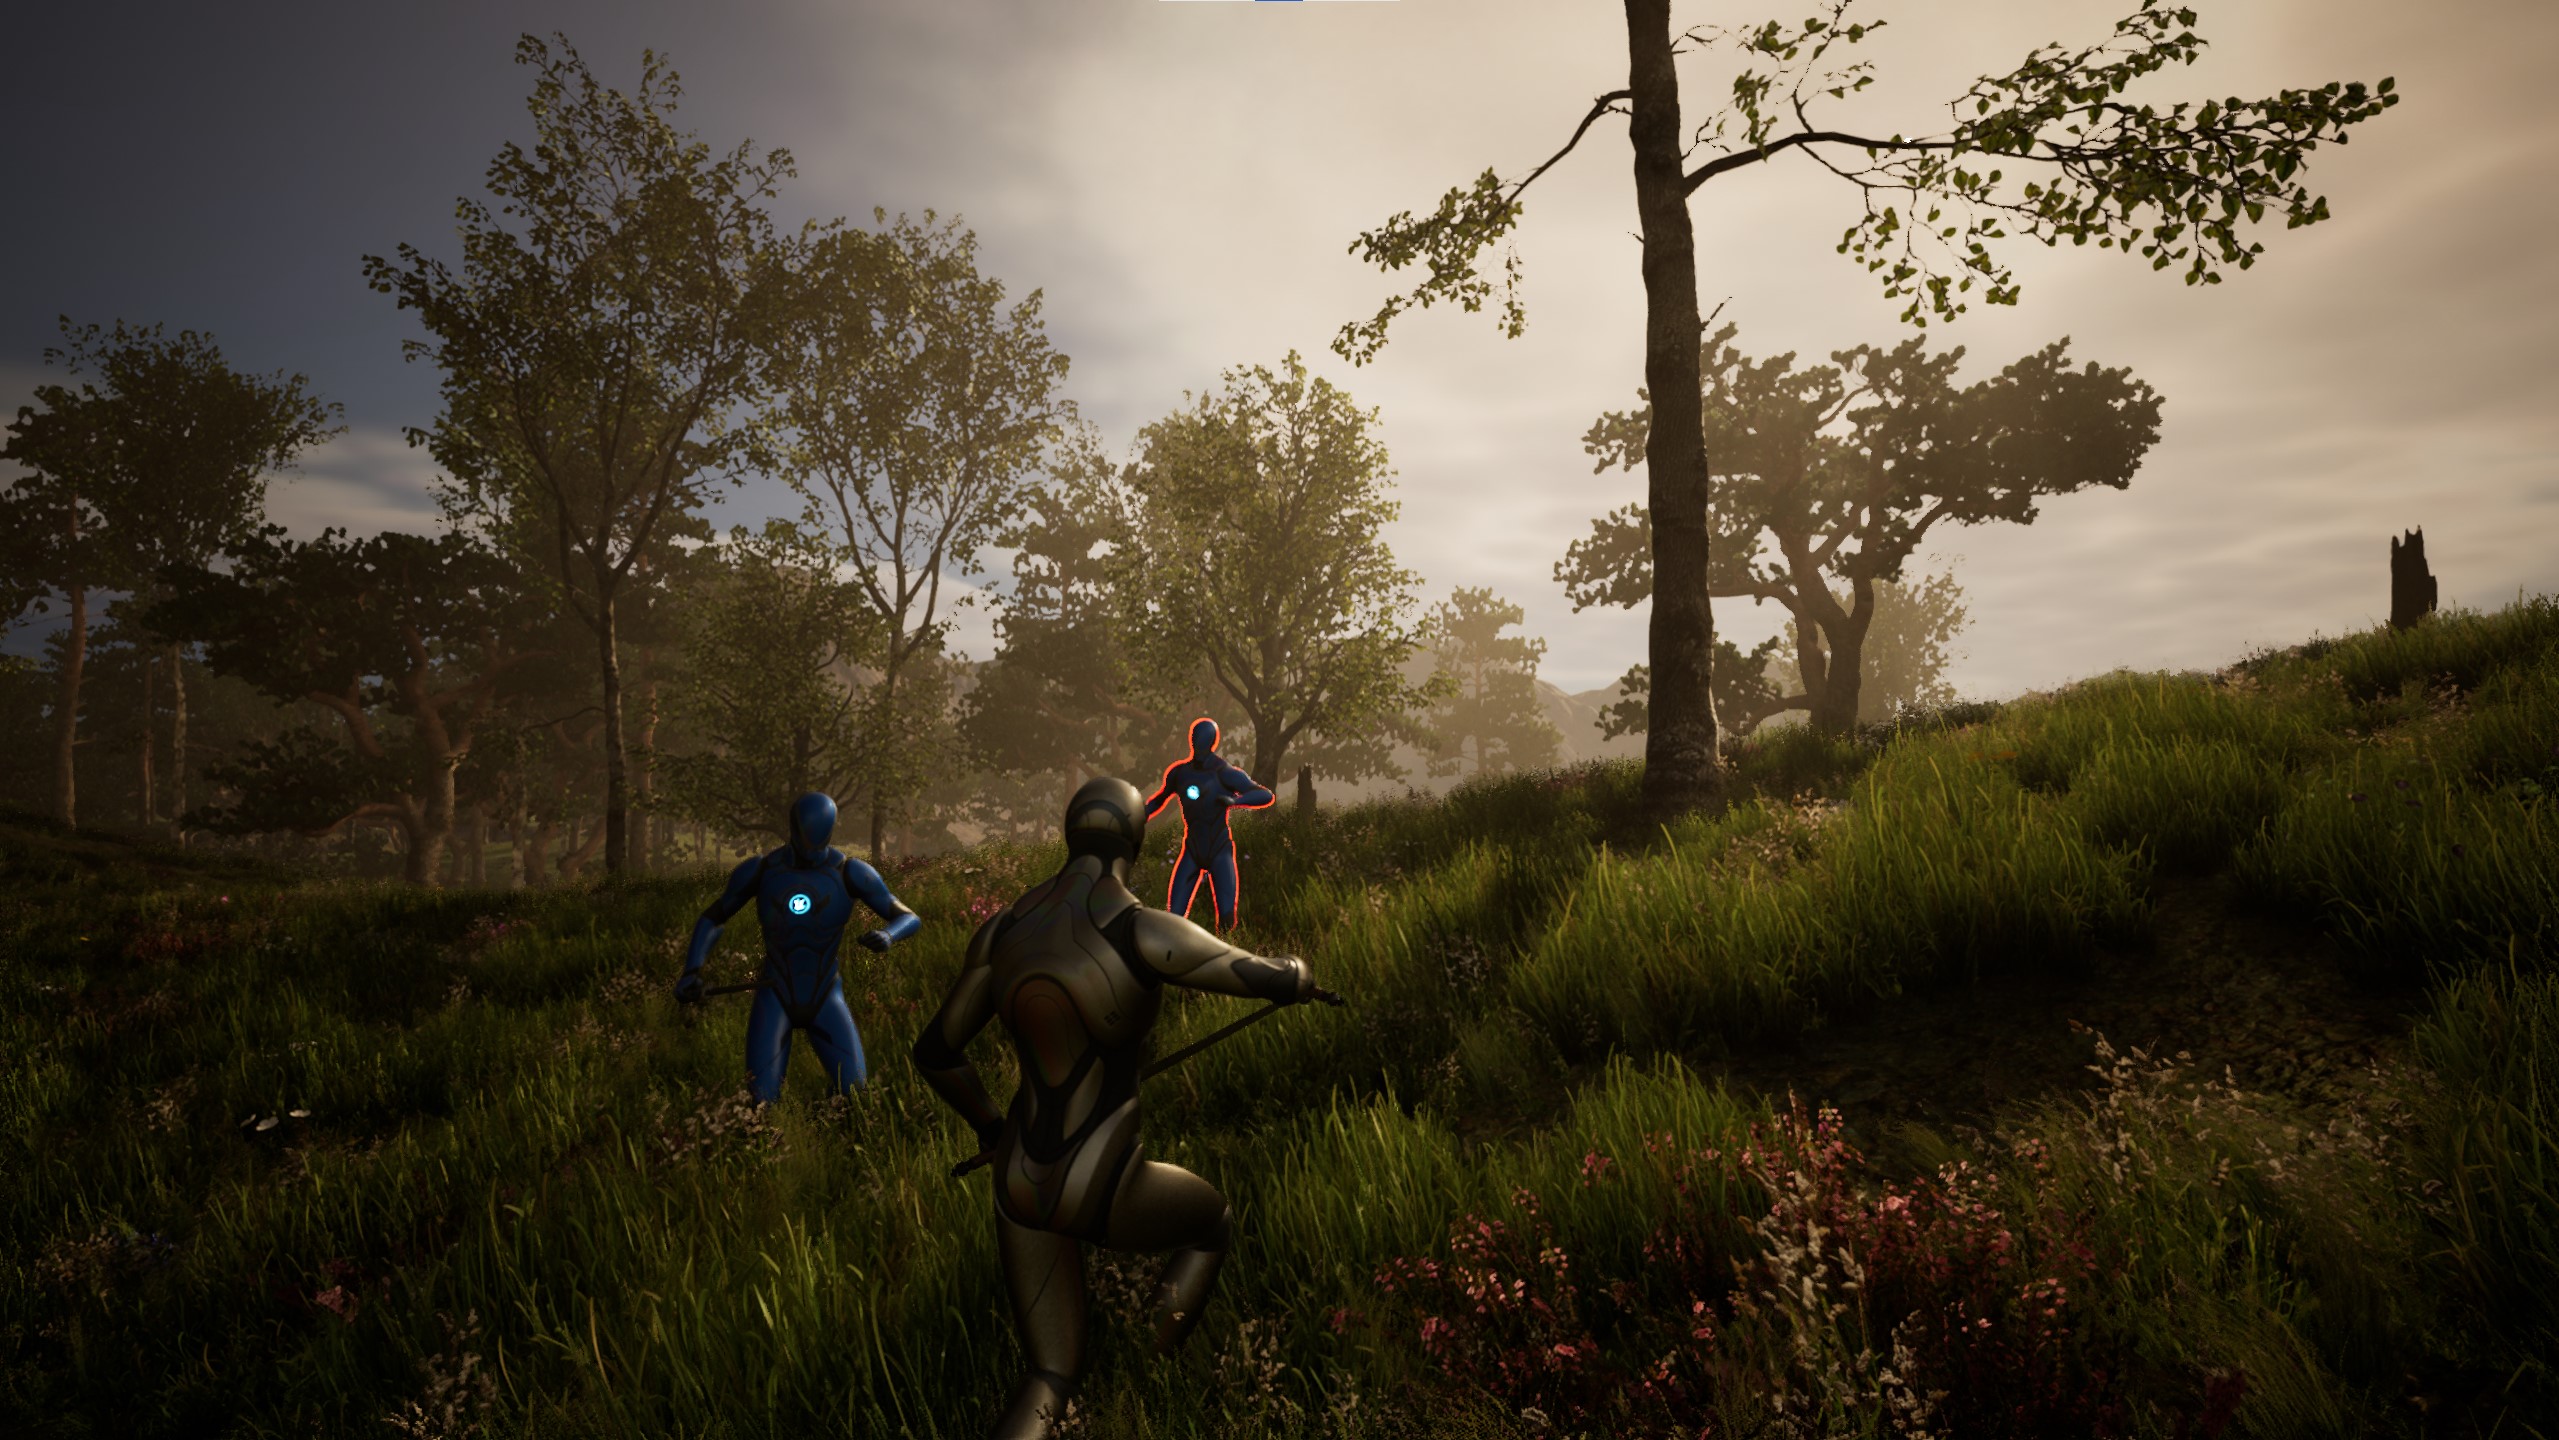
Target lock system #
-
- If locking to a target, the character is switching to strafe movement and facing the target.
Replication #
The whole system is fully replicated. For all important calls, we are using the server as the authority. Replication can be quite thorough. If I missed something, please let me know.
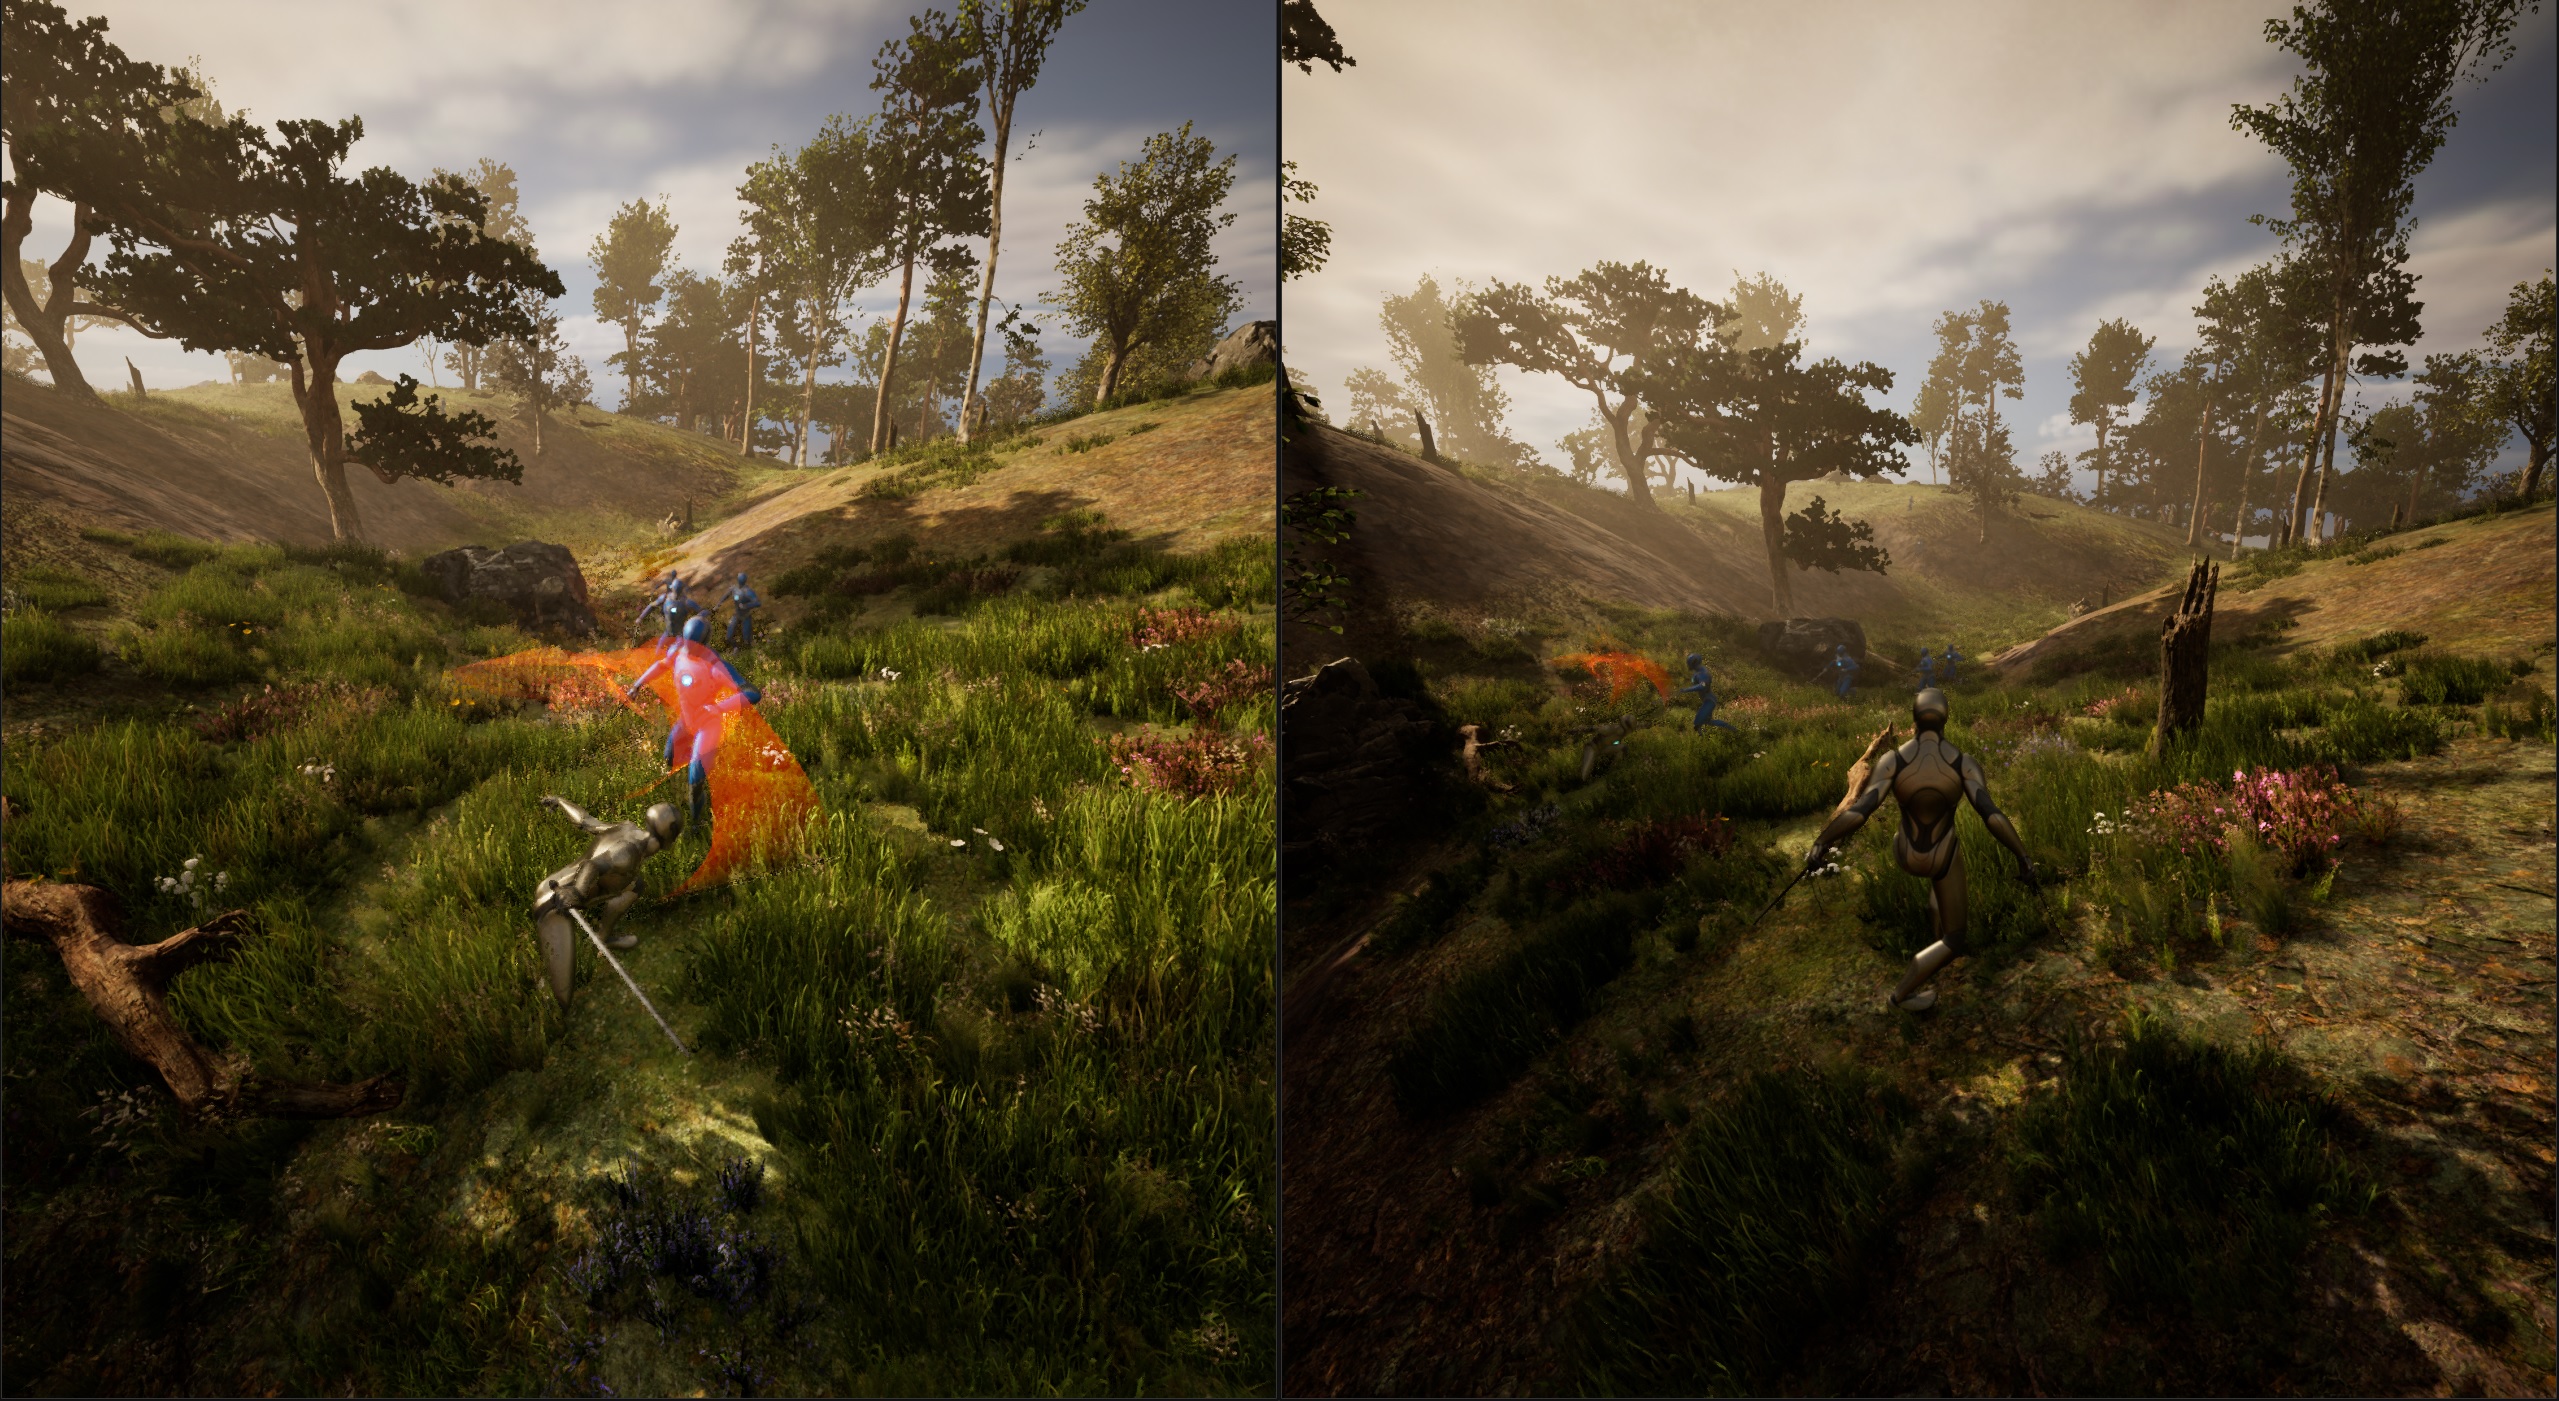
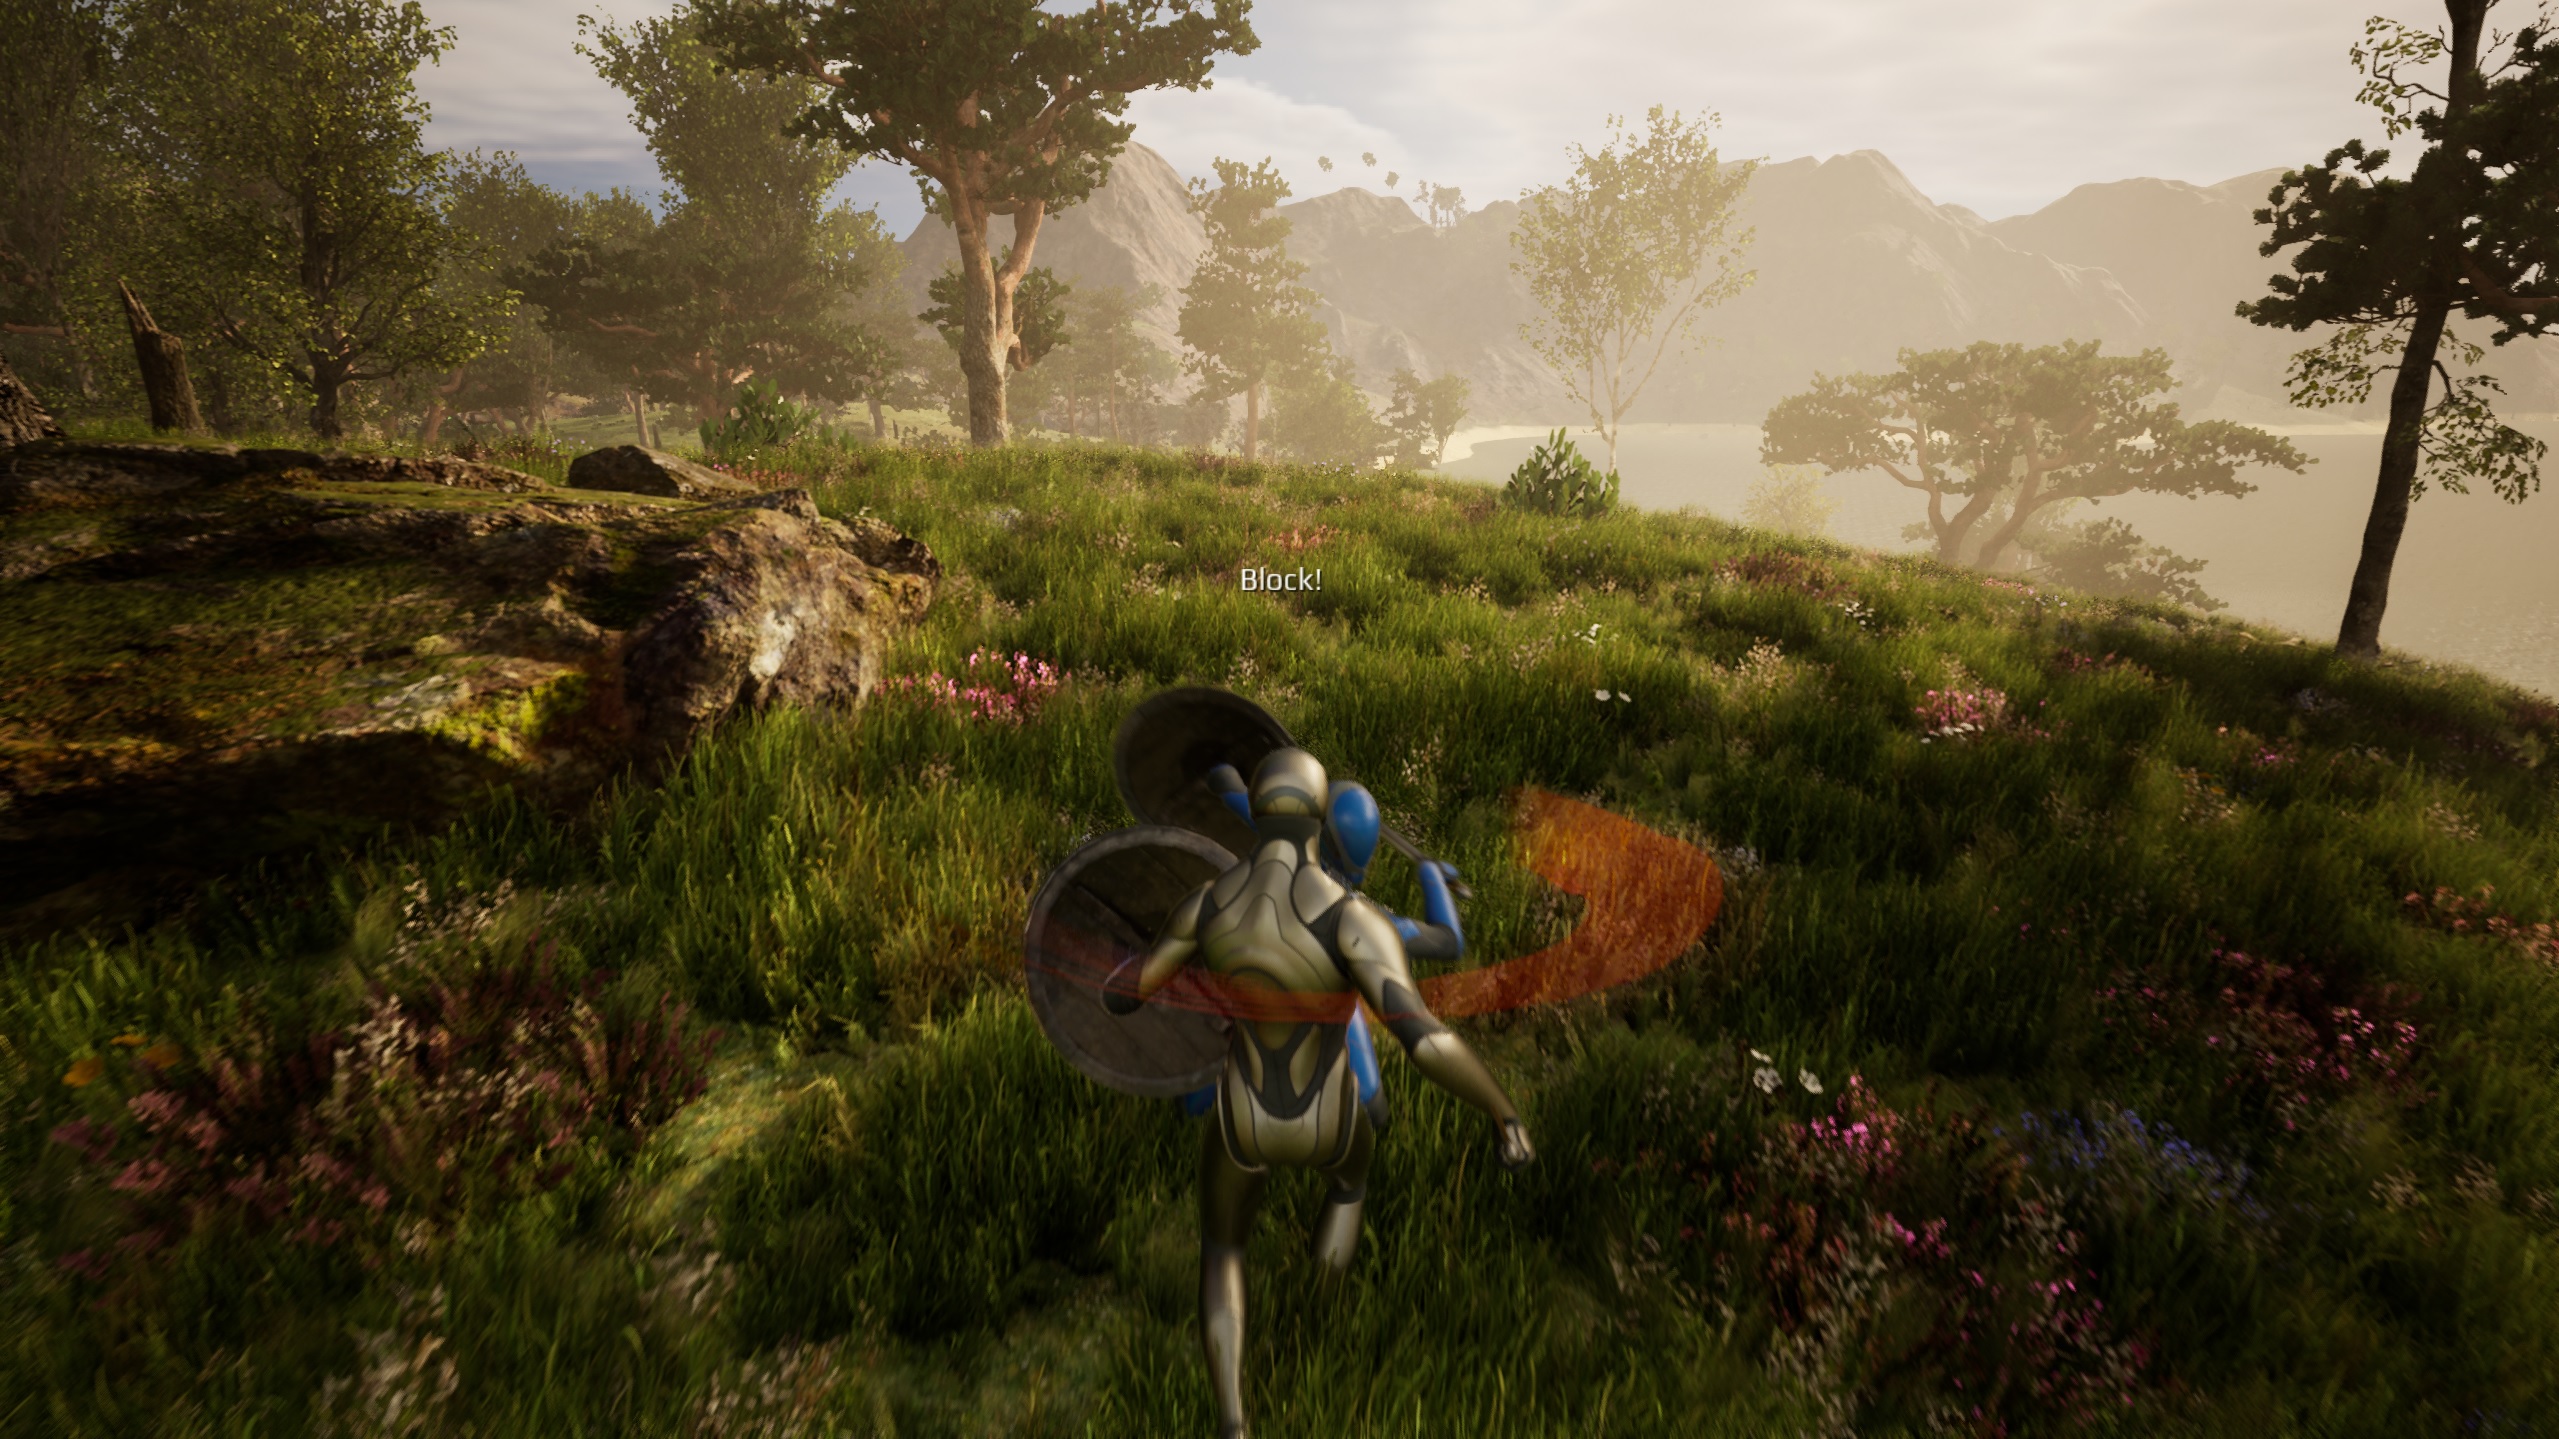
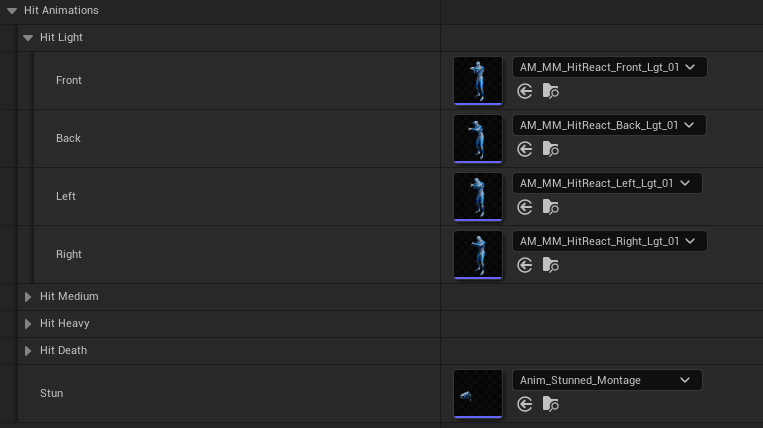
Additive hit reaction system #
A hit system is included. Based on the direction you are hit from; the animation will play onto a certain direction.
- Receiving a hit while blocking, melee, bullet, etc.
- Switch hit based on attack type (Light, Heavy, Stun)
- Switch to die montage hit.
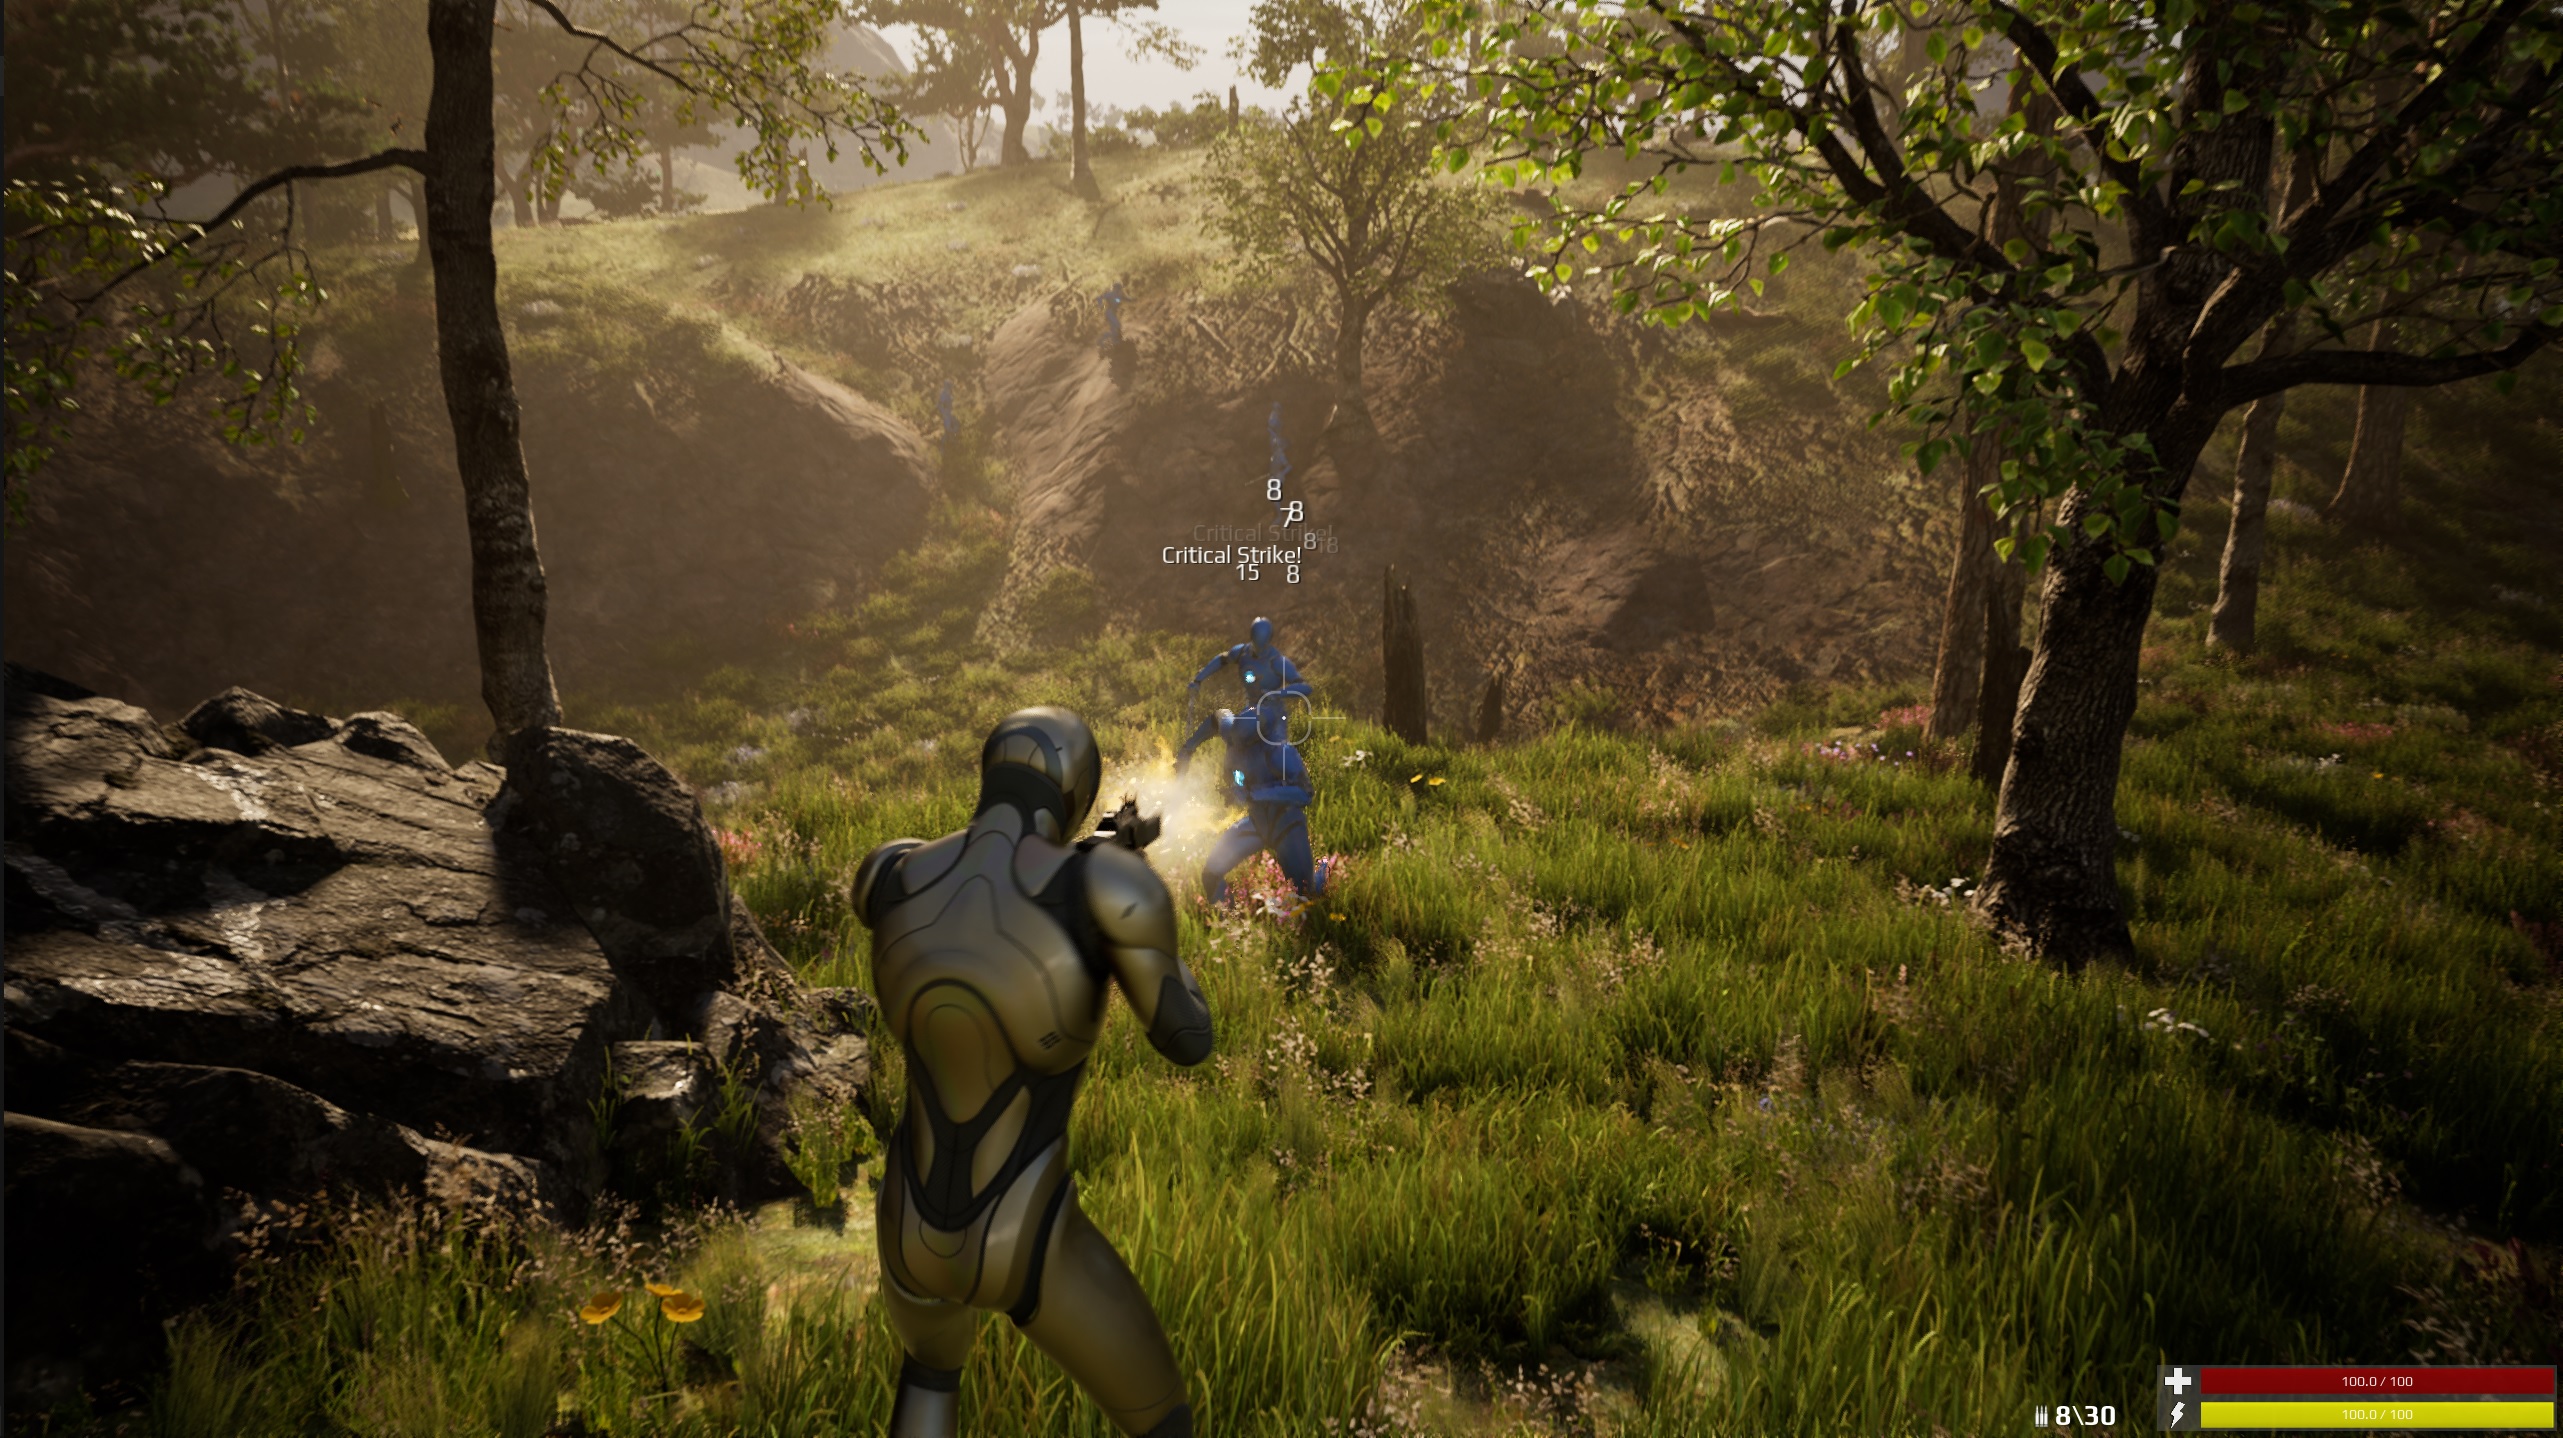
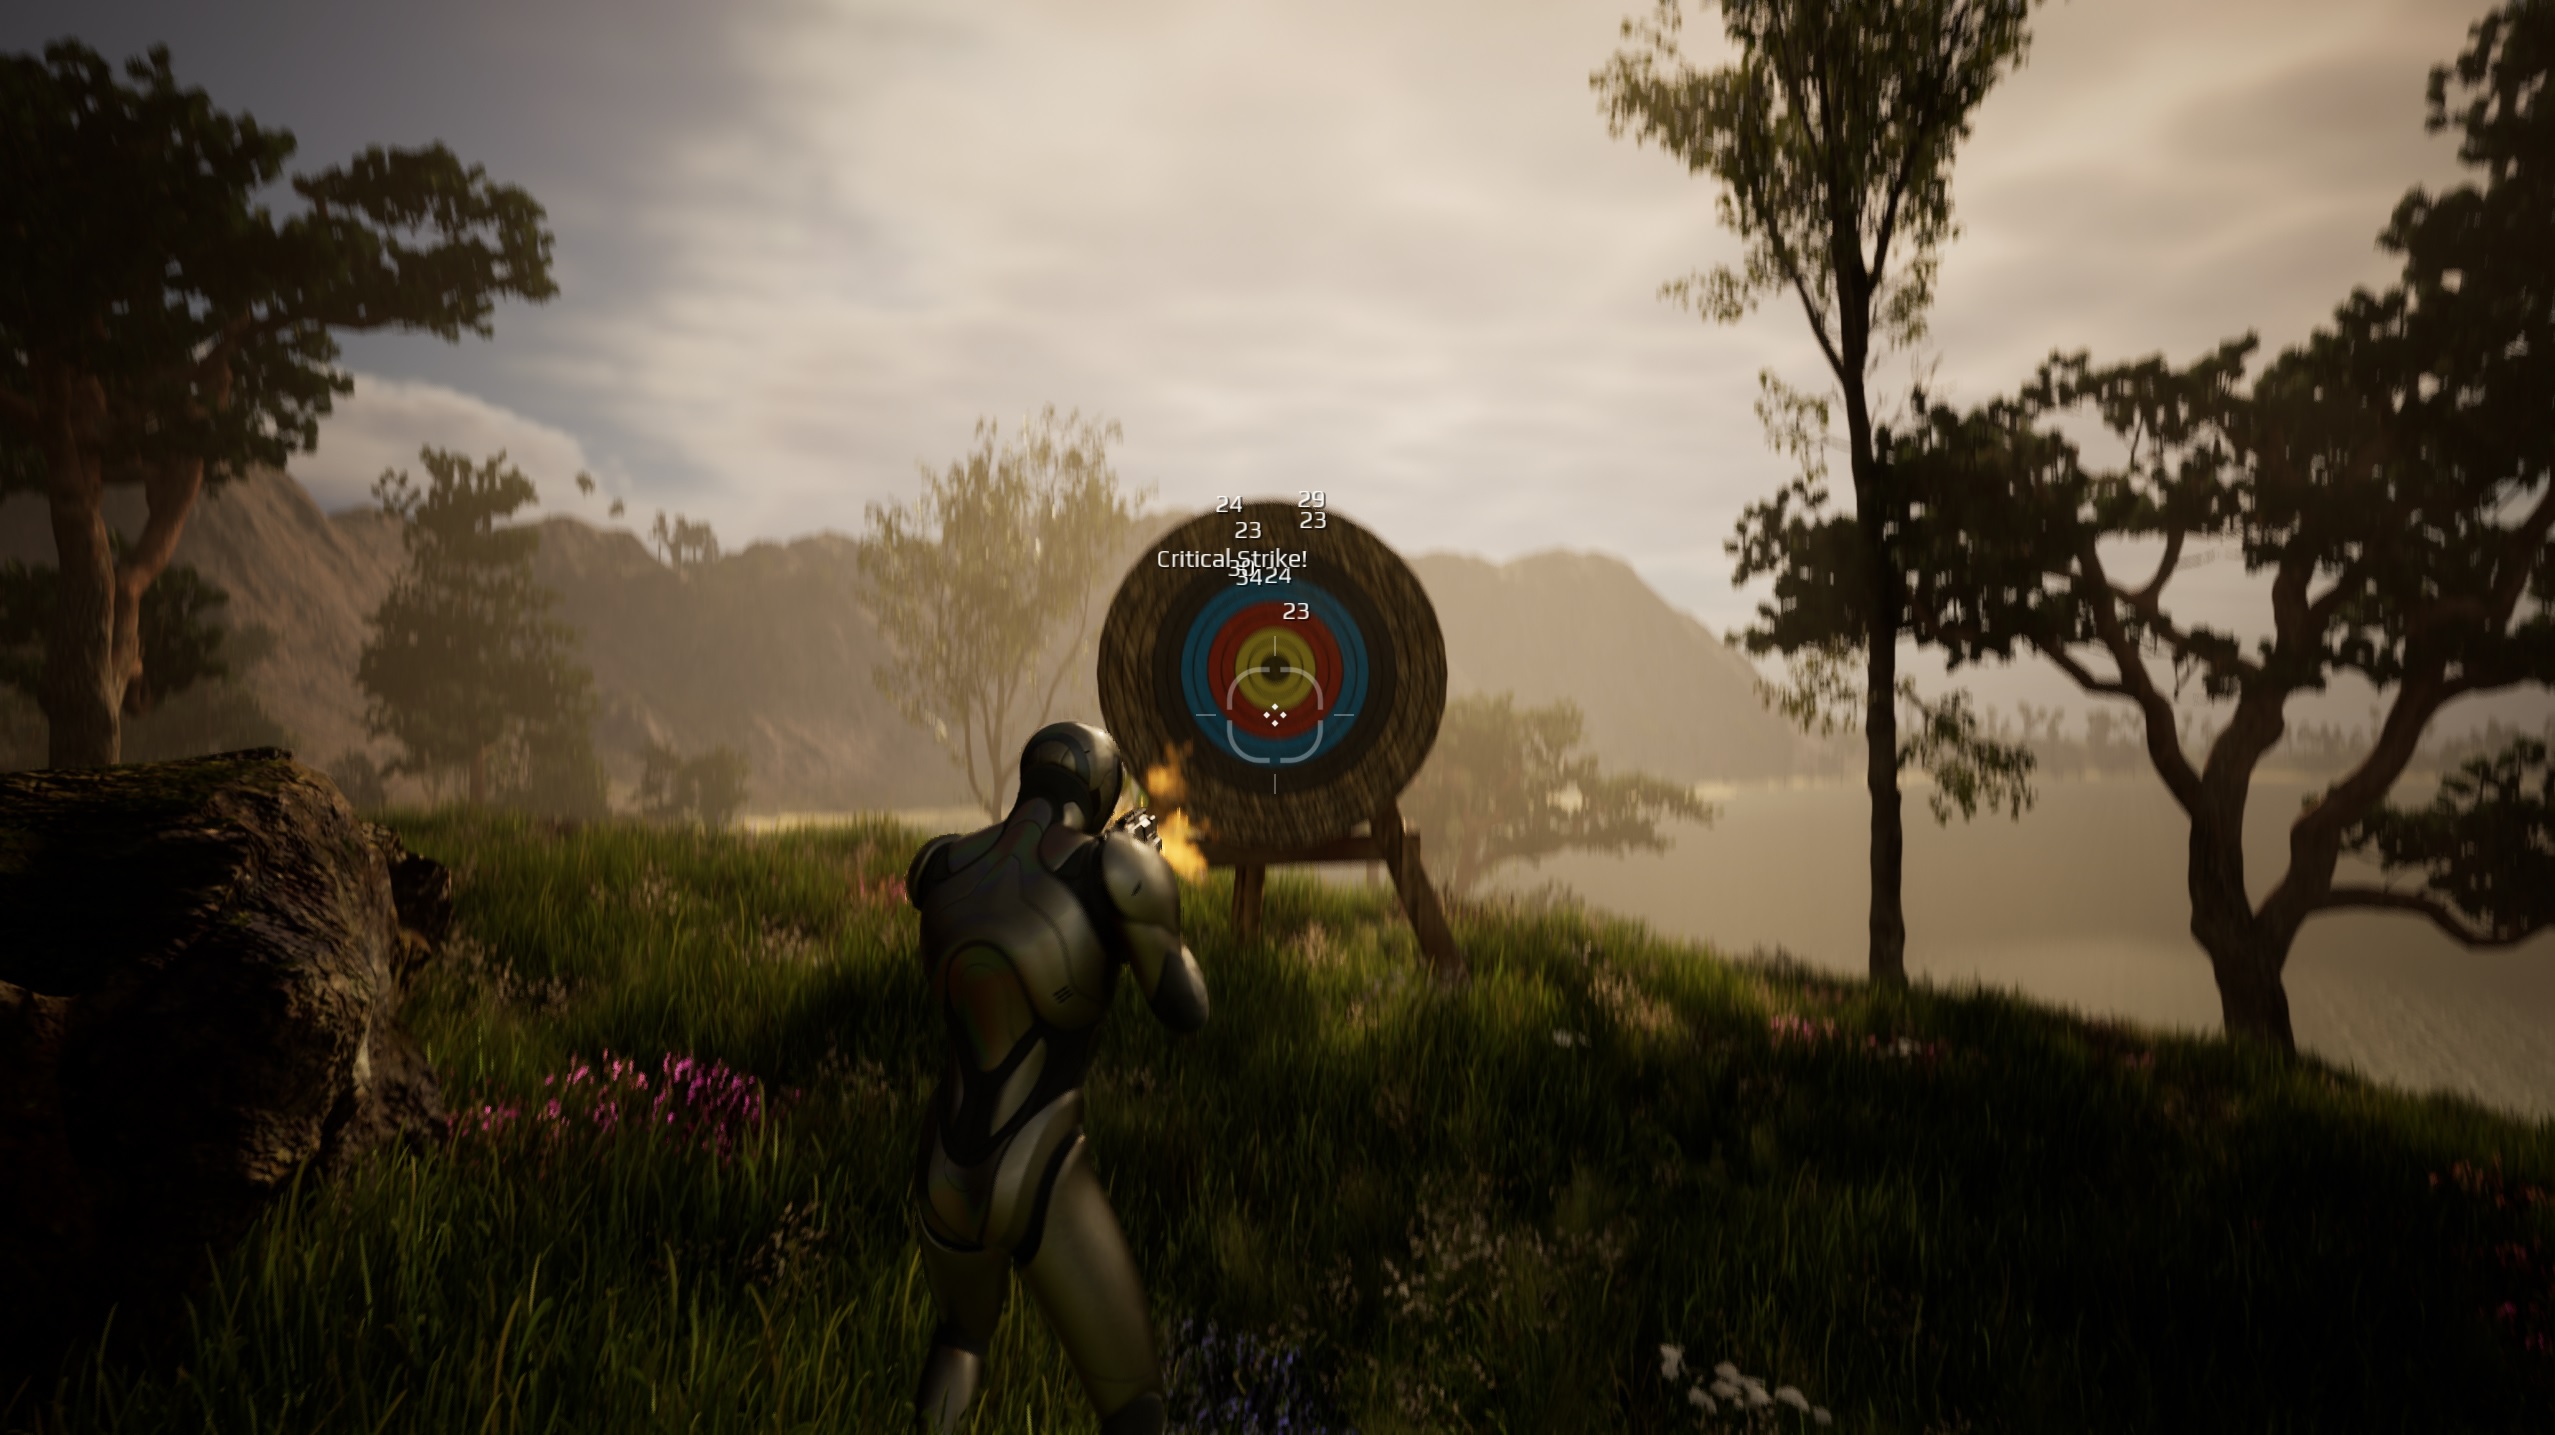
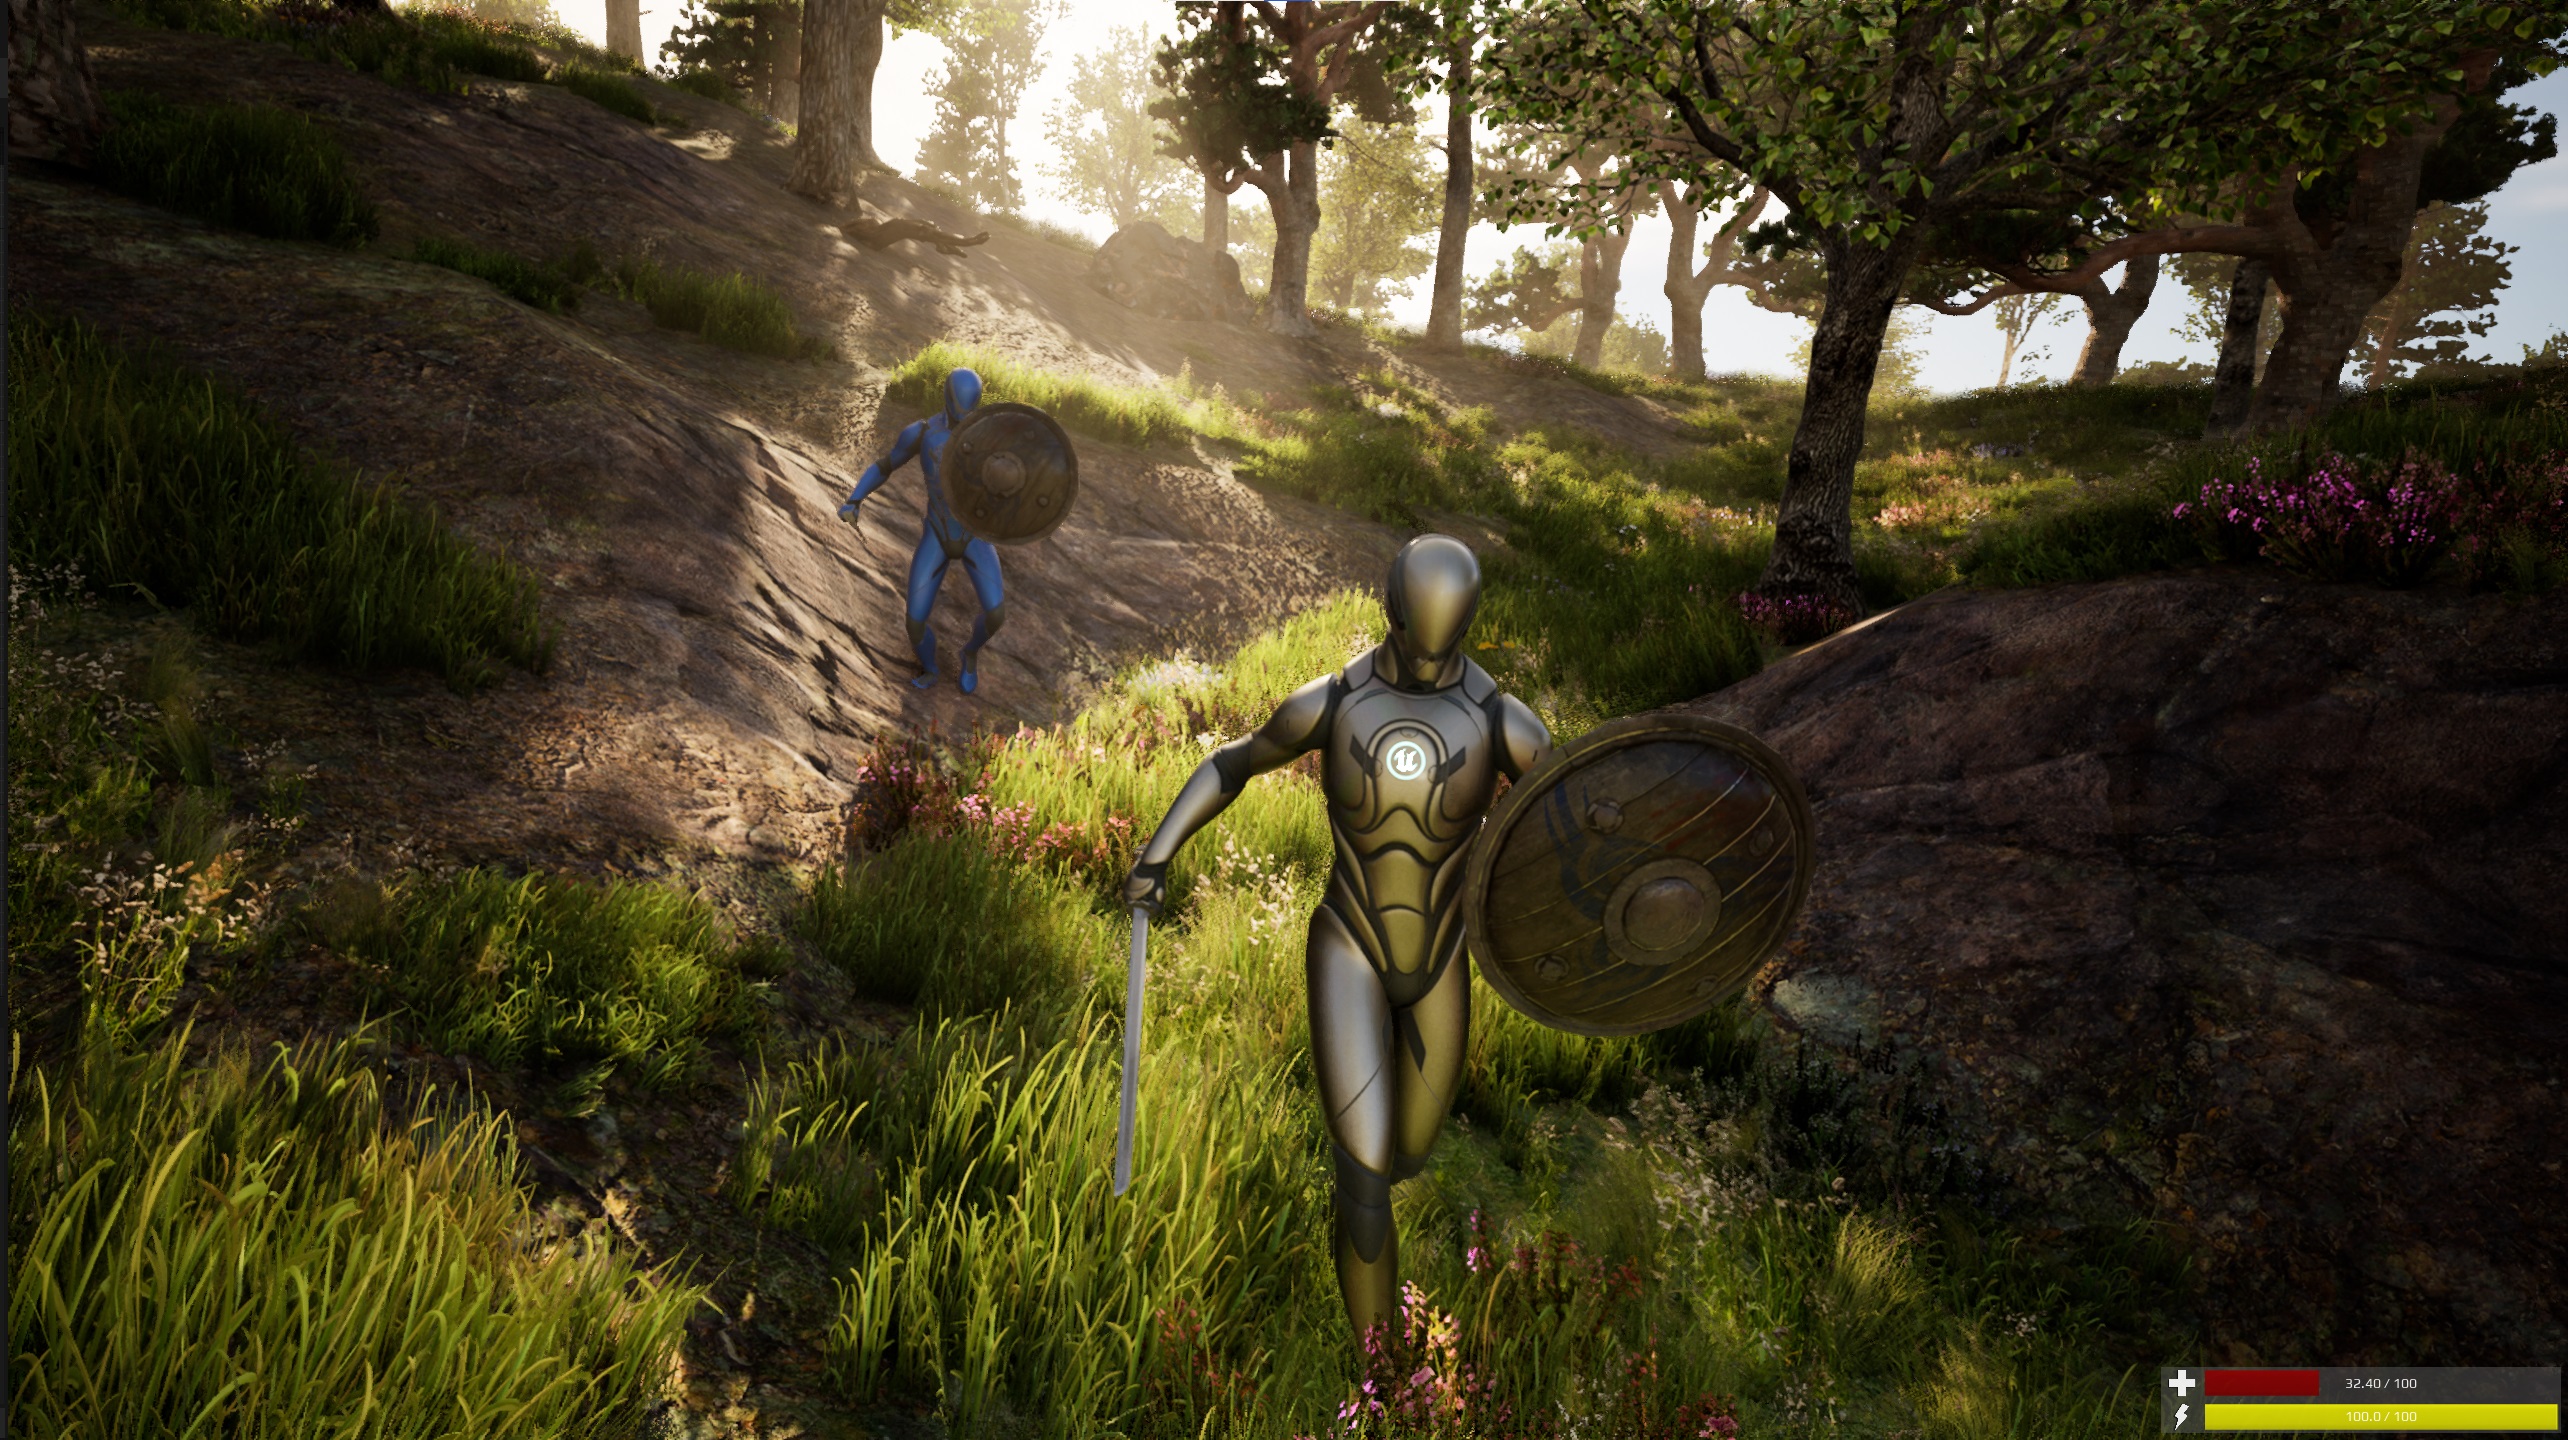
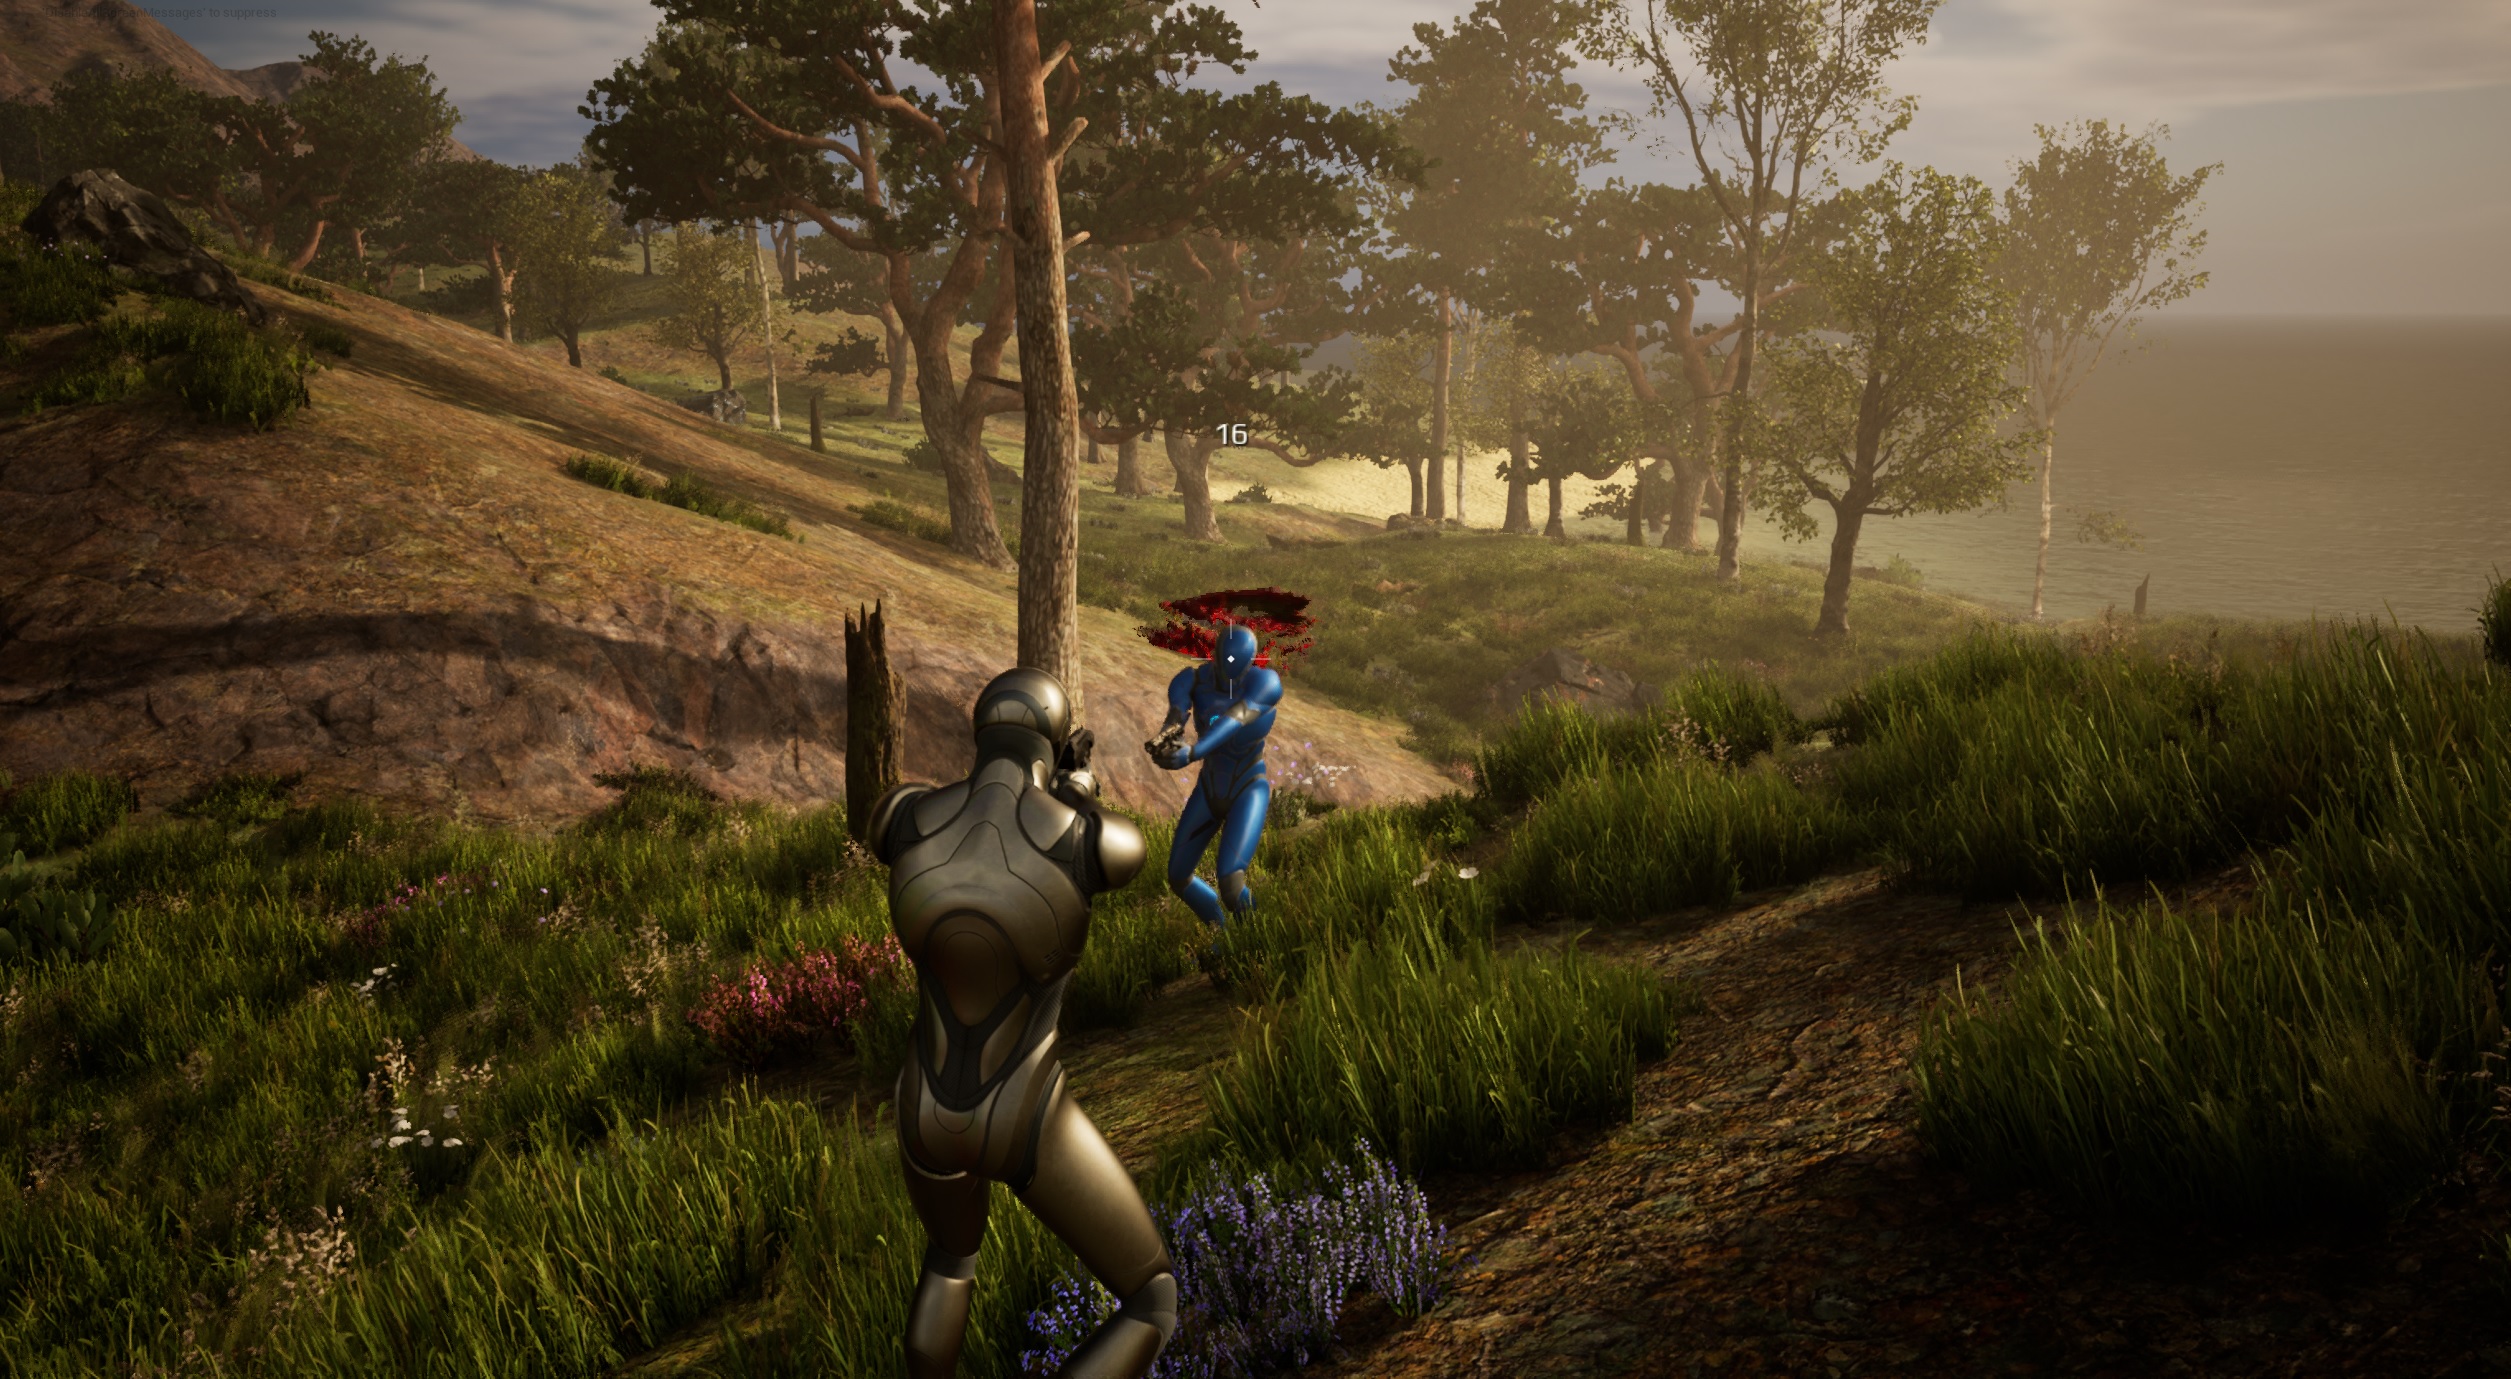
Damage System #
Based on the current stats of the equipment the damage is applied. It includes:
- Blood effects
- Hit effects: “Blocked!”, Critical Hit!, “Damage amount”.
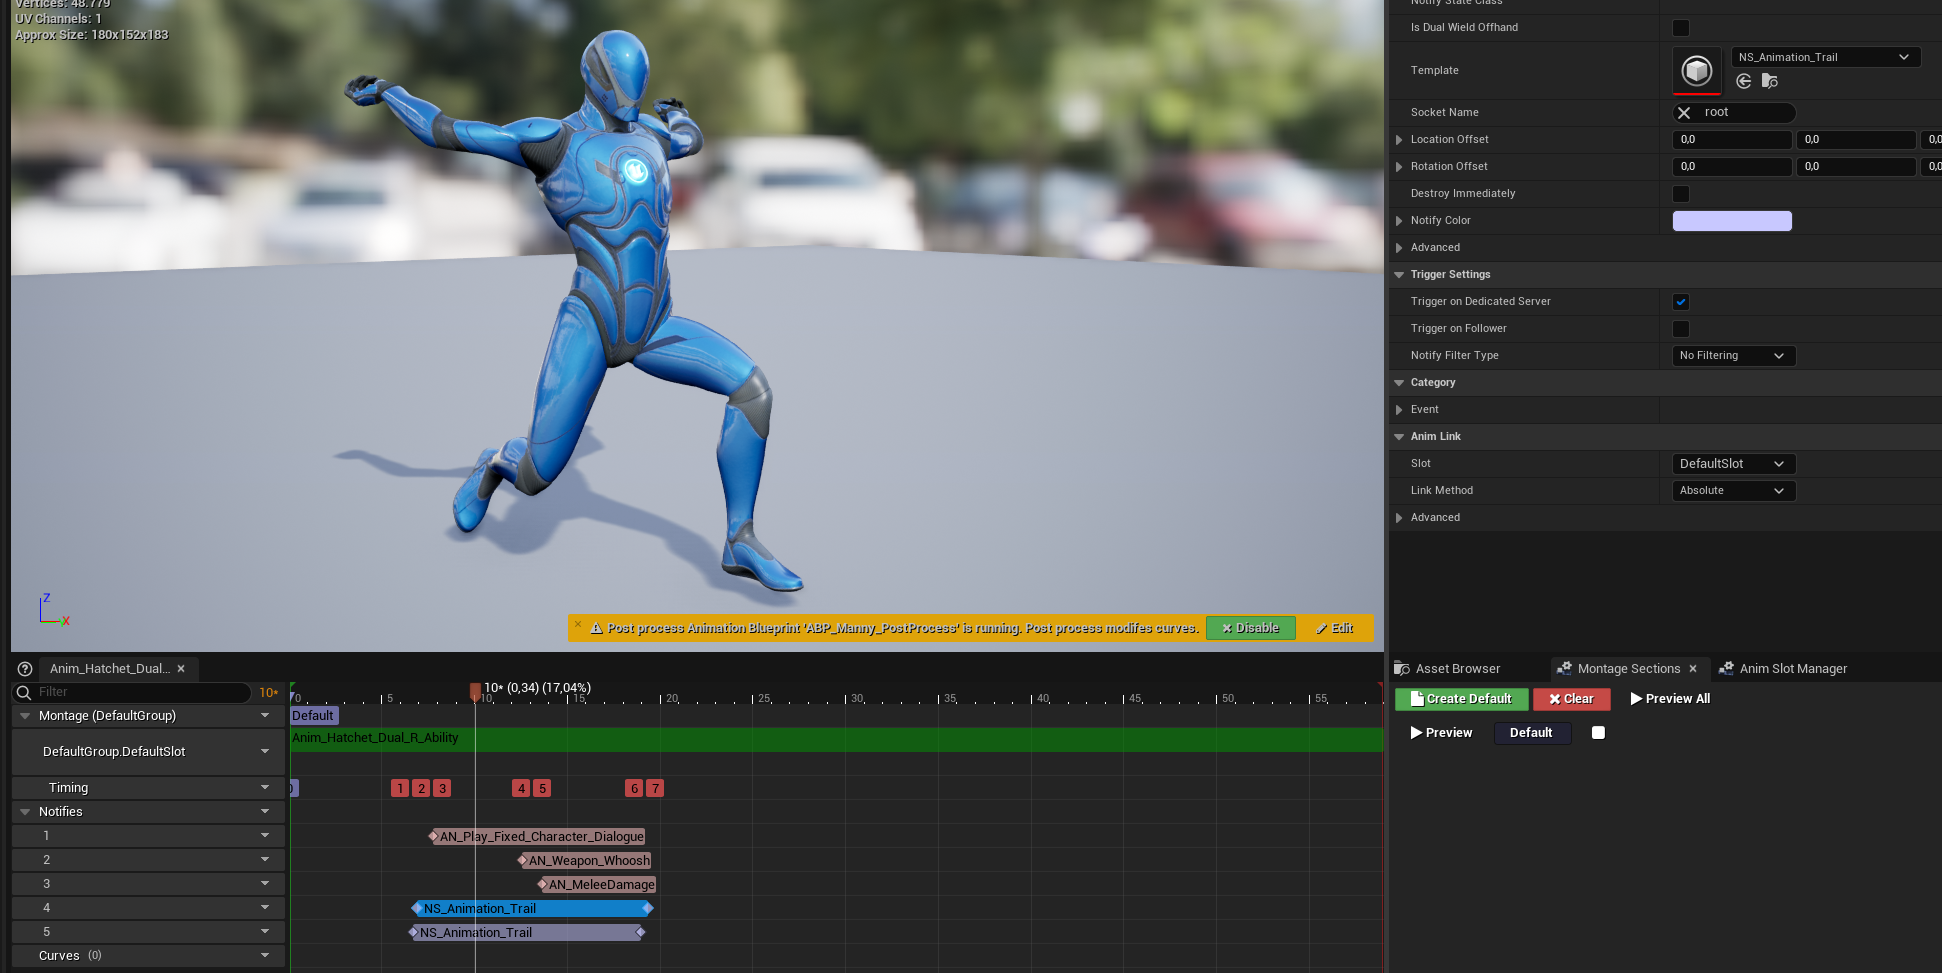
Animation Notifies #
Most montages are being setup with animation notifies.
- Animation Trail
- Setup two of the trails if you have a dual wield weapon and specific which one is the offhand
- Character Dialogue
- Make a specific sound from the character voice assigned to the instigating character.
- Weapon Whoosh
- Spawn a whoosh sound, based on which weapon is equipped.
- Melee Damage
- Start the melee damage trace. Everyone in the radius of the trace will get damage applied.
Integrations #
The combat system includes several dependencies to make sure it works as a whole:
- Inventory Manager
- Attribute Manager
- Interaction Manager
- Outline Manager
- Equipment Manager
- Character Voice Manager
- Footstep Manager
- Locomotion Framework
- UI manager
- Pawns in radius
- Replication subsystem
- Ragdoll
- Simple respawn
The current basic systems like the attribute manager basic, is just there to show how it should work with an attribute system. It is not intended to work as a complete attribute system for in game. For that, you will need to adapt your own attribute system or integrate one of mine.
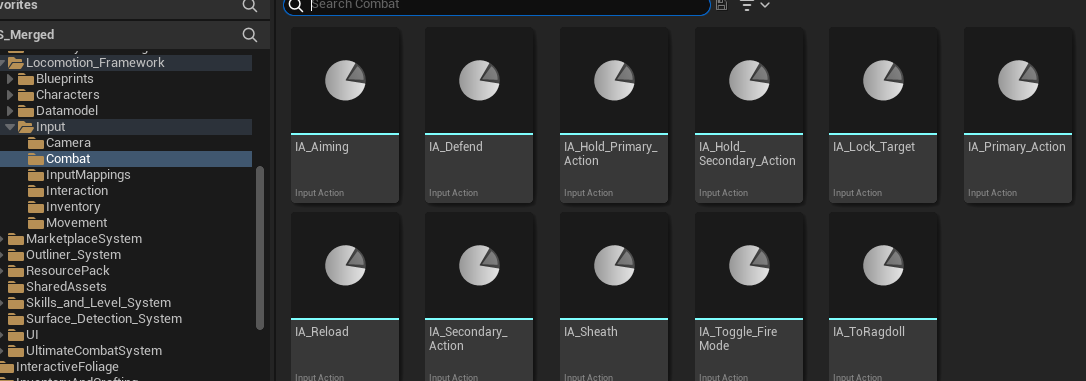
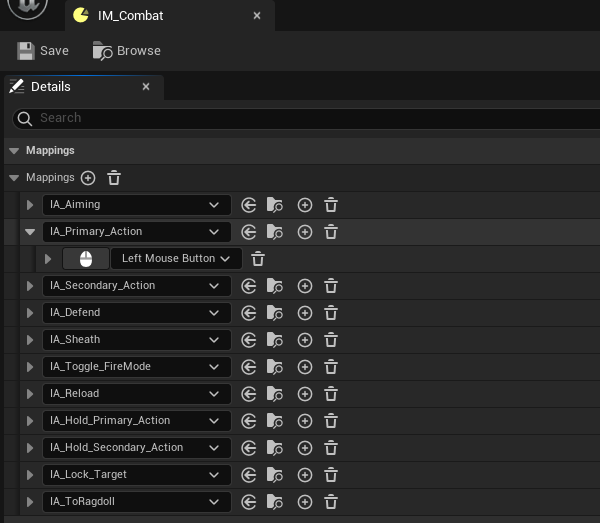
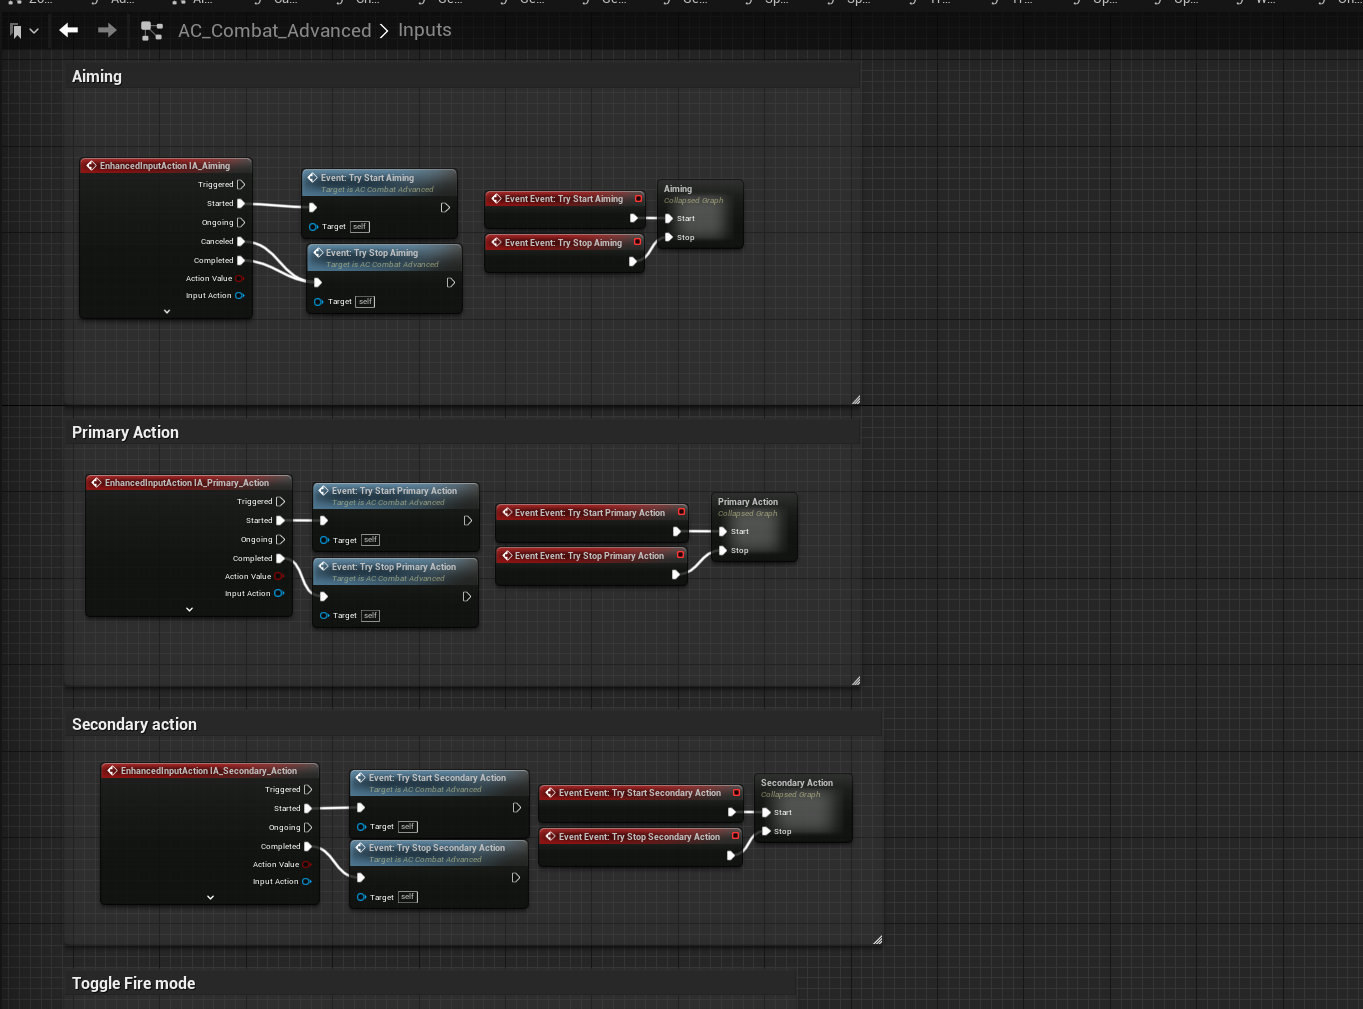
Controls #
Please note that the Enhanced Input system plugin is used in this project to move the character and handle any input. You can set that up to your own liking. If enhanced input is enabled, all controls will work automatically.
These inputs are for instance being used in the extended movement component. This is the component that handles the movement of the character, but also the looking around. If you don’t want to use the Enhanced input System. You must change all inputs currently implemented.
The controls are as follows:
Movement:
- Movement: WASD + Mouse + Space
- Walk: Caps Lock
- Sprint: Left Shift
- Crouch: Left Control
- Dodge: X
- Toggle Jetpack: J
Interact:
- Interact: E
- Open Inventory: I
Combat:
- Aim: Hold Right Mouse
- Primary Action: Left Mouse
- Secondary Action: Right Mouse
- Defend: Hold Middle Mouse
- Lock Target: Tab
- Reload: R
- Toggle Firemode: T
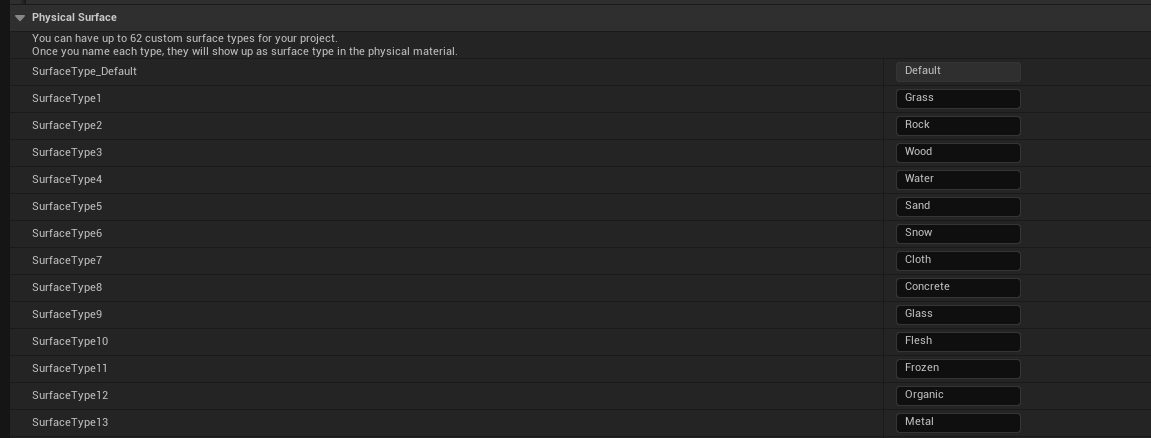
Surface Detection System #
The surface detection system used physical surface types. They are setup in the project settings. If you use this system, please make sure they are setup in precisely this order:
You will need to spawn the actor BP_Impact_Master on any trace location. The trace location will return the hit. The hit itself actually contains the surface type:
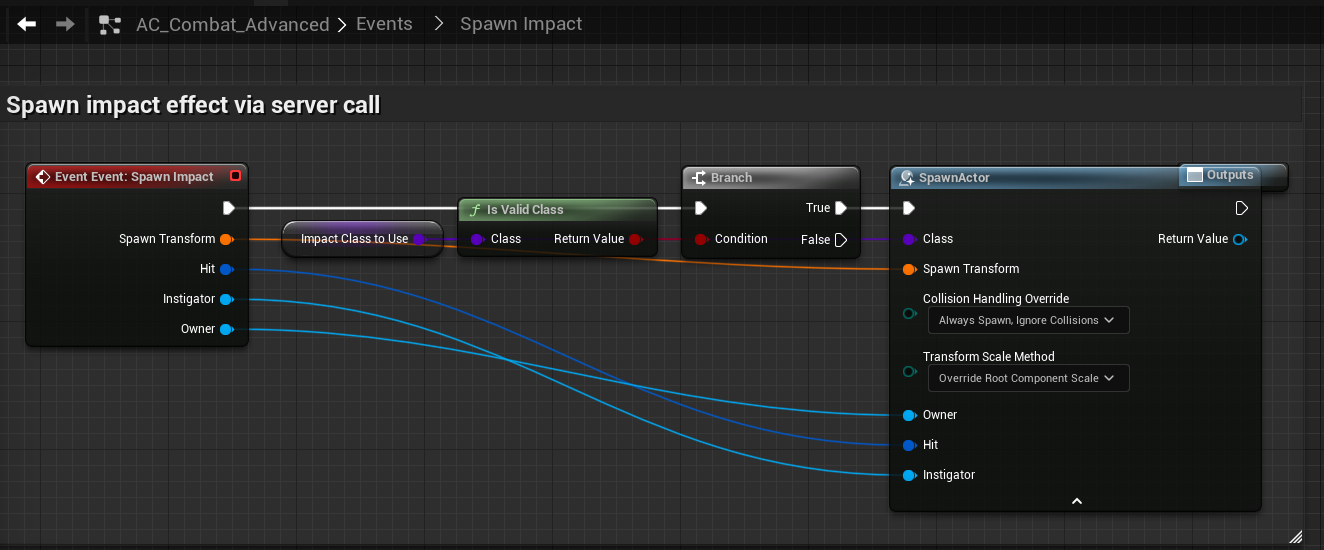
The actor spawns: Decal, Effect and Sound and switches per surface type.
Architectural Structure: #
The architectural structure of my systems is displayed below. You will not have every component in the current system. It defines how the “Managers” communicate with each other. A lot is connected to the inventory item slot. The inventory item will link to other data tables like: Buildables, equipment, ammo, Farmables, etc. Please note that I’ve not updated this architecture in a while so the naming could be off.
