Interaction System
Updated May 25, 2026
The Interaction System provides interface-driven interactions for actors that can be detected by trace, overlap, events, or direct player input.
For shared setup guidance, see the Migration Guide and Integration Guide. Use the System Atlas to look up functions, variables, events, components, and ownership references. Use this page for Interaction System-specific trace, interface, and setup behavior.
Related Videos
Some videos may have been recorded before V4. The same principles still apply, but asset names, component names, and folder locations may differ. Treat the current written documentation and V4 names as the source of truth.
Interaction System – Technical Overview and High-Level Guide PlayCreating A Scalable Interaction System – Complete Guide PlayGamepad Compatibility for Main Menu, Inventory UI, Radial Menu and Interactions PlayBlueprint Communication – Interfaces Play
The basics-course material is not specific to this system. Use it for the underlying Unreal Engine or Blueprint principle, then follow this page for current project-specific names and setup.
Interaction Trace
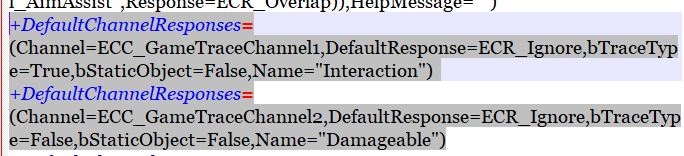
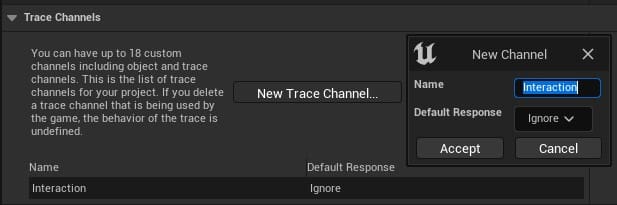
Every interactable uses an interaction trace. By default, the trace channel should be ignored, and only actors that should be interactable should manually block it.
- Check the config file for the assigned trace channel number. Keeping that number preserves the default responses from the demo project.
- The custom interaction trace is optional. It makes smaller objects easier to interact with, but you can use the default visibility channel if preferred.
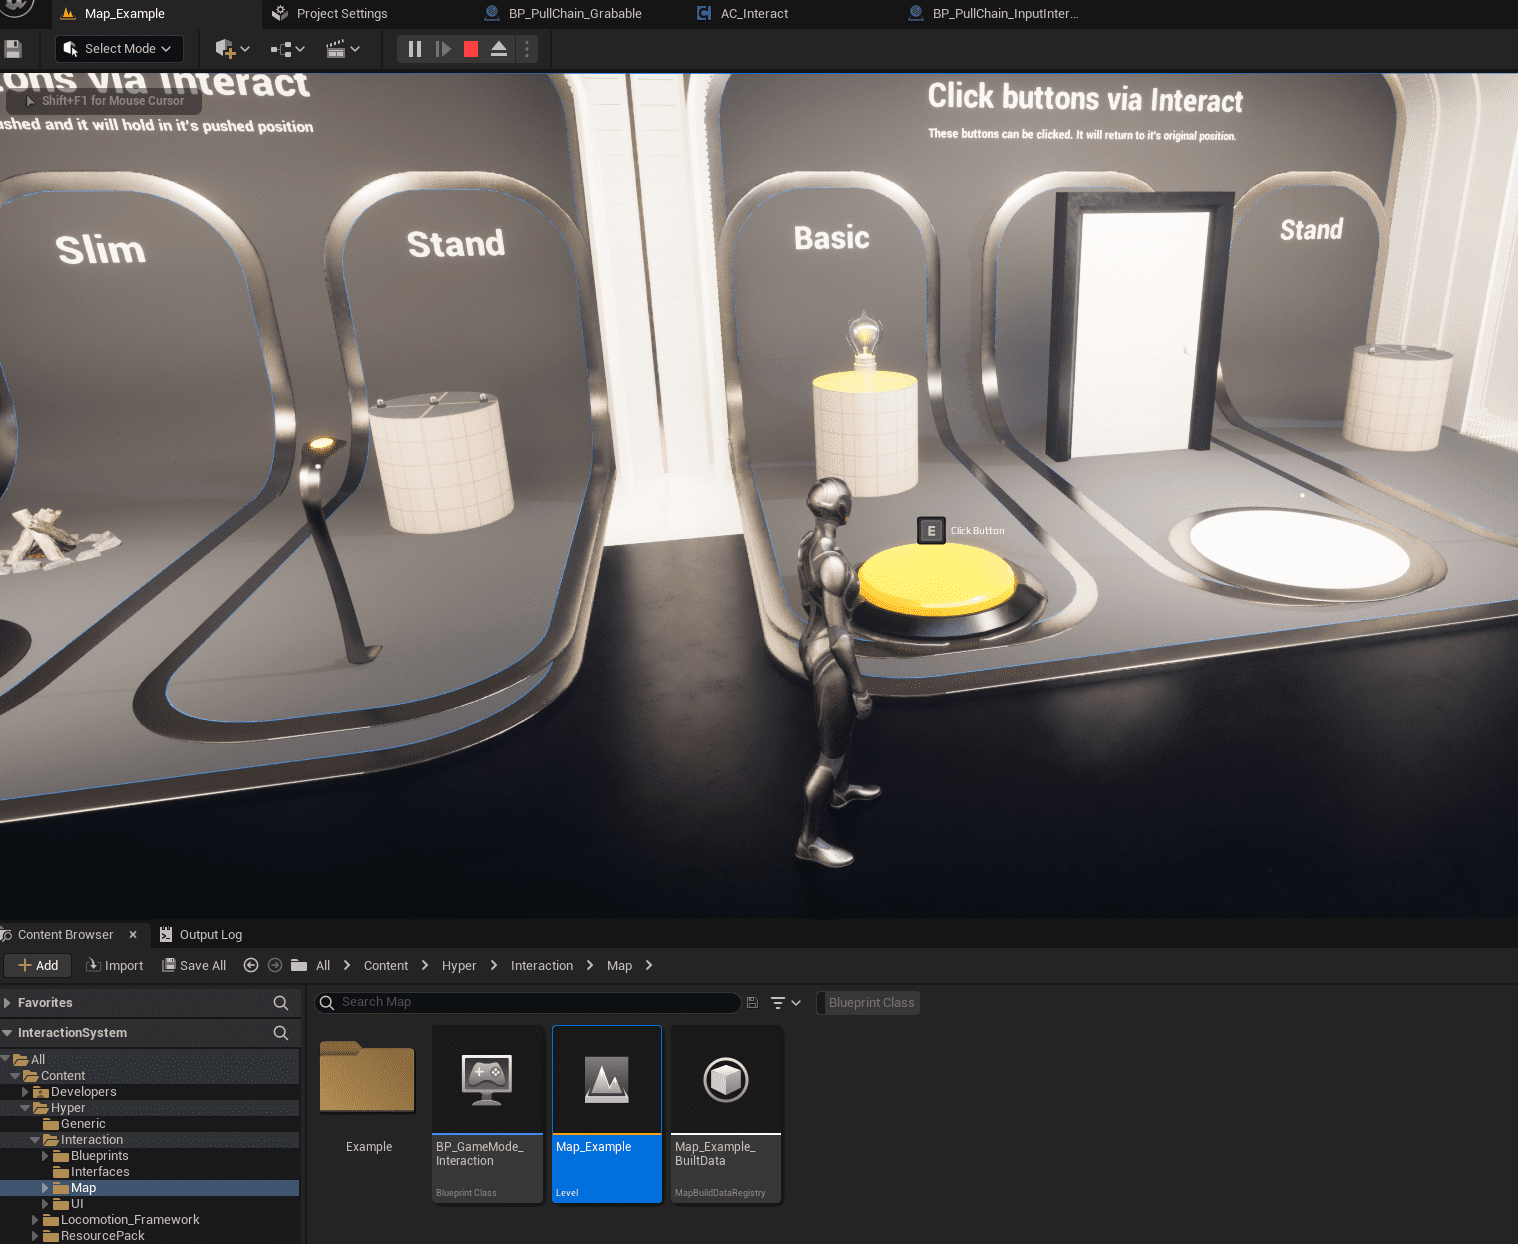
After migration, open the Example map and test whether the system works. Do not continue if it does not.
For minimal file migration, select only the actor component you need, right-click it, and migrate that specific component.
Core Principles
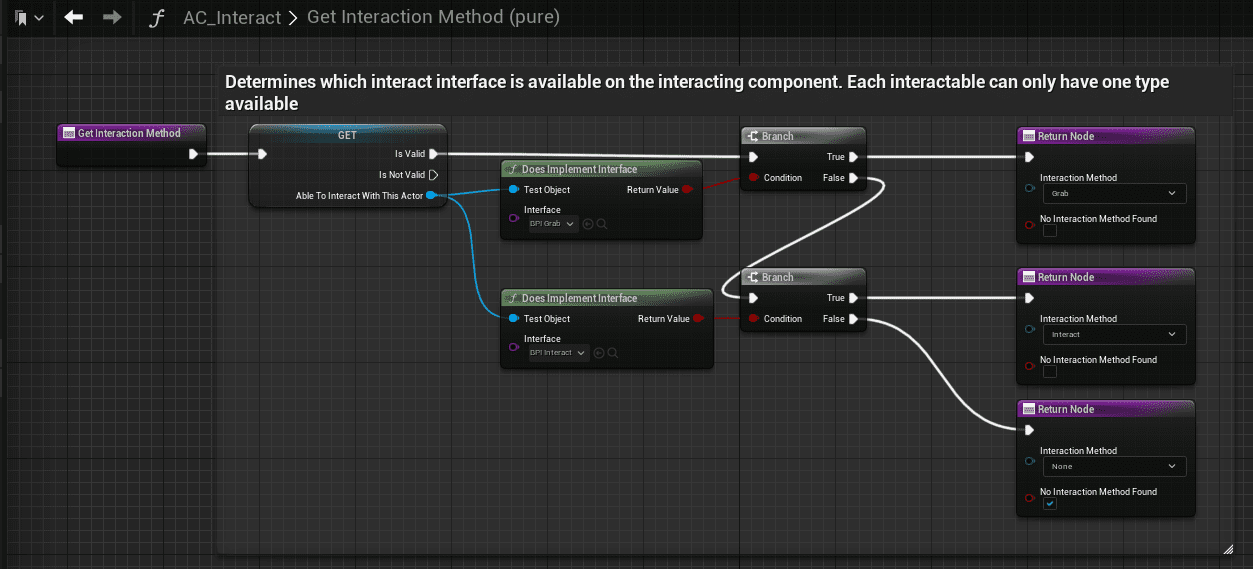
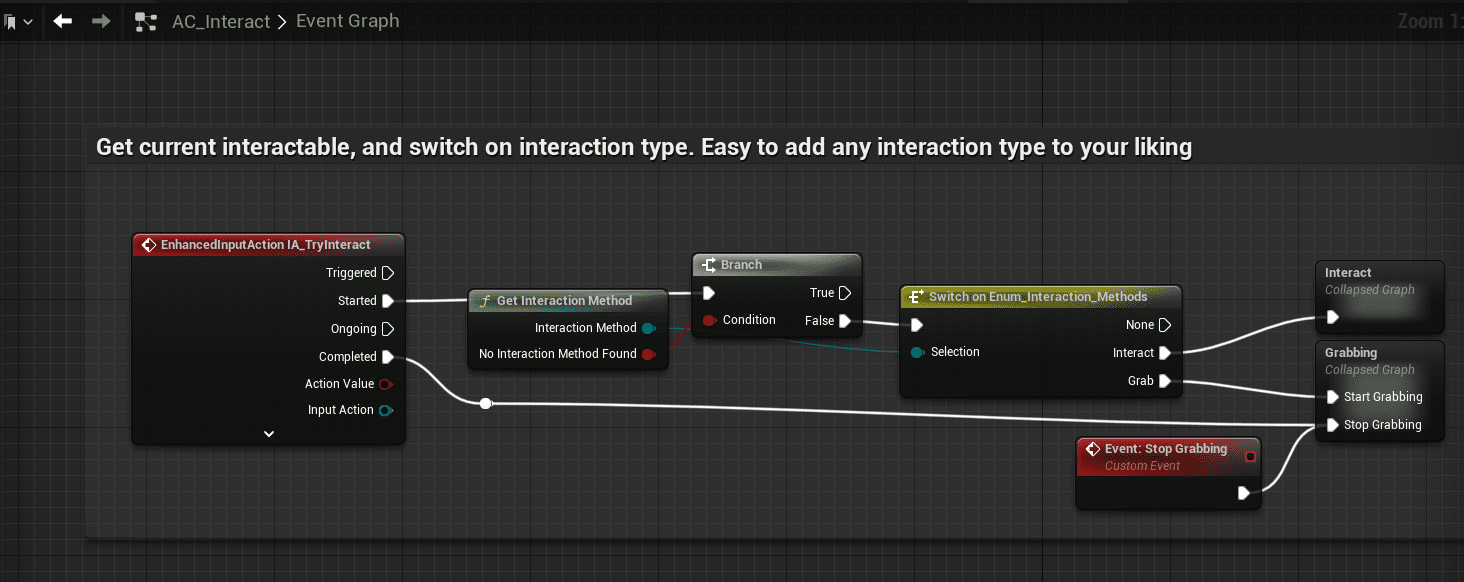
The system is built around Blueprint interfaces. Player-input interactions trace for an actor that implements the Can Interact interface, then switch behavior based on the detected interaction interface type.
- Interactions can be triggered by overlap, events, or player-instigated input.
- Input-based interactions use trace detection.
- Actors with the Can Interact interface can show interaction prompts when the player looks at them.
- Additional interaction types can be added as needed.
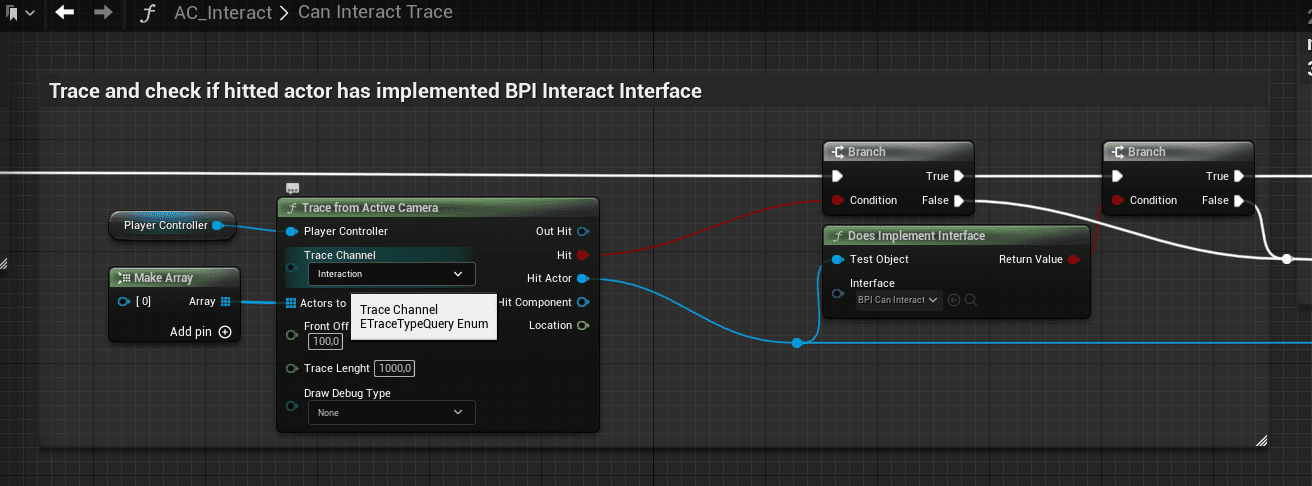
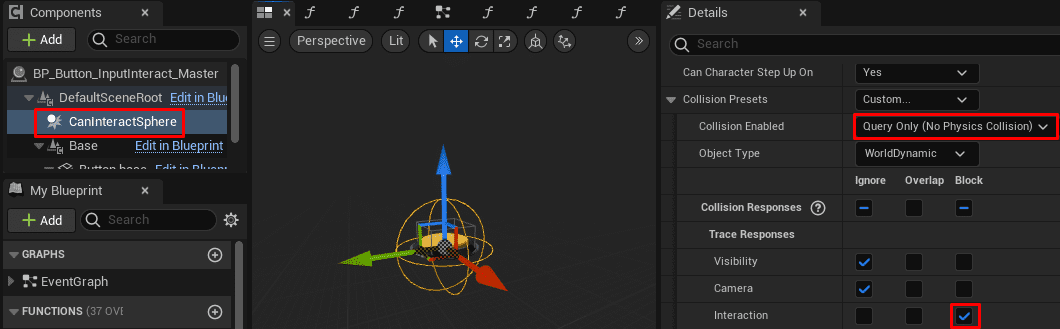
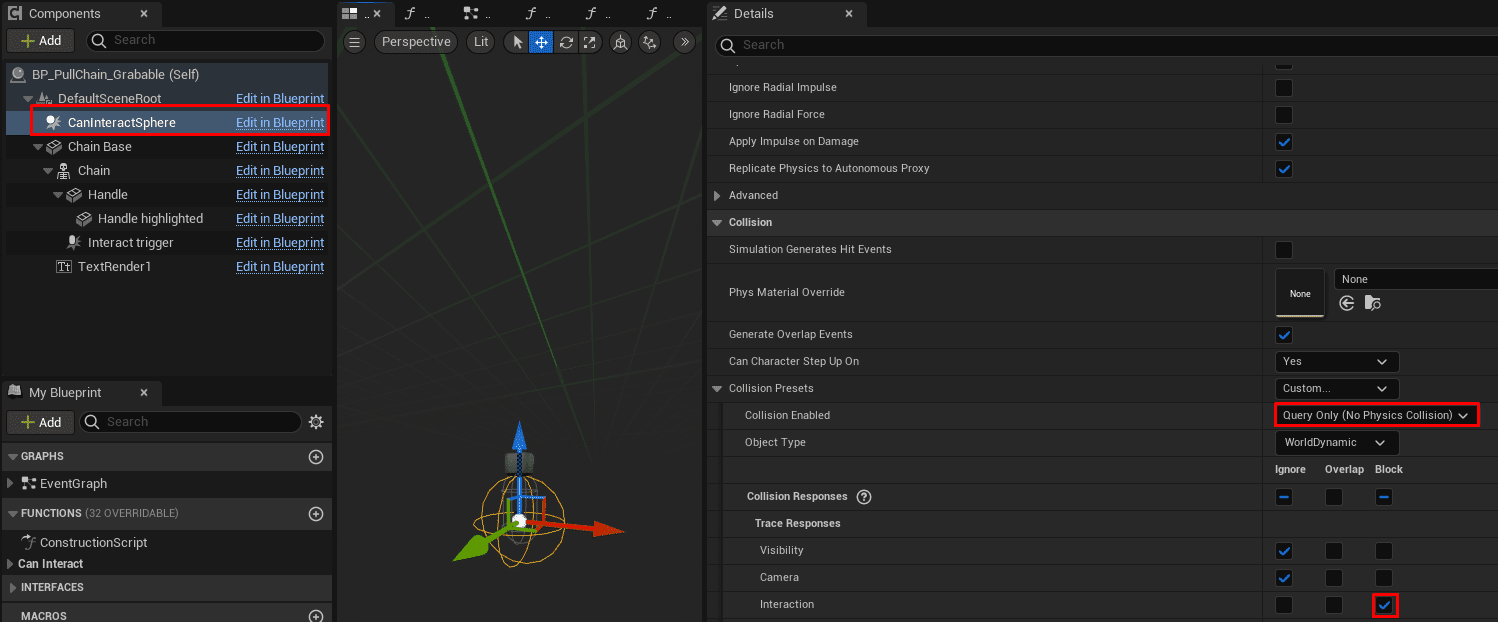
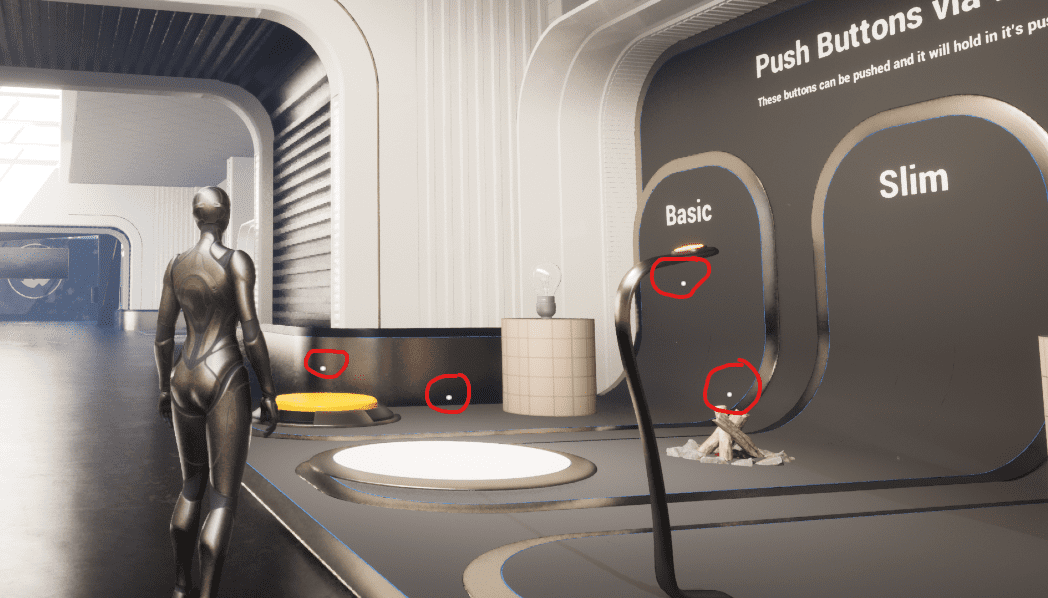
The trace only blocks on interaction channels. Each interactable can use a Can Interact Sphere, a collision volume that ignores all channels except the interaction channel. This is optional, but it makes small objects easier to target.
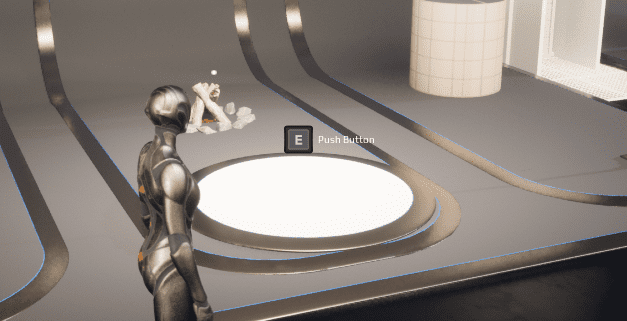
Interactables in radius can also show a small white dot.
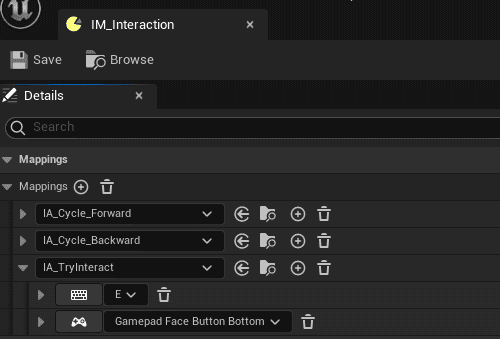
Controls
This project uses the Enhanced Input plugin for character movement and interaction input. If Enhanced Input is enabled and the project uses the included setup, the controls work automatically.
The same input setup is used by the extended movement component, which handles movement and looking around. If you do not want to use Enhanced Input, replace the implemented input bindings with your own input setup.
Input-Based Interactable Setup
Use this setup when an actor should respond to direct player interaction input.
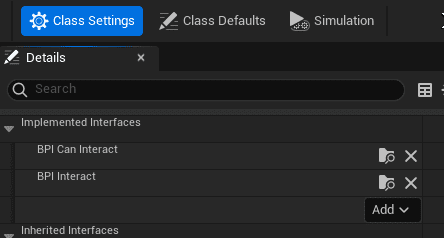
- Add the Can Interact interface to the actor.
- Add the appropriate interact-type interface. The included presets are Grab and Interact; Interact is the most common.
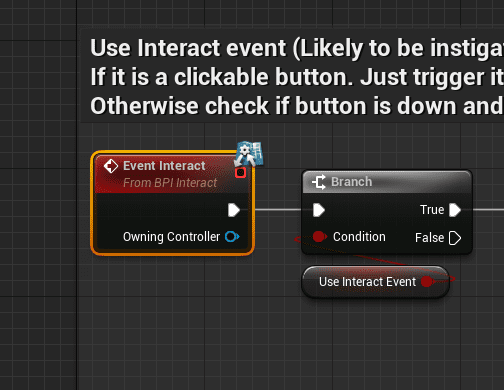
- Call the interface event and implement the required logic.
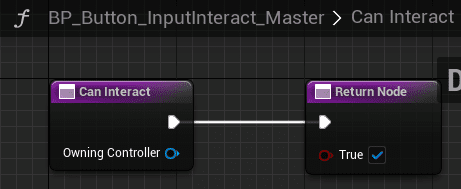
- Set the return value of Can Interact to true.
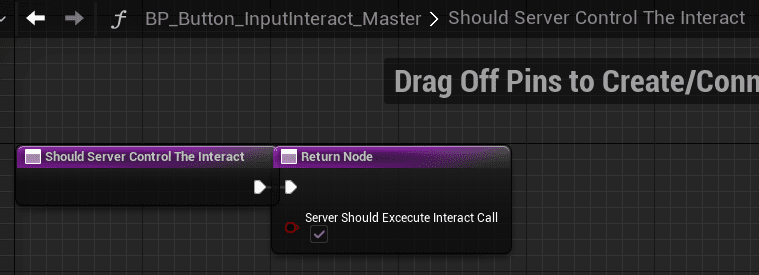
- Set Should Server Control Interact based on the interaction type. UI interactions should not be handled on the server.
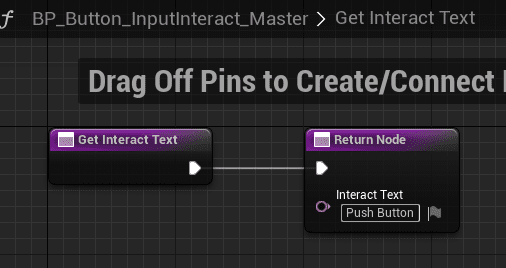
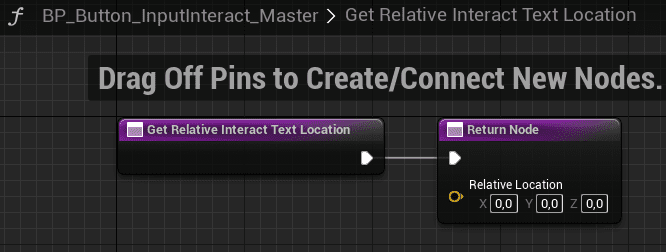
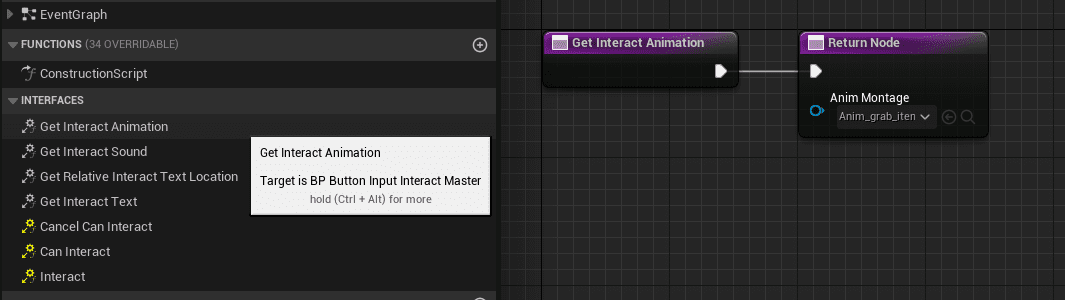
- Set the prompt text in the Get Interact function.
- Optionally adjust prompt location, assign an interact animation, and assign interaction sound.

When the trace should be less precise than the visible mesh, add a CanInteractSphere. This collision volume ignores every channel except the interaction trace, which it blocks.