Customize the UI
Updated May 25, 2026
Use this page to quickly adjust the visual style of the UI through the Hyper CommonUI style classes. This is meant for broad styling changes such as buttons, borders, background panels, text, tints, images, and common colors.
Related setup: Set Up Your Main Menu and Game Map.
Adjusting Style quickly with our CommonUI classes
UI work is its own specialty in game development, so the Hyper UI is set up to make common style changes as simple as possible. Most basic UI styling is routed through CommonUI classes, which lets you update the look of many widgets from shared style assets instead of editing every widget individually.
Optional Style Guide
Some projects include a style guide asset that previews the styles used by the UI. If your asset does not include this preview, the same styling principle still applies. This section is mainly informational and helps you understand where the shared styles are coming from.
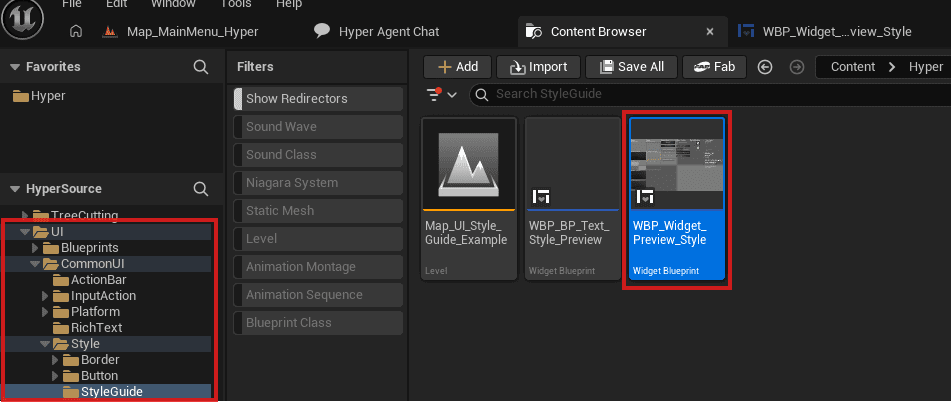
- Open /Game/Hyper/UI/CommonUI/Style/StyleGuide.
- Open WBP_Widget_Preview_Style.
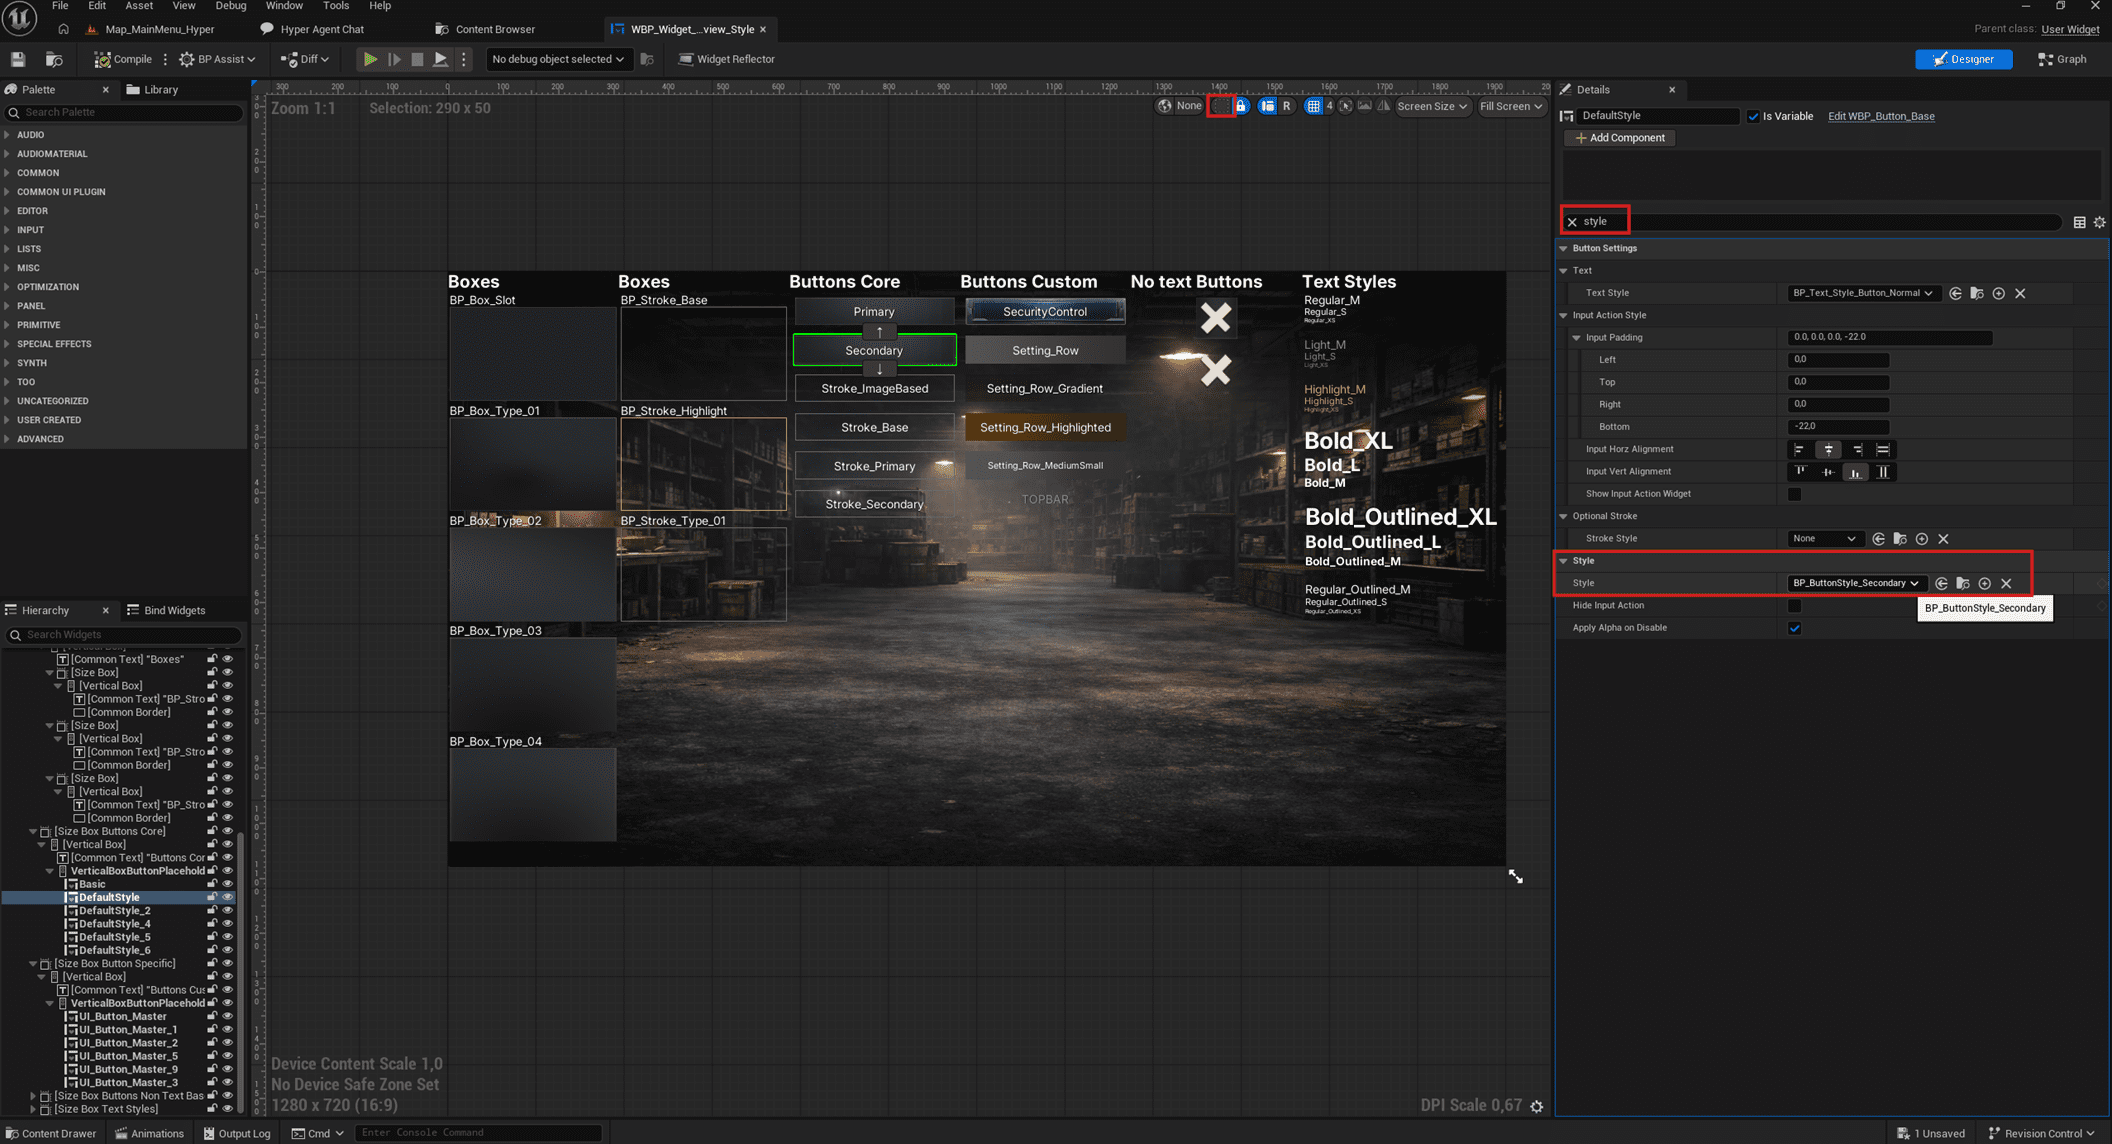
The preview shows common styles and settings that are mostly defined in CommonUI objects. These style classes are the main focus of this page.
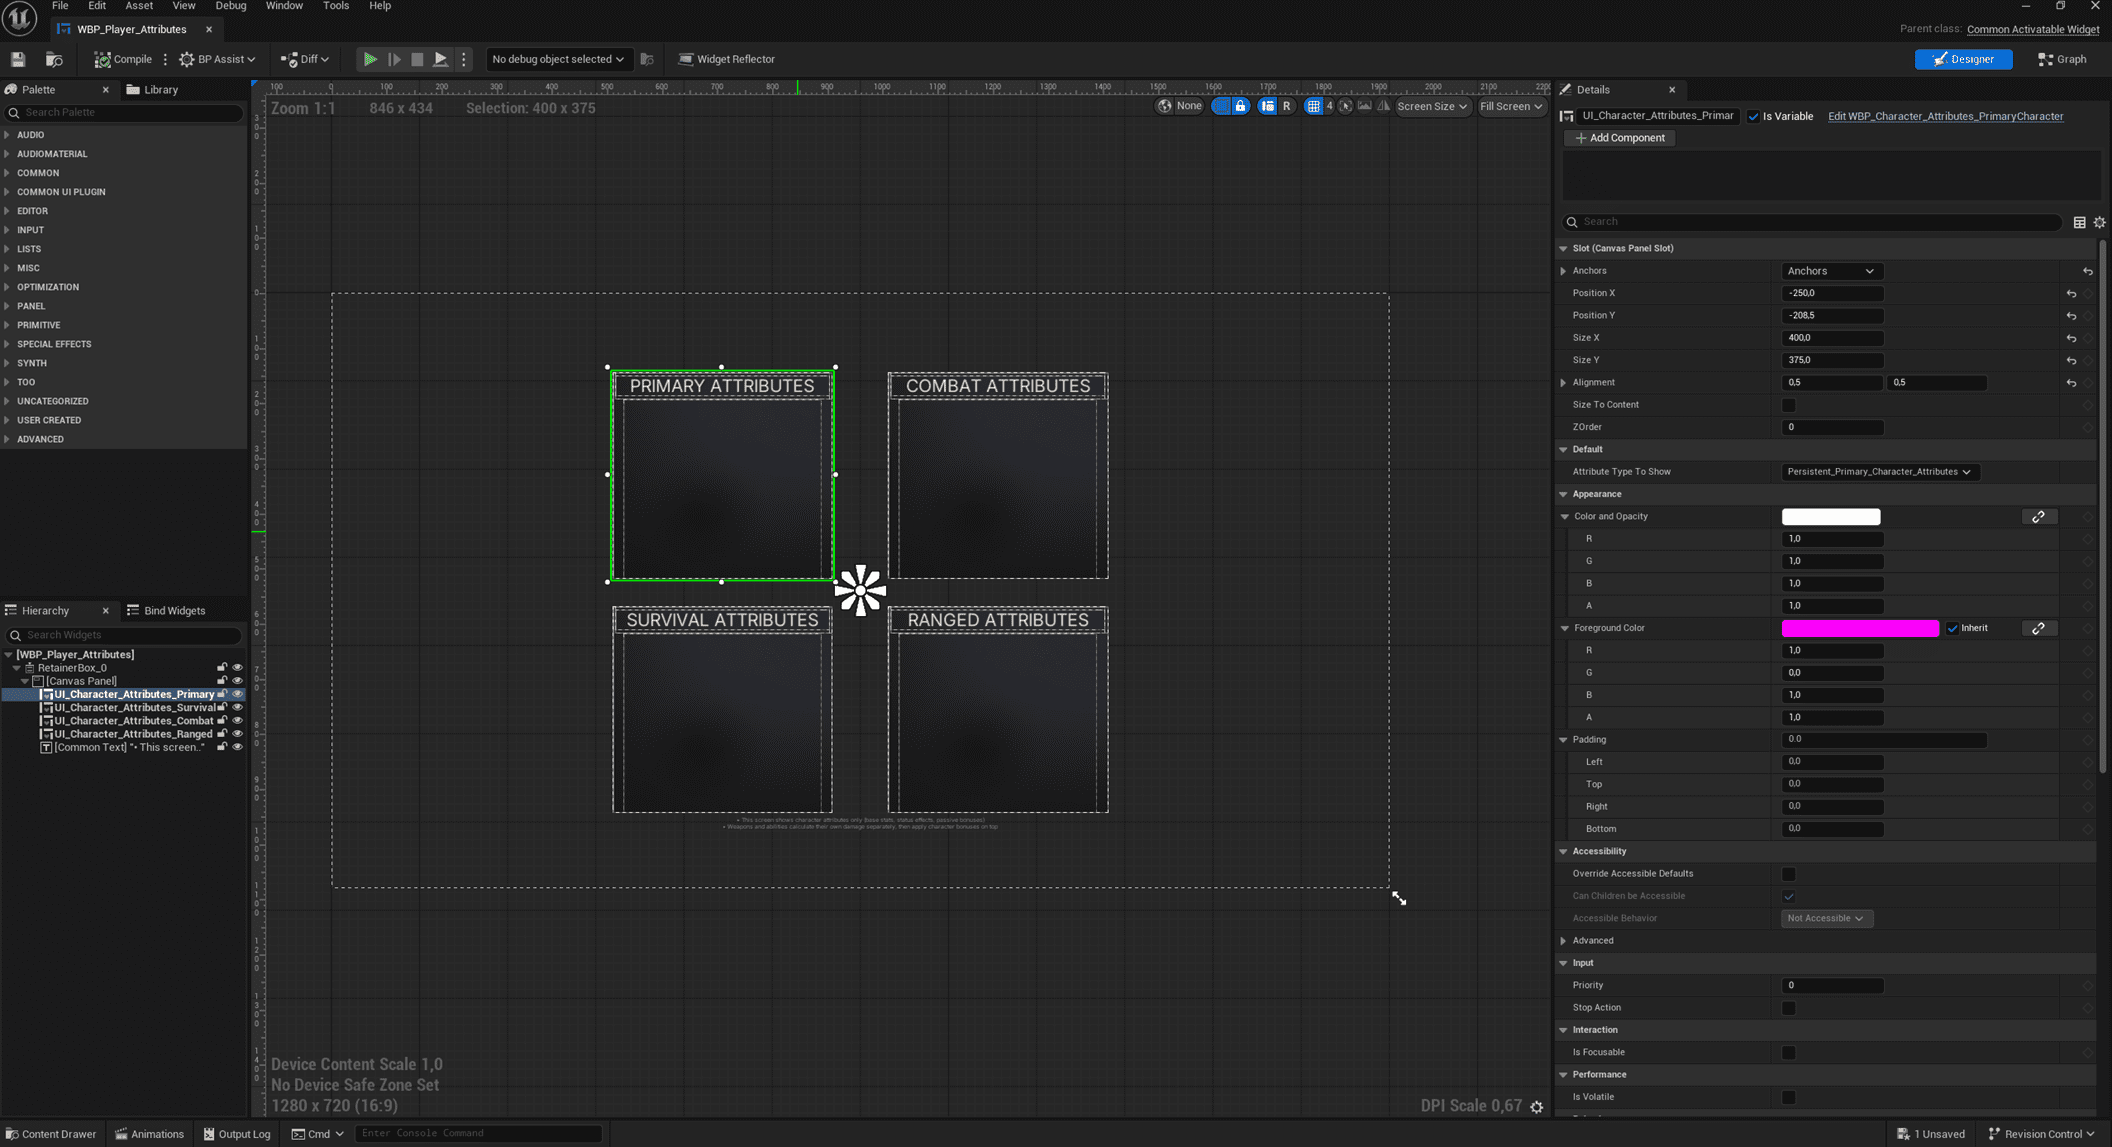
- When previewing widgets, click the small dotted square icon to disable helper lines so you can see the UI clearly.
- In the screenshot, a button is selected and the Style property shows which style class it uses.
So how and where to adjust styles?
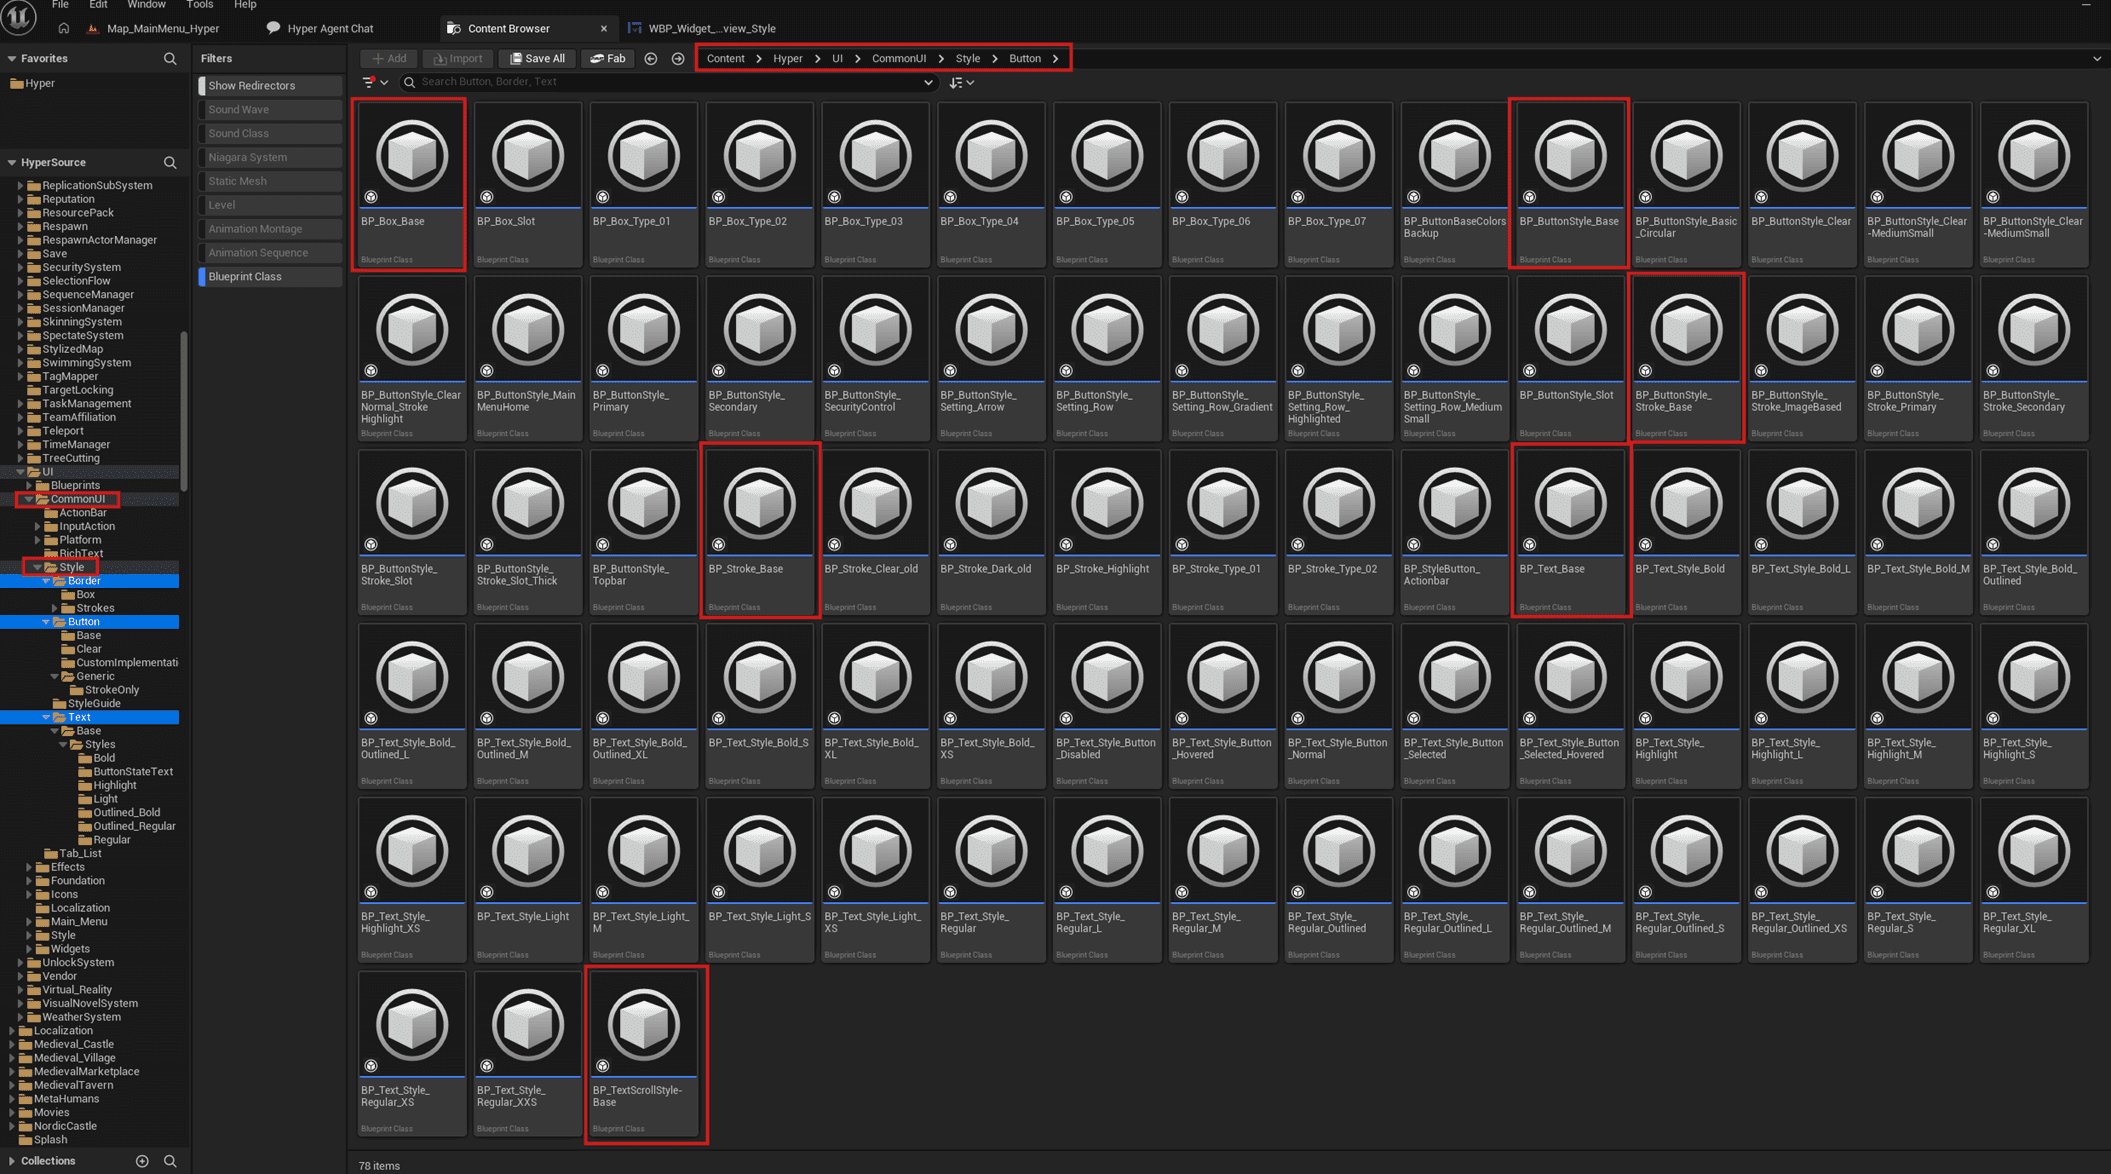
- Navigate to /Game/Hyper/UI/CommonUI/Style.
-
This folder contains base classes for:
- Buttons
- Borders
- Text
Adjust the font
Open BP_Text_Base in /Game/Hyper/UI/CommonUI/Style/Text/Base and change the font there. Subclasses may have overrides, but the font is usually shared across most text classes.

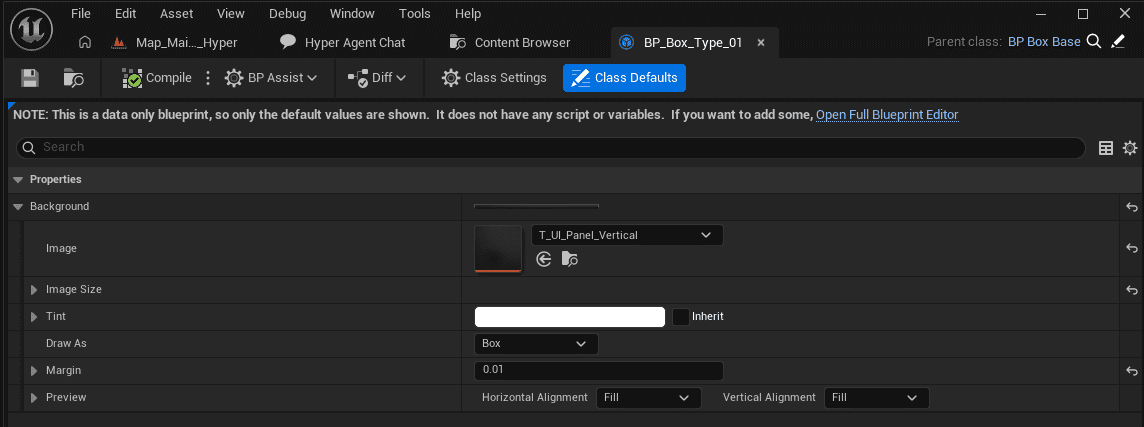
Adjust border styles
Navigate to /Game/Hyper/UI/CommonUI/Style/Border/Box and open a box preset. From there you can adjust images, tints, margins, and related border settings.
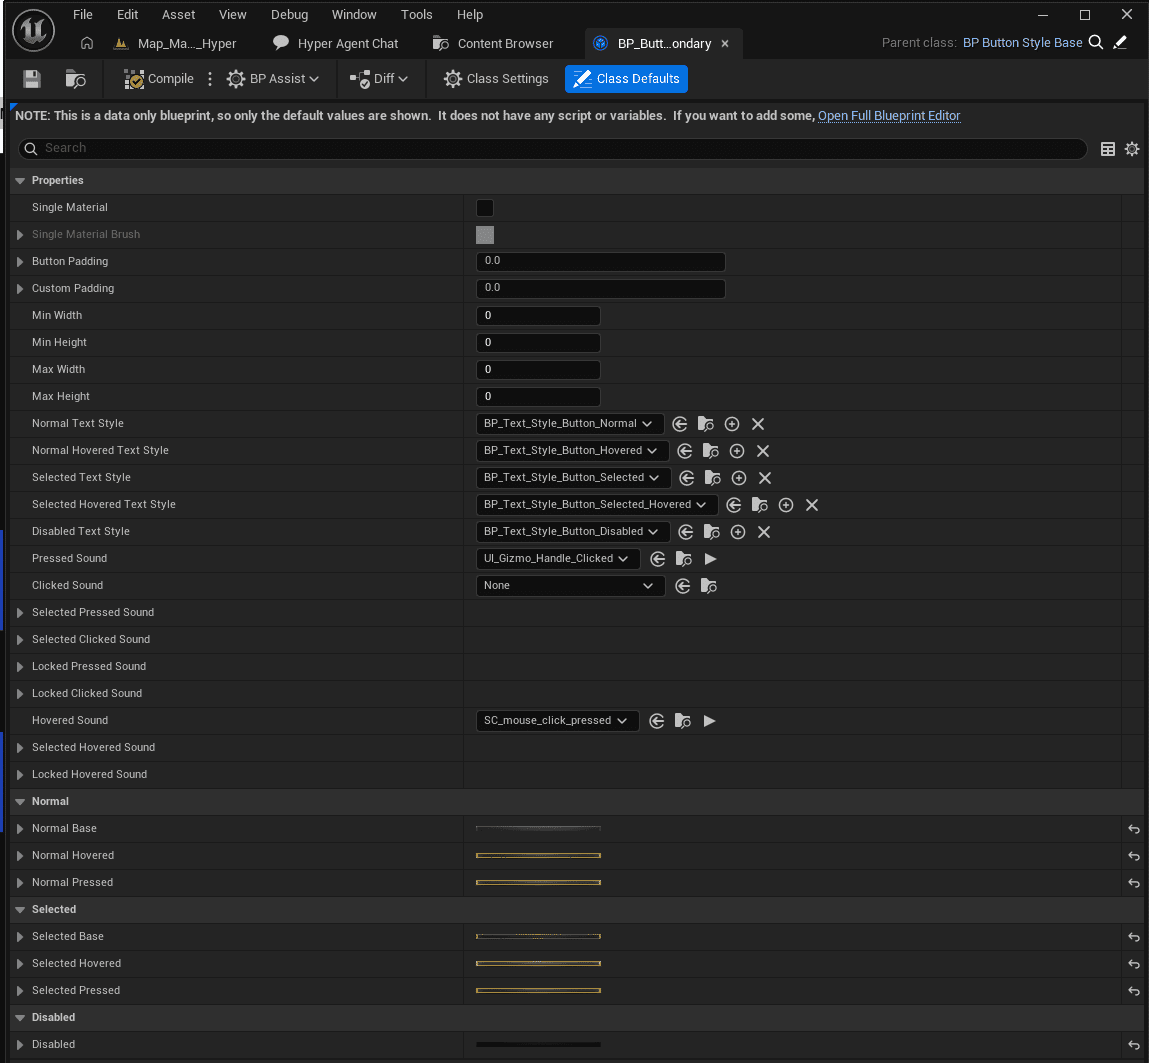
Adjust button styles
Navigate to /Game/Hyper/UI/CommonUI/Style/Button/Generic to see the button settings. You can adjust text styles, clicked sounds, images, hover effects, and other button behavior in the base style or override it in more specific classes.
Notes on style and UI design
Changing these CommonUI classes can affect nearly all shared UI styling throughout the project. It does not change widget positions, layout structure, or screen composition. Moving UI elements is outside the scope of this guide and should be handled carefully, especially because layout, scaling, structure, initialization, and dynamic updates can be more fragile than simple style changes.
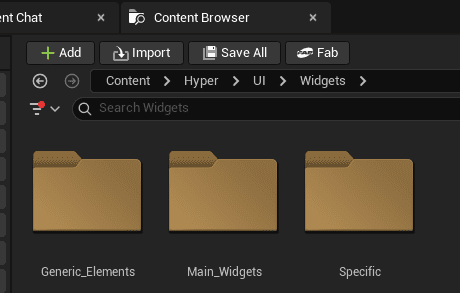
Most core widgets are placed in the UI folder structure shown below:
- Generic elements are reusable elements, such as a button base.
- Main widgets are full screens, such as the in-game menu.
- Specific widgets are categorized per system.
- Some UI elements live inside the folder of their main system, such as hosting and browsing widgets in the Online Multiplayer Framework or Main Menu system.
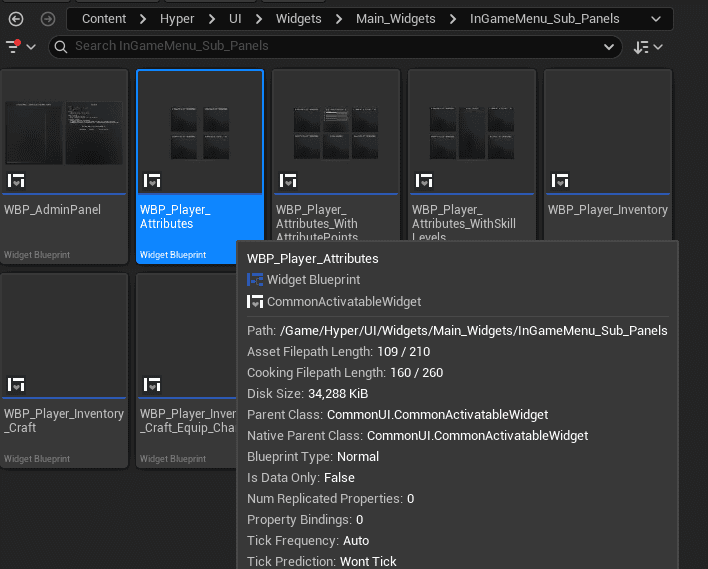
Example on changing UI locations
If you want to adjust the position of a specific screen, open the relevant widget and edit the layout there. Be careful when deleting widgets or bindings because many UI screens use initialization logic and event-based dynamic updates.
How to add a topbar menu widget?
The topbar is automatically generated based on the systems you have. Topbar widgets are injected through an interface and a setting that you can adjust for your own project.
-
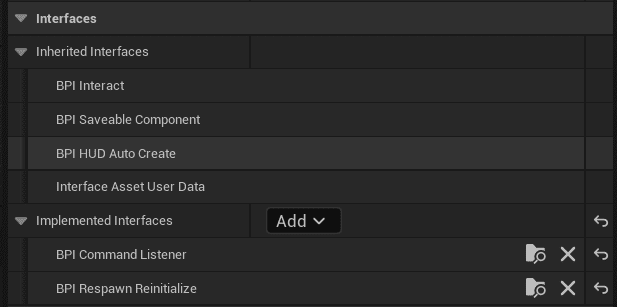
Make sure HUD Auto Create is assigned in your GameMode.
- This HUD automatically assigns topbar widgets.

-
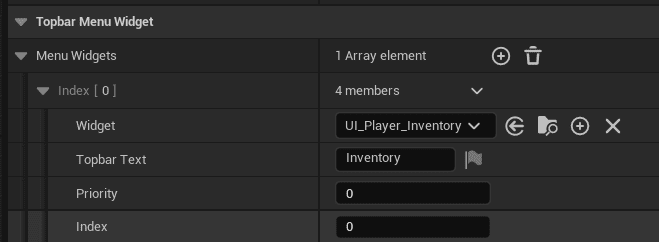
Use the interface that exposes the topbar menu widgets input.

-
Make the menu widgets a variable.
- Select the variable.
- Enter the activatable widget that should be placed in the topbar.
- Set the priority and index as needed.
- The index determines where the widget appears in the list.