Use the Automatic Integration Tool
Updated May 25, 2026
The Hyper Integration Tool is strongly recommended when you are migrating and integrating Hyper systems into your own Unreal project. Instead of manually combining projects, components, classes, and setup patterns one by one, the tool creates an integration project for the systems it detects.
It does not remove the need to understand your project. You may still need to adjust custom components, remove setup that belongs to systems you do not own, or make project-specific changes in GM_Hyper, your GameMode, or other gameplay framework classes. For example, if you do not have a respawn manager, remove or bypass the respawn logic that the tool adds.
The integration tool is made for the latest available Hyper version.
Related setup: Migrate and Integrate Hyper, Set Up Your Map to Play In, Set Up Your Main Menu and Game Map.
Using the Hyper Integration Tool
1. Get the tool
Download the free integration tool from the store:
Get the Hyper Integration Tool
Extract the zip file and check the included readme before running it.

2. Choose how the tool finds your Hyper projects
You have two options:
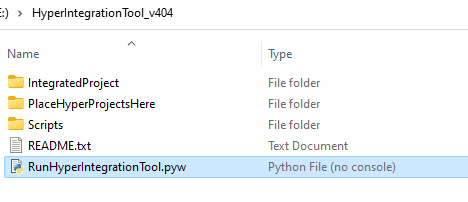
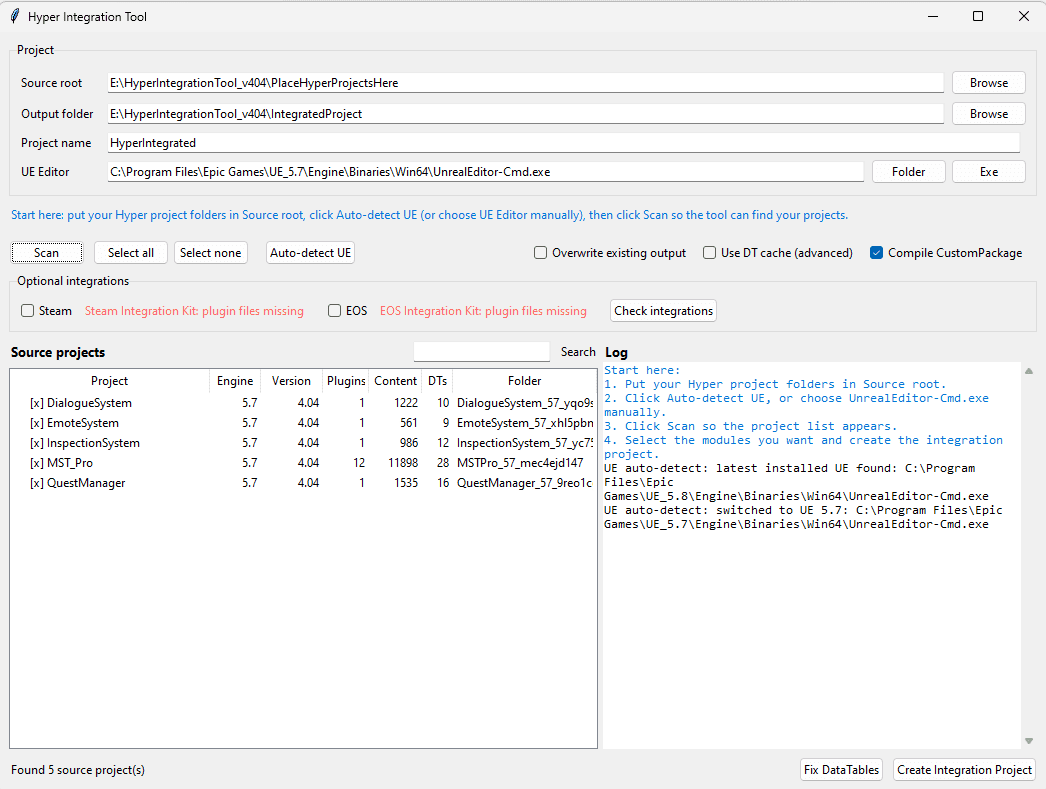
- Place your latest Hyper projects in the tool folder. In the screenshot, the source folder contains projects such as MST Pro, Quest, Emote, Dialogue, and Inspection System.
- Select a custom target folder later. Use this if your Hyper projects are stored somewhere else.

3. Start the tool
Double-click the Python file to start the tool.
Important: Python must be installed. If you are not sure how to set that up, check the readme included with the tool.
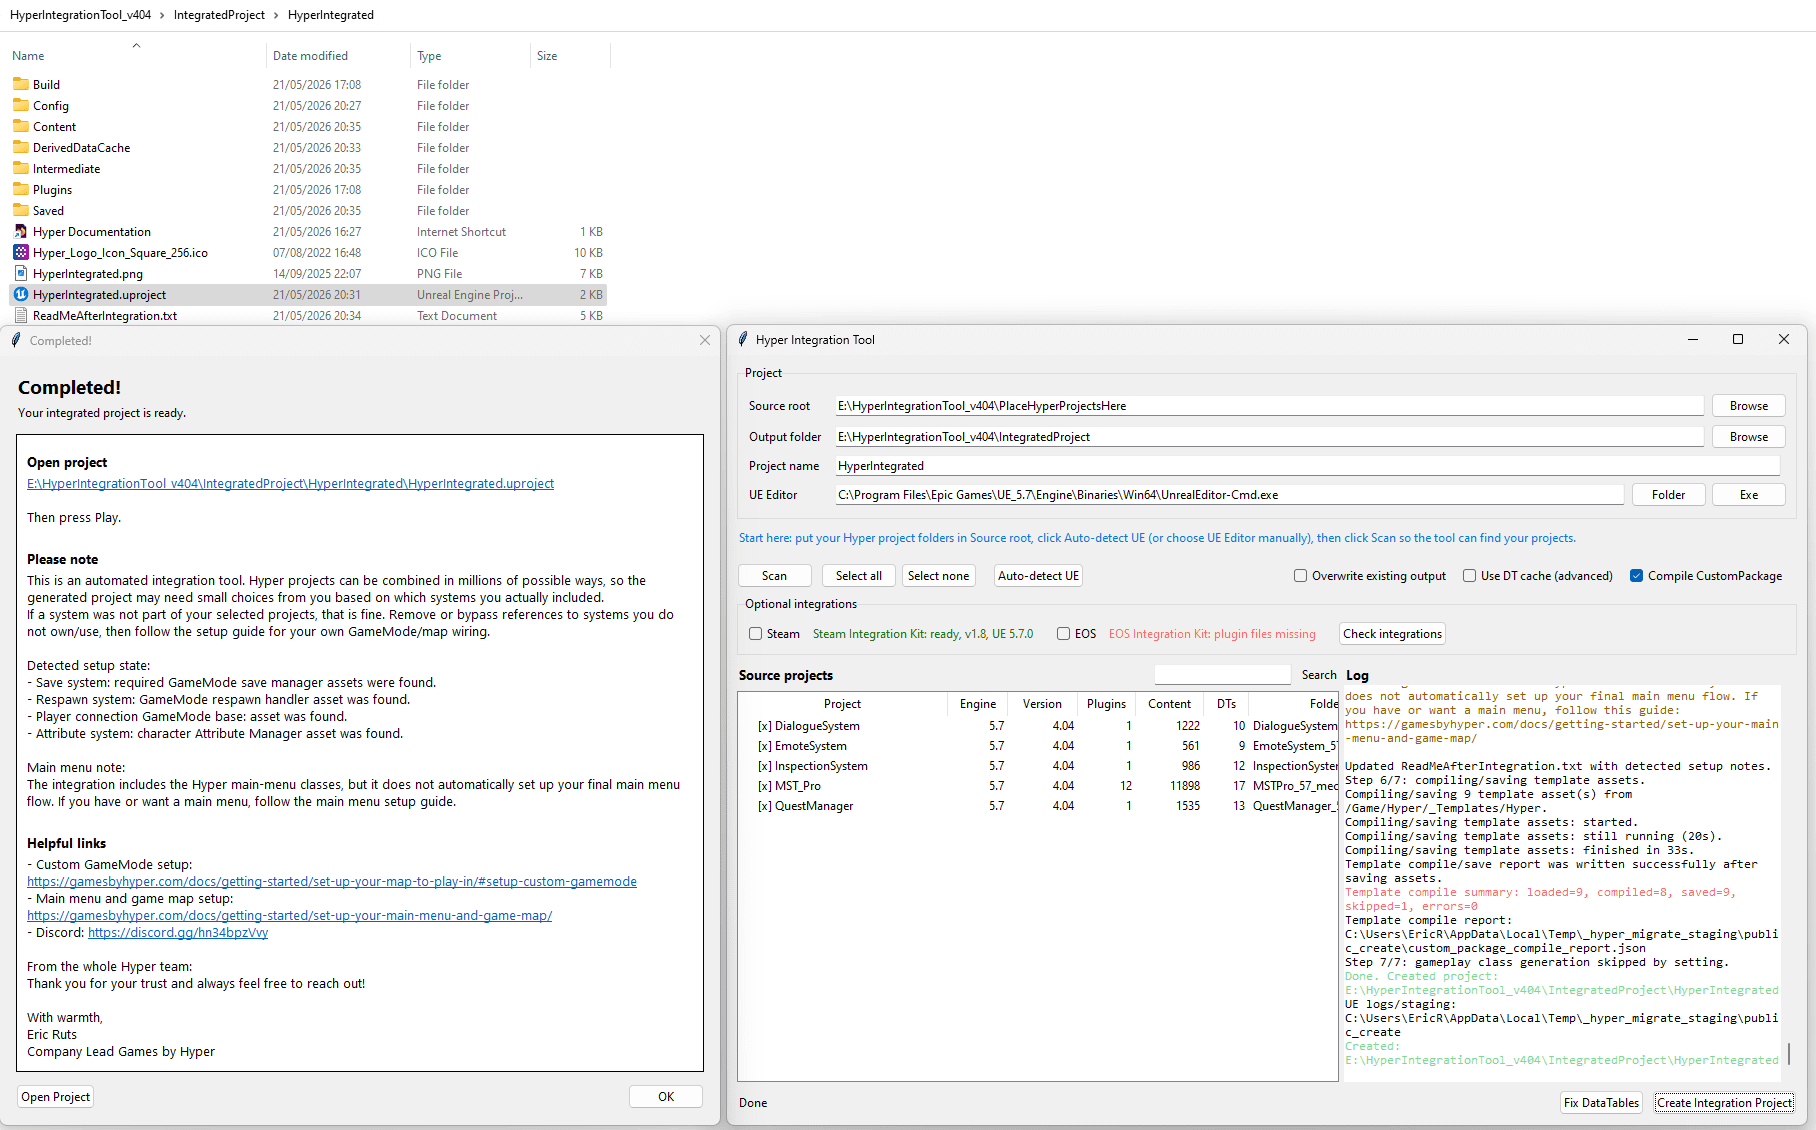
4. Confirm the source root
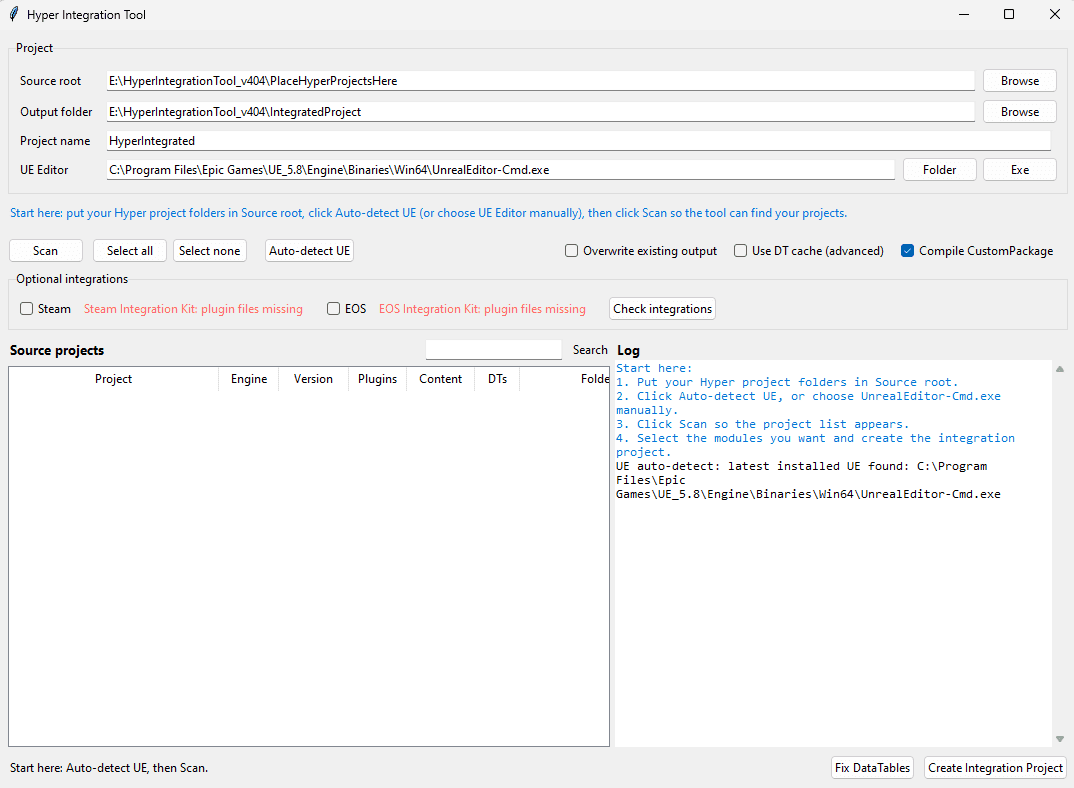
The tool opens a GUI similar to the screenshot below. Read the instructions in the tool carefully. The source root is selected from the folder where you placed your projects, but you can change it if your projects are somewhere else.
5. Scan your projects
Click Scan. The tool auto-detects the Hyper systems in the selected source root.
Make sure all projects use the same Unreal Engine version and compatible Hyper version. If the versions do not match, you will likely run into integration problems.
In the screenshot, the tool detects Unreal Engine 5.8 as the latest available version, but the projects are 5.7 projects, so it chooses the 5.7 version for the integration.
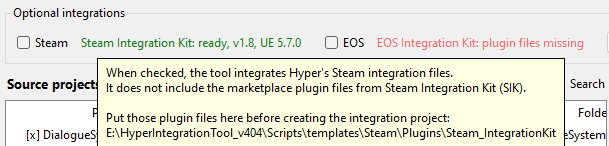
6. Optional integrations
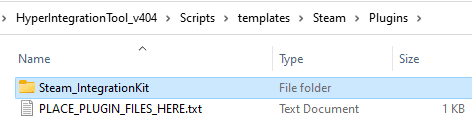
If you use the Steam Integration Kit and/or EIK, place them in the relative plugin folders and enable the optional integration checkboxes.
7. Create the integration project
Click Create Integration Project. Let it run and do not interrupt the process.
When it finishes, you should see a summary similar to the screenshot below. The red template compile summary can be normal, but always check whether anything looks wrong. Use the log details if you need help debugging the result.
8. Review the generated setup
When you open the generated project, check GM_Hyper. The tool configures as much as it can automatically based on the systems it detected.
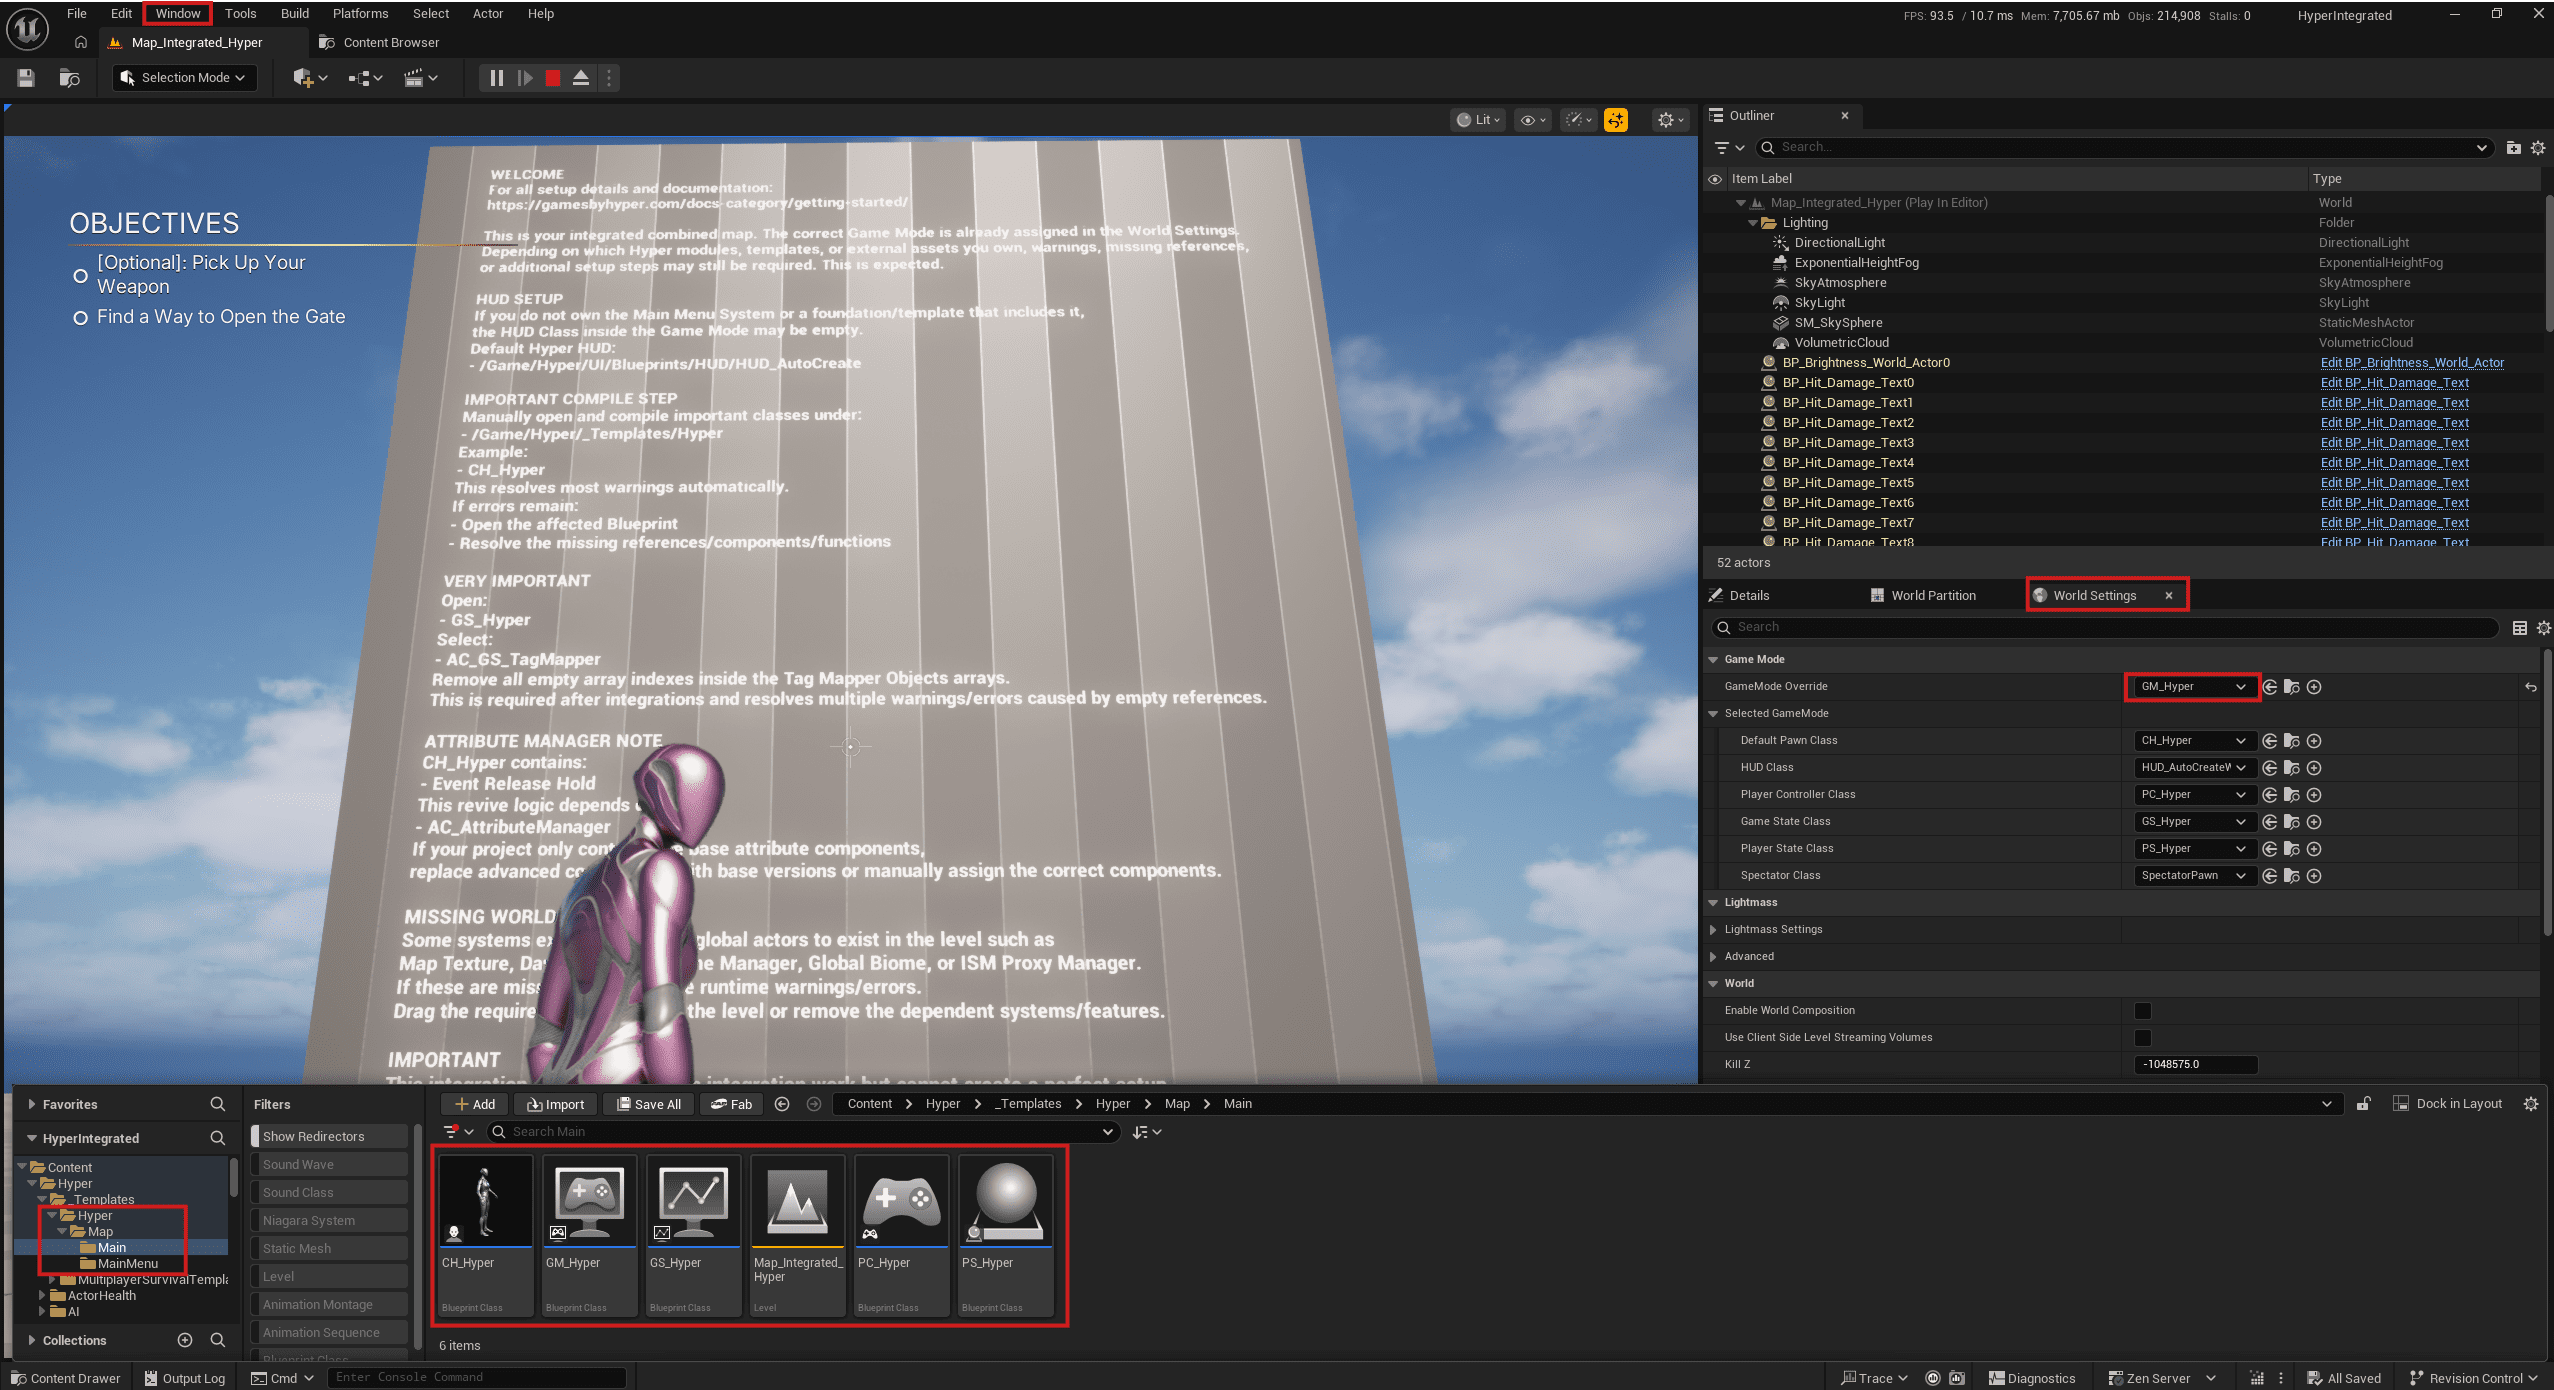
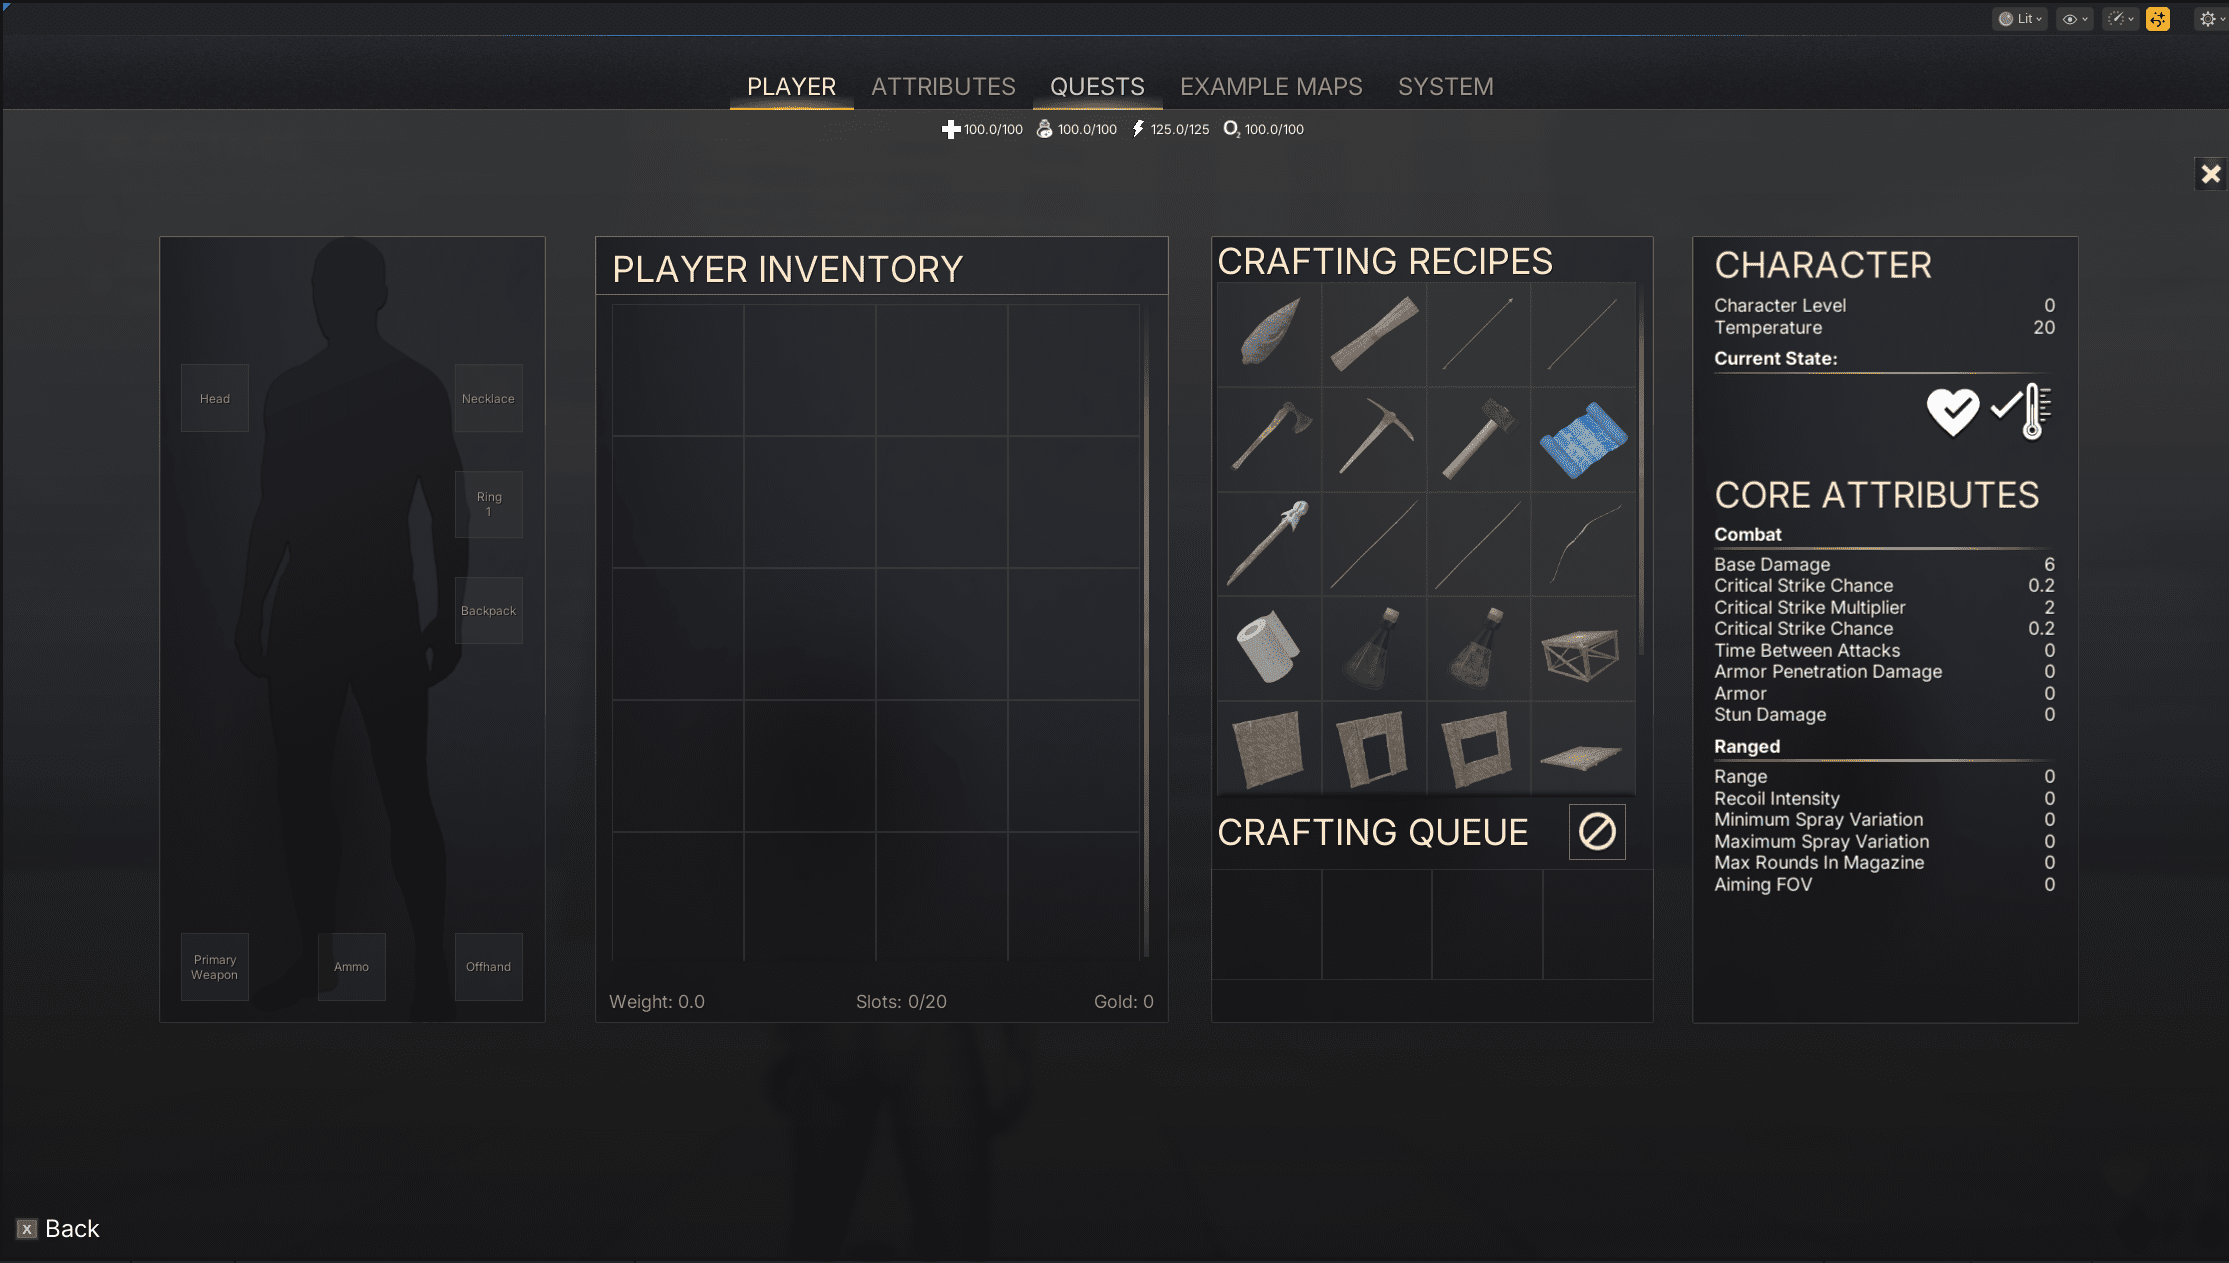
The top bar also gets assigned automatically based on the systems you have.
Fixing Basic Errors
It is normal to get a few basic errors after integration. These are usually logical follow-up tasks based on which modules you own and which systems were included. Use the sections below as the first things to check.
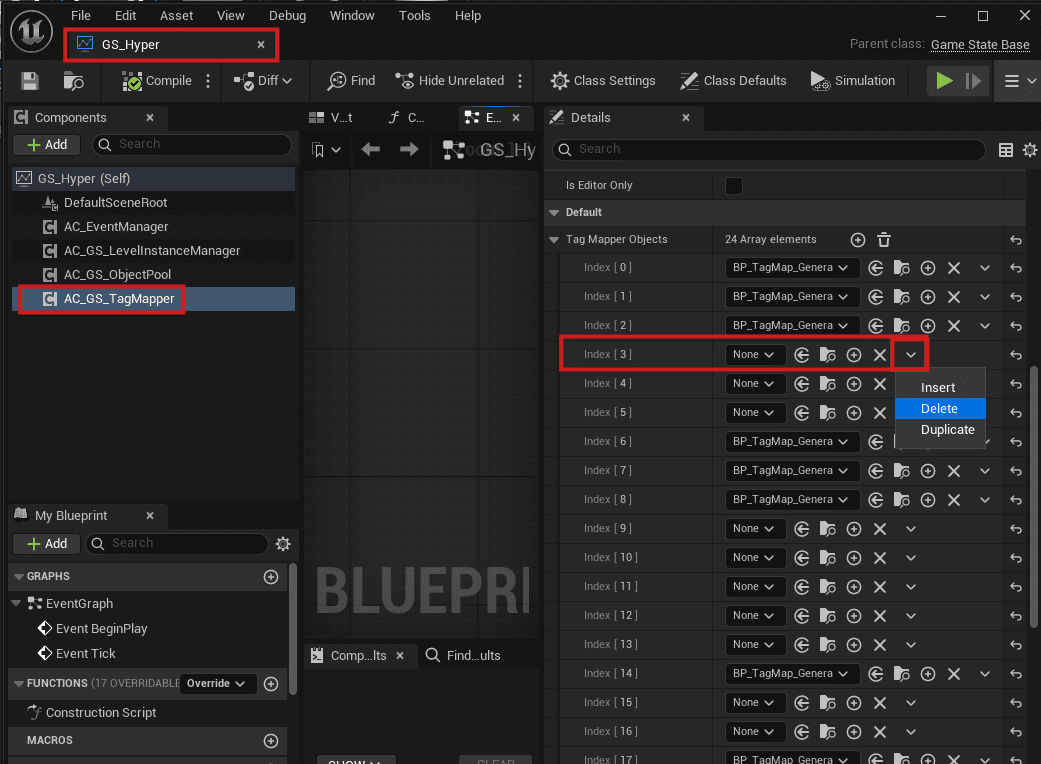
Tagmapper Error After Play
Most users will see a tag mapper error after pressing Play.

To fix it, go to:
/Game/Hyper/_Templates/Hyper/Map/Main/GS_Hyper
Delete each row in the tag mapper object list that shows None.
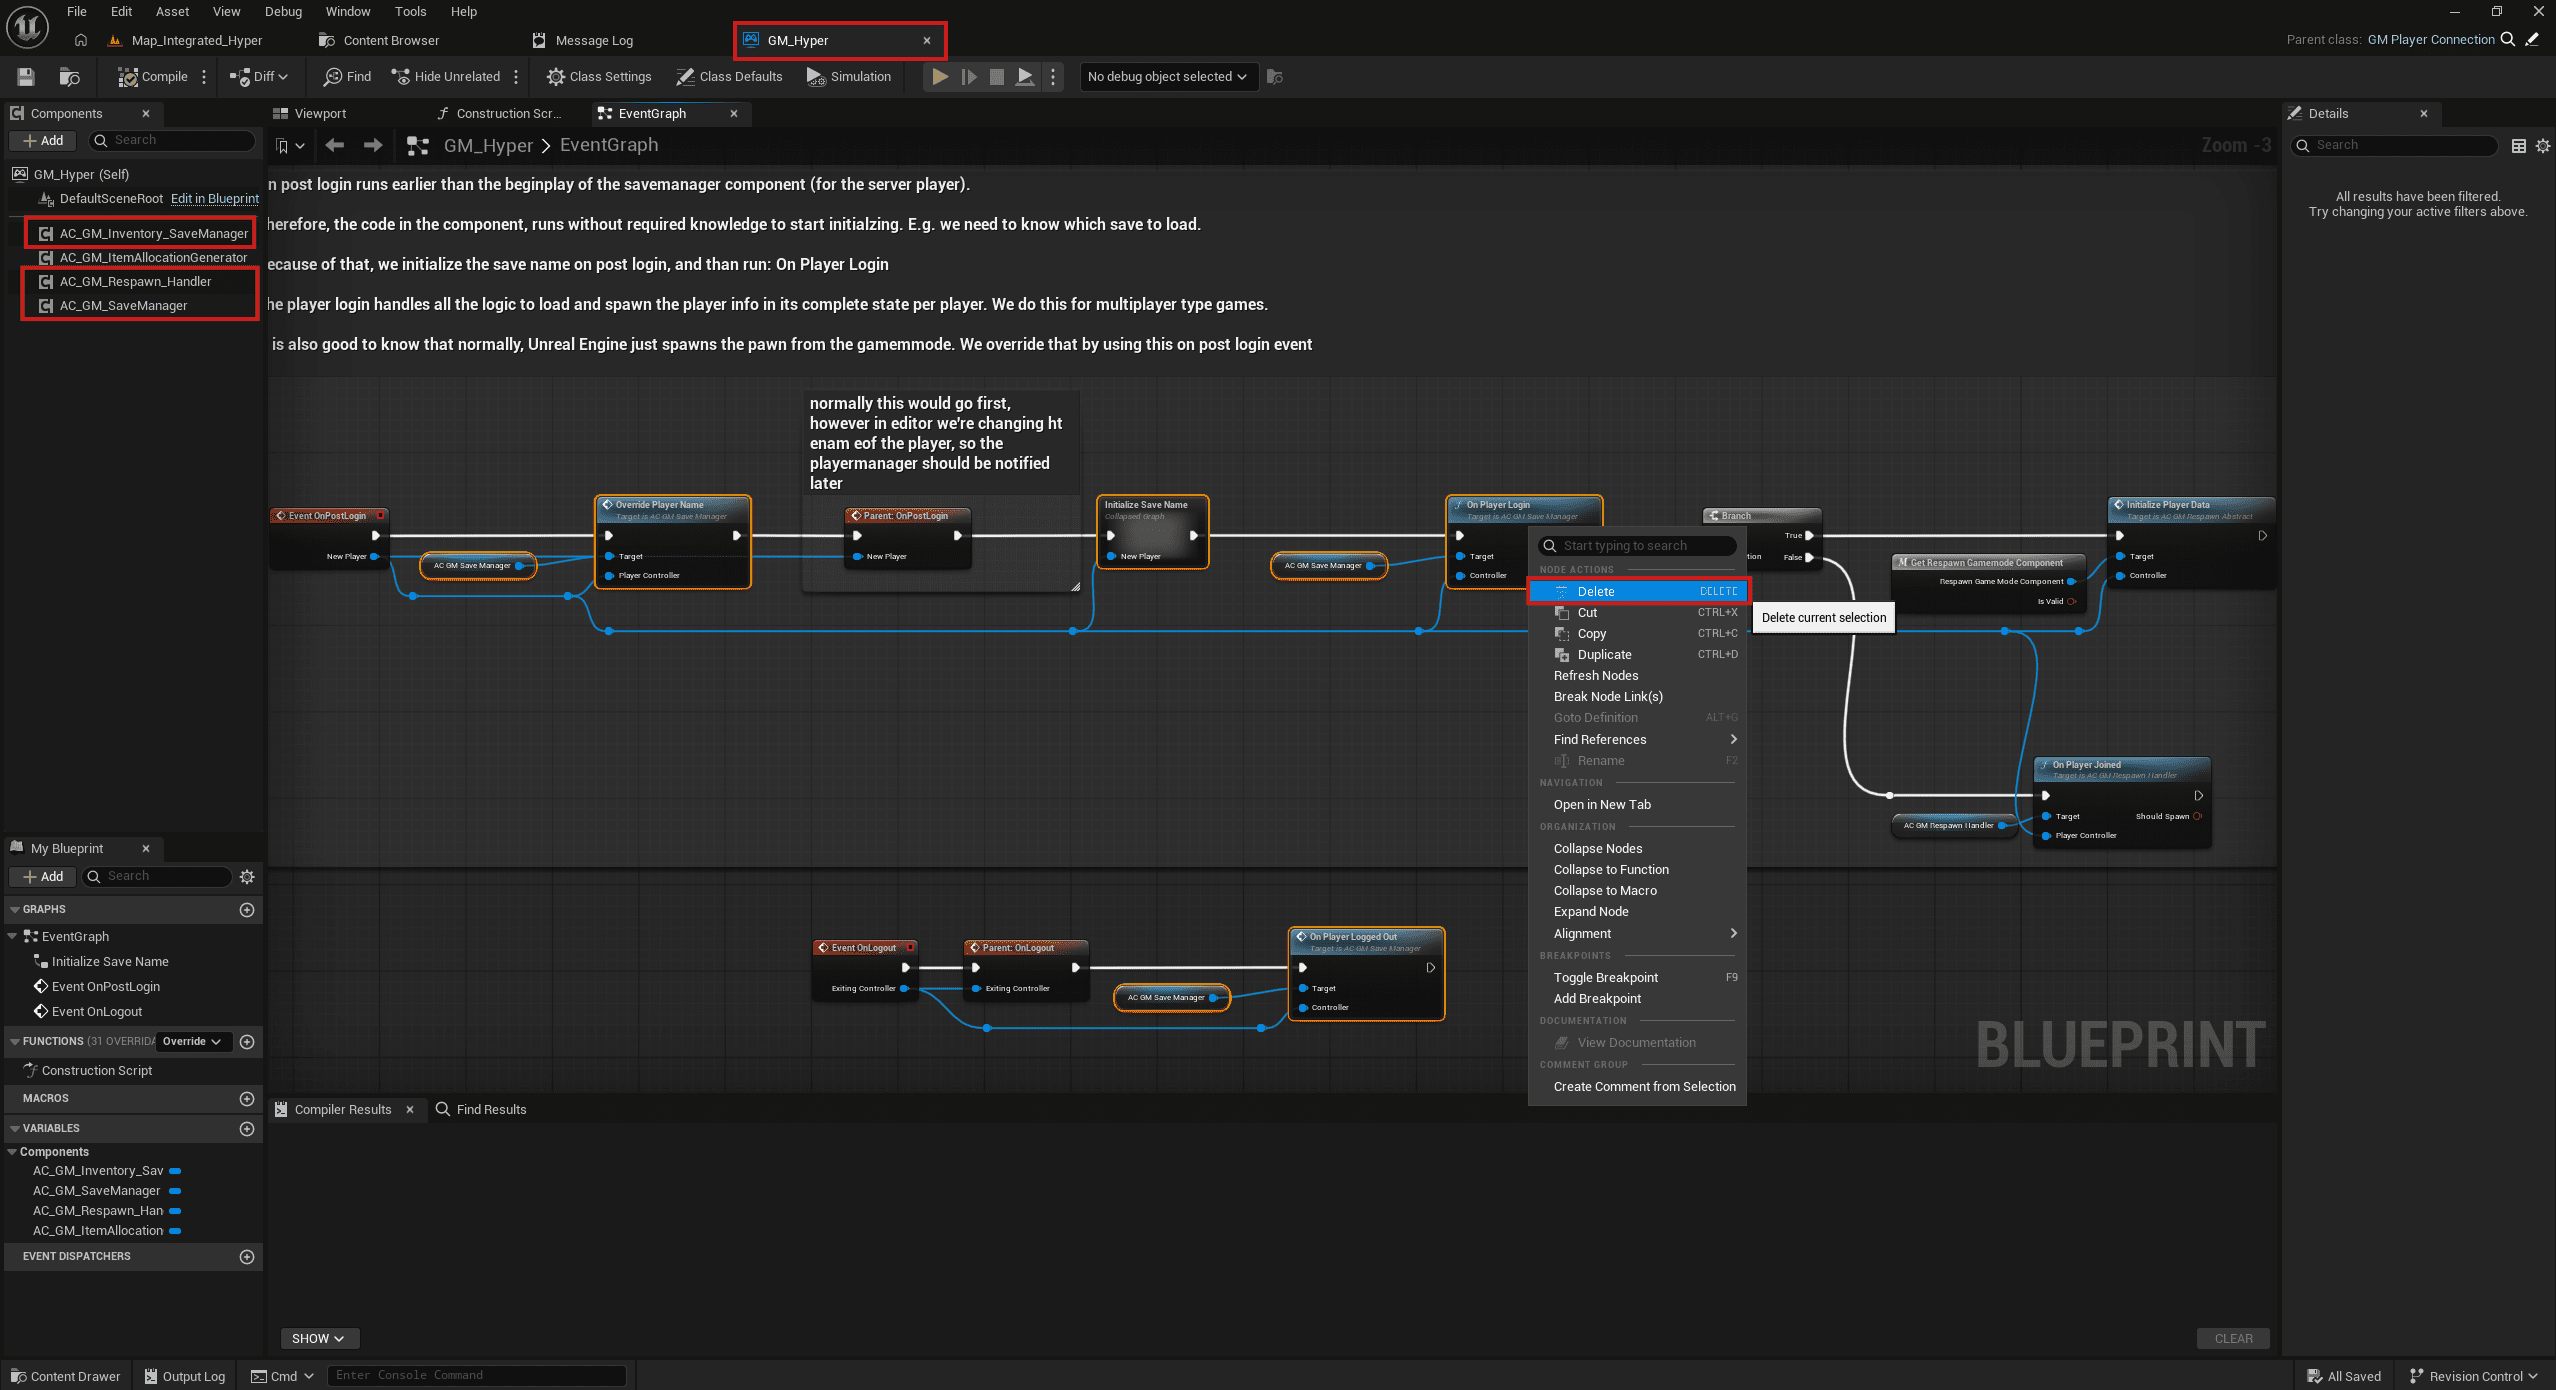
GM_Hyper Errors
GM_Hyper may show errors if you do not have the Save System or Respawn System. The tool sets up code for those components, so projects without those systems need to remove or bypass the related nodes.
In the screenshot below, those systems are present, so the code should stay. If you do not have those systems, the selected nodes may error. Remove and bypass them, or add and integrate the missing module.
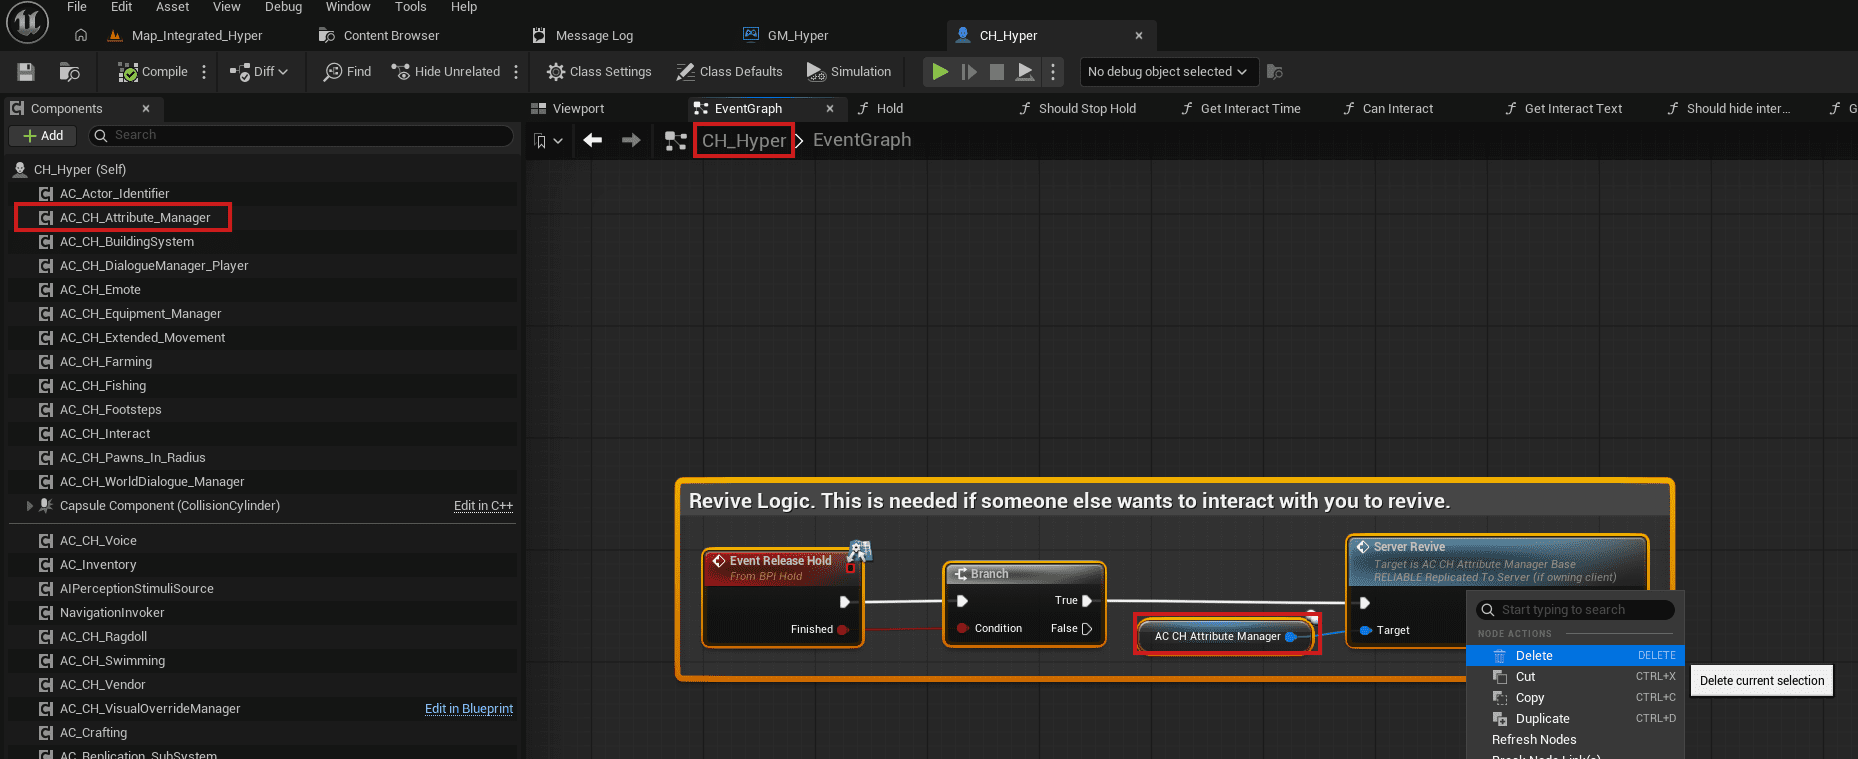
CH_Hyper Error
If you do not have AC_CH_Attribute_Manager and only have AC_CH_Attribute_Manager_Base, CH_Hyper may contain revive code that needs to be removed.
Missing Class Errors After Play
If you see missing class errors after pressing Play, such as weather system or other world actor errors, follow the map setup guide and check which classes need to be placed in the world for the systems you have.
Check classes to place in the world
What Is Next?
Use GM_Hyper in your game levels, then continue with the rest of the setup guides. The next common steps are setting up your own character, configuring your map, and connecting the main menu to your own game flow.
Set Up Your Map to Play In is the best next page if you want to verify the generated GameMode, assigned components, world actors, and level setup.