
List Inventory
Updated May 25, 2026
Read the Inventory documentation first. List Inventory uses the same containers, item data, events, and core inventory functions as the base system. This page only covers the list-view presentation and sorting behavior.
For shared setup guidance, see the Migration Guide and Integration Guide. Use the System Atlas to look up functions, variables, events, components, and ownership references. Use this page for list-view UI and sorting behavior.
Related setup: Set Up Inventory for the Player, Change Inventory Type on Interact Locations.
Related Videos
Version note: Some videos may have been recorded before V4. Concepts still apply, but asset names, component names, and folder locations may differ. Treat this written documentation as the source of truth.
Add Jigsaw or List-Based Inventories to your Unreal Project Play
Overview
List Inventory is an alternative UI for the same BP_Inventory_Container data. Instead of displaying items in a slot grid, it renders them in a scrollable list that can be sorted and compactly scanned.
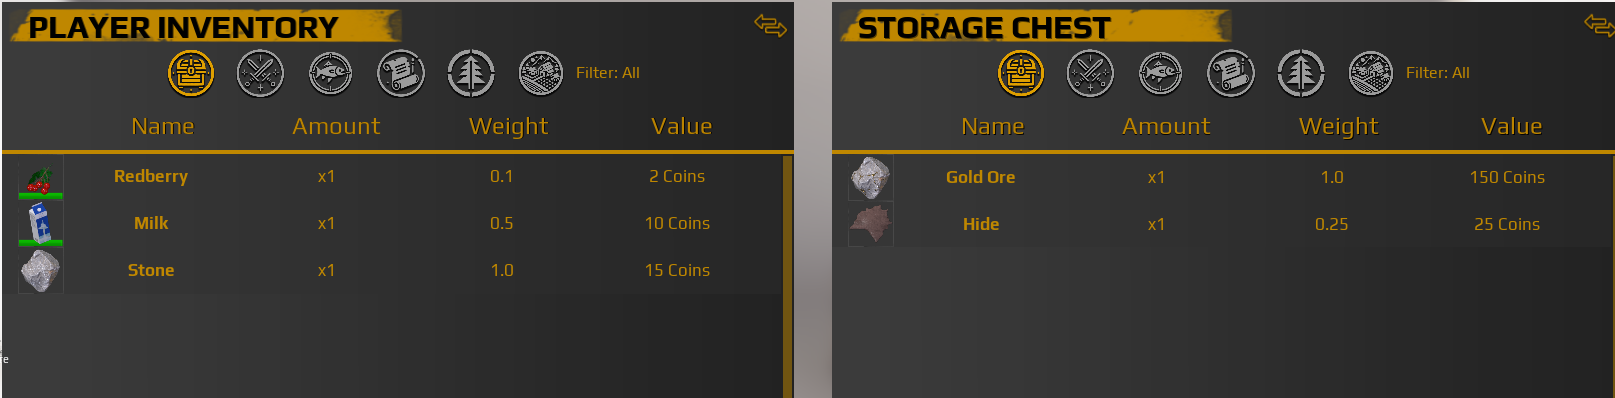
| List inventory changes | Base inventory behavior that stays the same |
|---|---|
|
|
Sorting
Sorting is the main advantage of list-based inventory. Common sort options include:
- Category: Groups items by Gameplay Tag category, such as Weapons, Consumables, or Resources.
- Name: Alphabetical order.
- Weight: Lightest to heaviest, or reversed.
- Value: Cheapest to most expensive, or reversed.
- Quantity: Stack size.
- Recently Added: Newest items first.
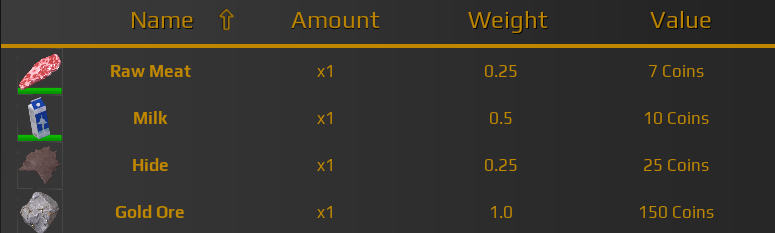
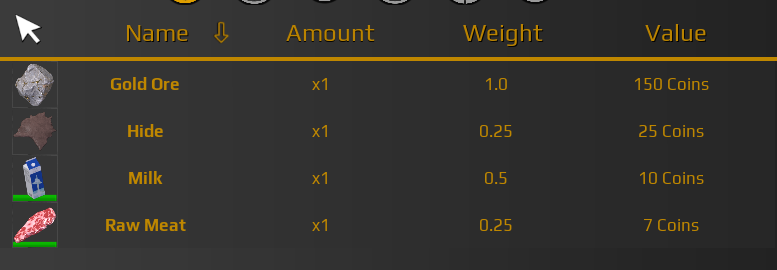
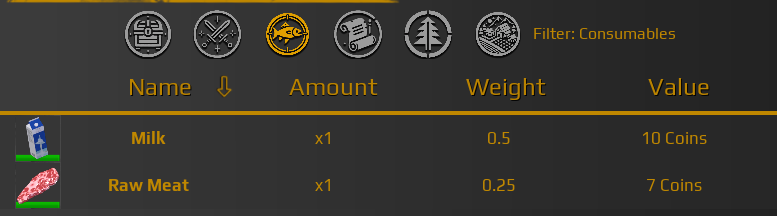
Most sort options should support ascending and descending order. The UI should show the active sort and direction with a highlighted button, checkmark, arrow, or similar indicator.
Custom Sort Functions
Custom sort functions can compare any item property exposed through the item struct or related data. Examples include weapon damage, armor rating, rarity, durability, or game-specific stats.
- Get all items from the container with GetAllItems.
- Read the property you want to sort by from each item.
- Compare values and sort the array.
- Regenerate the list display from the sorted array.
- Optionally support ascending and descending direction with a boolean or enum.
Example: SortByDamage gets all items, reads each item’s damage value, compares those values, then returns the sorted array.
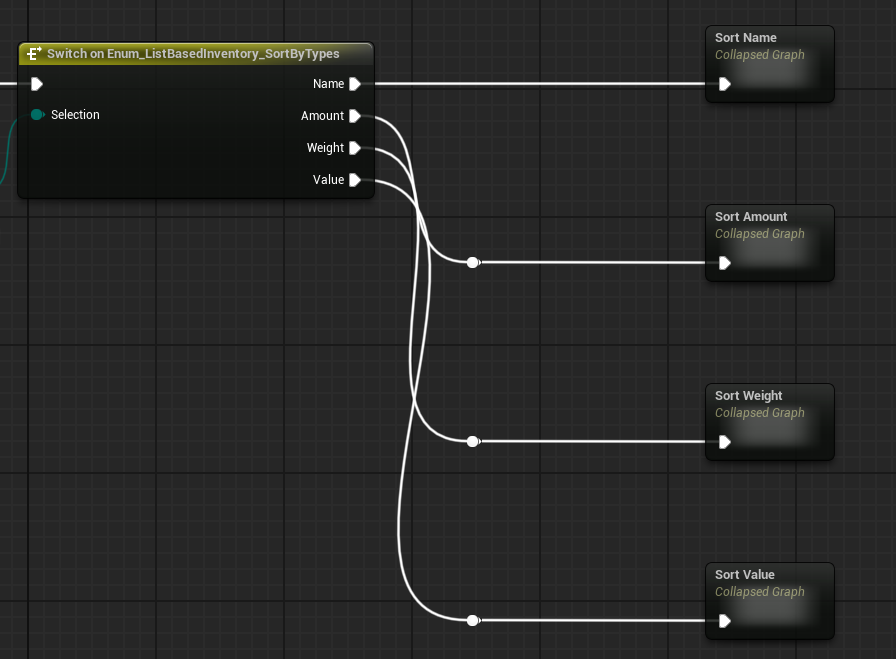
List UI Structure
The list UI binds to the same container as the grid UI. The difference is the widget structure and how items are rendered.
- Container panel: Main inventory window.
- Sort controls: Buttons for available sort modes.
- Scroll Box: Holds generated list item widgets.
- List item widget: One row per inventory item.
- Footer: Optional totals such as weight, value, and item count.
A list item widget typically shows the item icon, name, quantity, stack size, weight, value, and optional quick action buttons.
List Generation
- Get the container reference.
- Call GetAllItems.
- Apply the active sort function.
- Clear existing row widgets.
- Create one list item widget per sorted item.
- Populate each row with item data.
- Add each row to the Scroll Box.
When the container fires OnInventorySlotUpdated, the list UI should regenerate using the current sort. Preserve scroll position if that matters for the UX.
Set Up List View UI
- Create a widget Blueprint for the list inventory, or use the provided list widget template.
- Add a Scroll Box for item rows.
- Add sort buttons for the supported sort options.
- Add footer elements for totals if needed.
- Create a row widget with icon, text fields, and optional buttons or hover states.
- When opening the inventory, get the container reference from AC_Inventory.
- Pass the container reference into the list widget.
- Bind to OnInventorySlotUpdated.
- Generate the initial list.
- Test item updates, sorting, use/drop/transfer actions, and performance with many items.
To toggle between grid and list views, destroy the current UI, create the other view, and bind it to the same container reference. The container state persists across view changes.